Blog
Custom Double Dog Kennel
Two years ago, I built a fancy kennel for our new puppy. We’ve since added another puppy and moved into a new house, so I wanted to build a double kennel for both of them. The wire crate kind of detracted from the nice wood one next to it…

(Custom Dog Portraits by MoonCollie Art)
I’ve been wanting to build this double kennel for a while, but have a hard time deciding on a design and what type of hardware I would use. The original crate has rebar and it is extremely heavy. The rebar also wasn’t that cheap and required a lot of extra work. I had also seen a lot of kennels with barn doors, but I wasn’t sure how much weight that would add and was concerned with the cost. Over time, the design came together and I got started.

Since I have a pile of poplar in our new shop, the entire kennel is made of solid poplar except for a sheet of plywood for the subfloor. I cut all the boards and the barn doors were once of the first things I assembled.

The back wall of the kennel is several 6″ boards joined together with pocket screws.

I wanted the top of have a “wow” factor, so it required a lot of time and labor and created a lot of waste to make all the angled cuts. I’m pretty happy with how it turned out though.

Instead of using rebar this time, I ordered plain black staircase balusters. They are hollow and SO much lighter. I thought they were going to be round, but they are square which made things slightly more complicated. One end is round so I was able to just drill holes with the drill press on that side. The other end was square, so I inserted dowels into that end and drilled holes into the wood the same size. It worked out pretty well. I actually prefer the look of the square rods, it just added a couple extra steps.
You will also notice that one of these side panels is darker than the other. Since poplar is fairly plain, I wanted to raise the grain like I did with the Mud Room Project.

I used a propane torch on all the inside surfaces and the top then sanded the excess char off.

I was also going to stain the wood, but decided just a coat of poly was all that was needed. In the above picture, the top panel has a coat of poly while the bottom panel is still raw so you can see the difference.

Once all the panels were assembled, I loaded them up and brought them to the house. It was crazy hot that week so I decided to paint it in the basement which is also where it would be staying.

First, I assembled the wall panels. Then I attached the base and cut a piece of plywood to use as a subfloor.

I painted the exterior surfaces with Fusion Mineral Paint in Champness.

Then I covered the first coat with Fusion Midnight Blue. Some distressing allowed the lighter blue to show thru (this is still in progress).

I was excited (and nervous) to finally be able to attach the barn door hardware. Fortunately, everything lined up great.

Once again, he had to try it out while I was working on it. For the flooring, I used a waterproof vinyl plank that looks like wood since it worked well the first time. I will caulk between the floor and walls so that any accidents so not leak out.

Once work was done on the inside, I was able to attach the top and it was finished! It was around 2 weeks from the time I cut the first board until the top was attached.


The middle divider is removable and held in place with 4 latches.


And here are the pups trying it out…

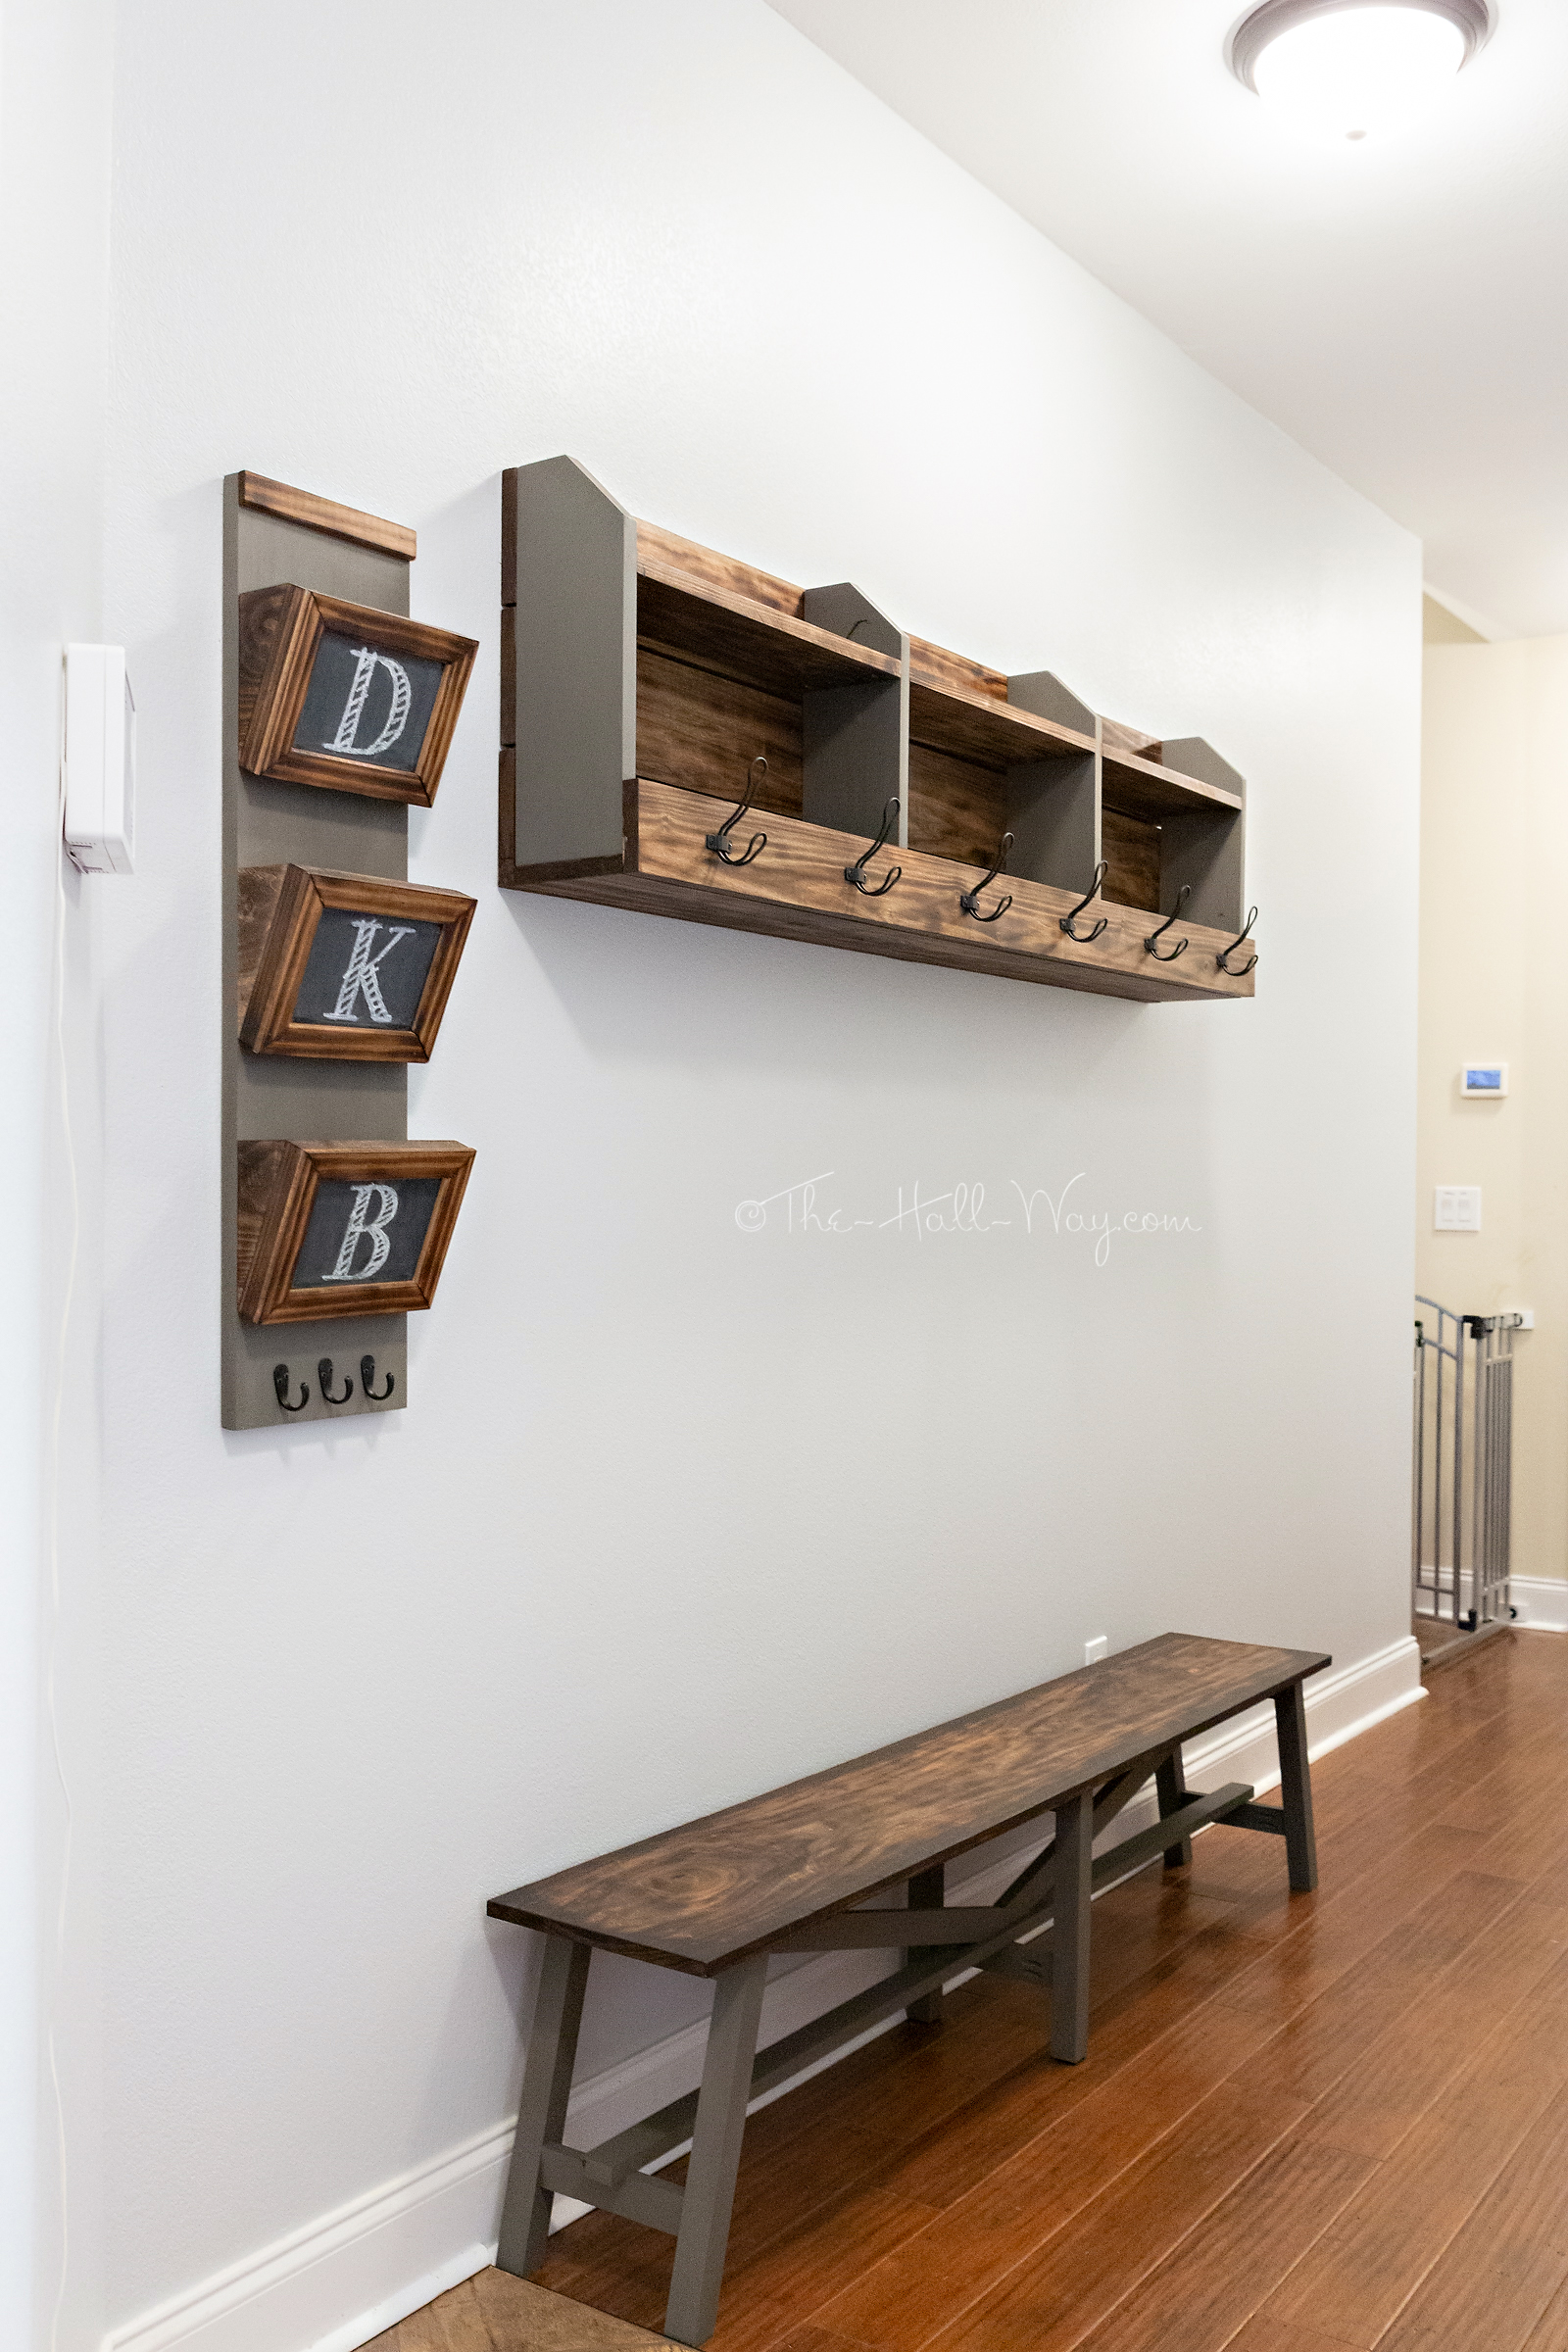
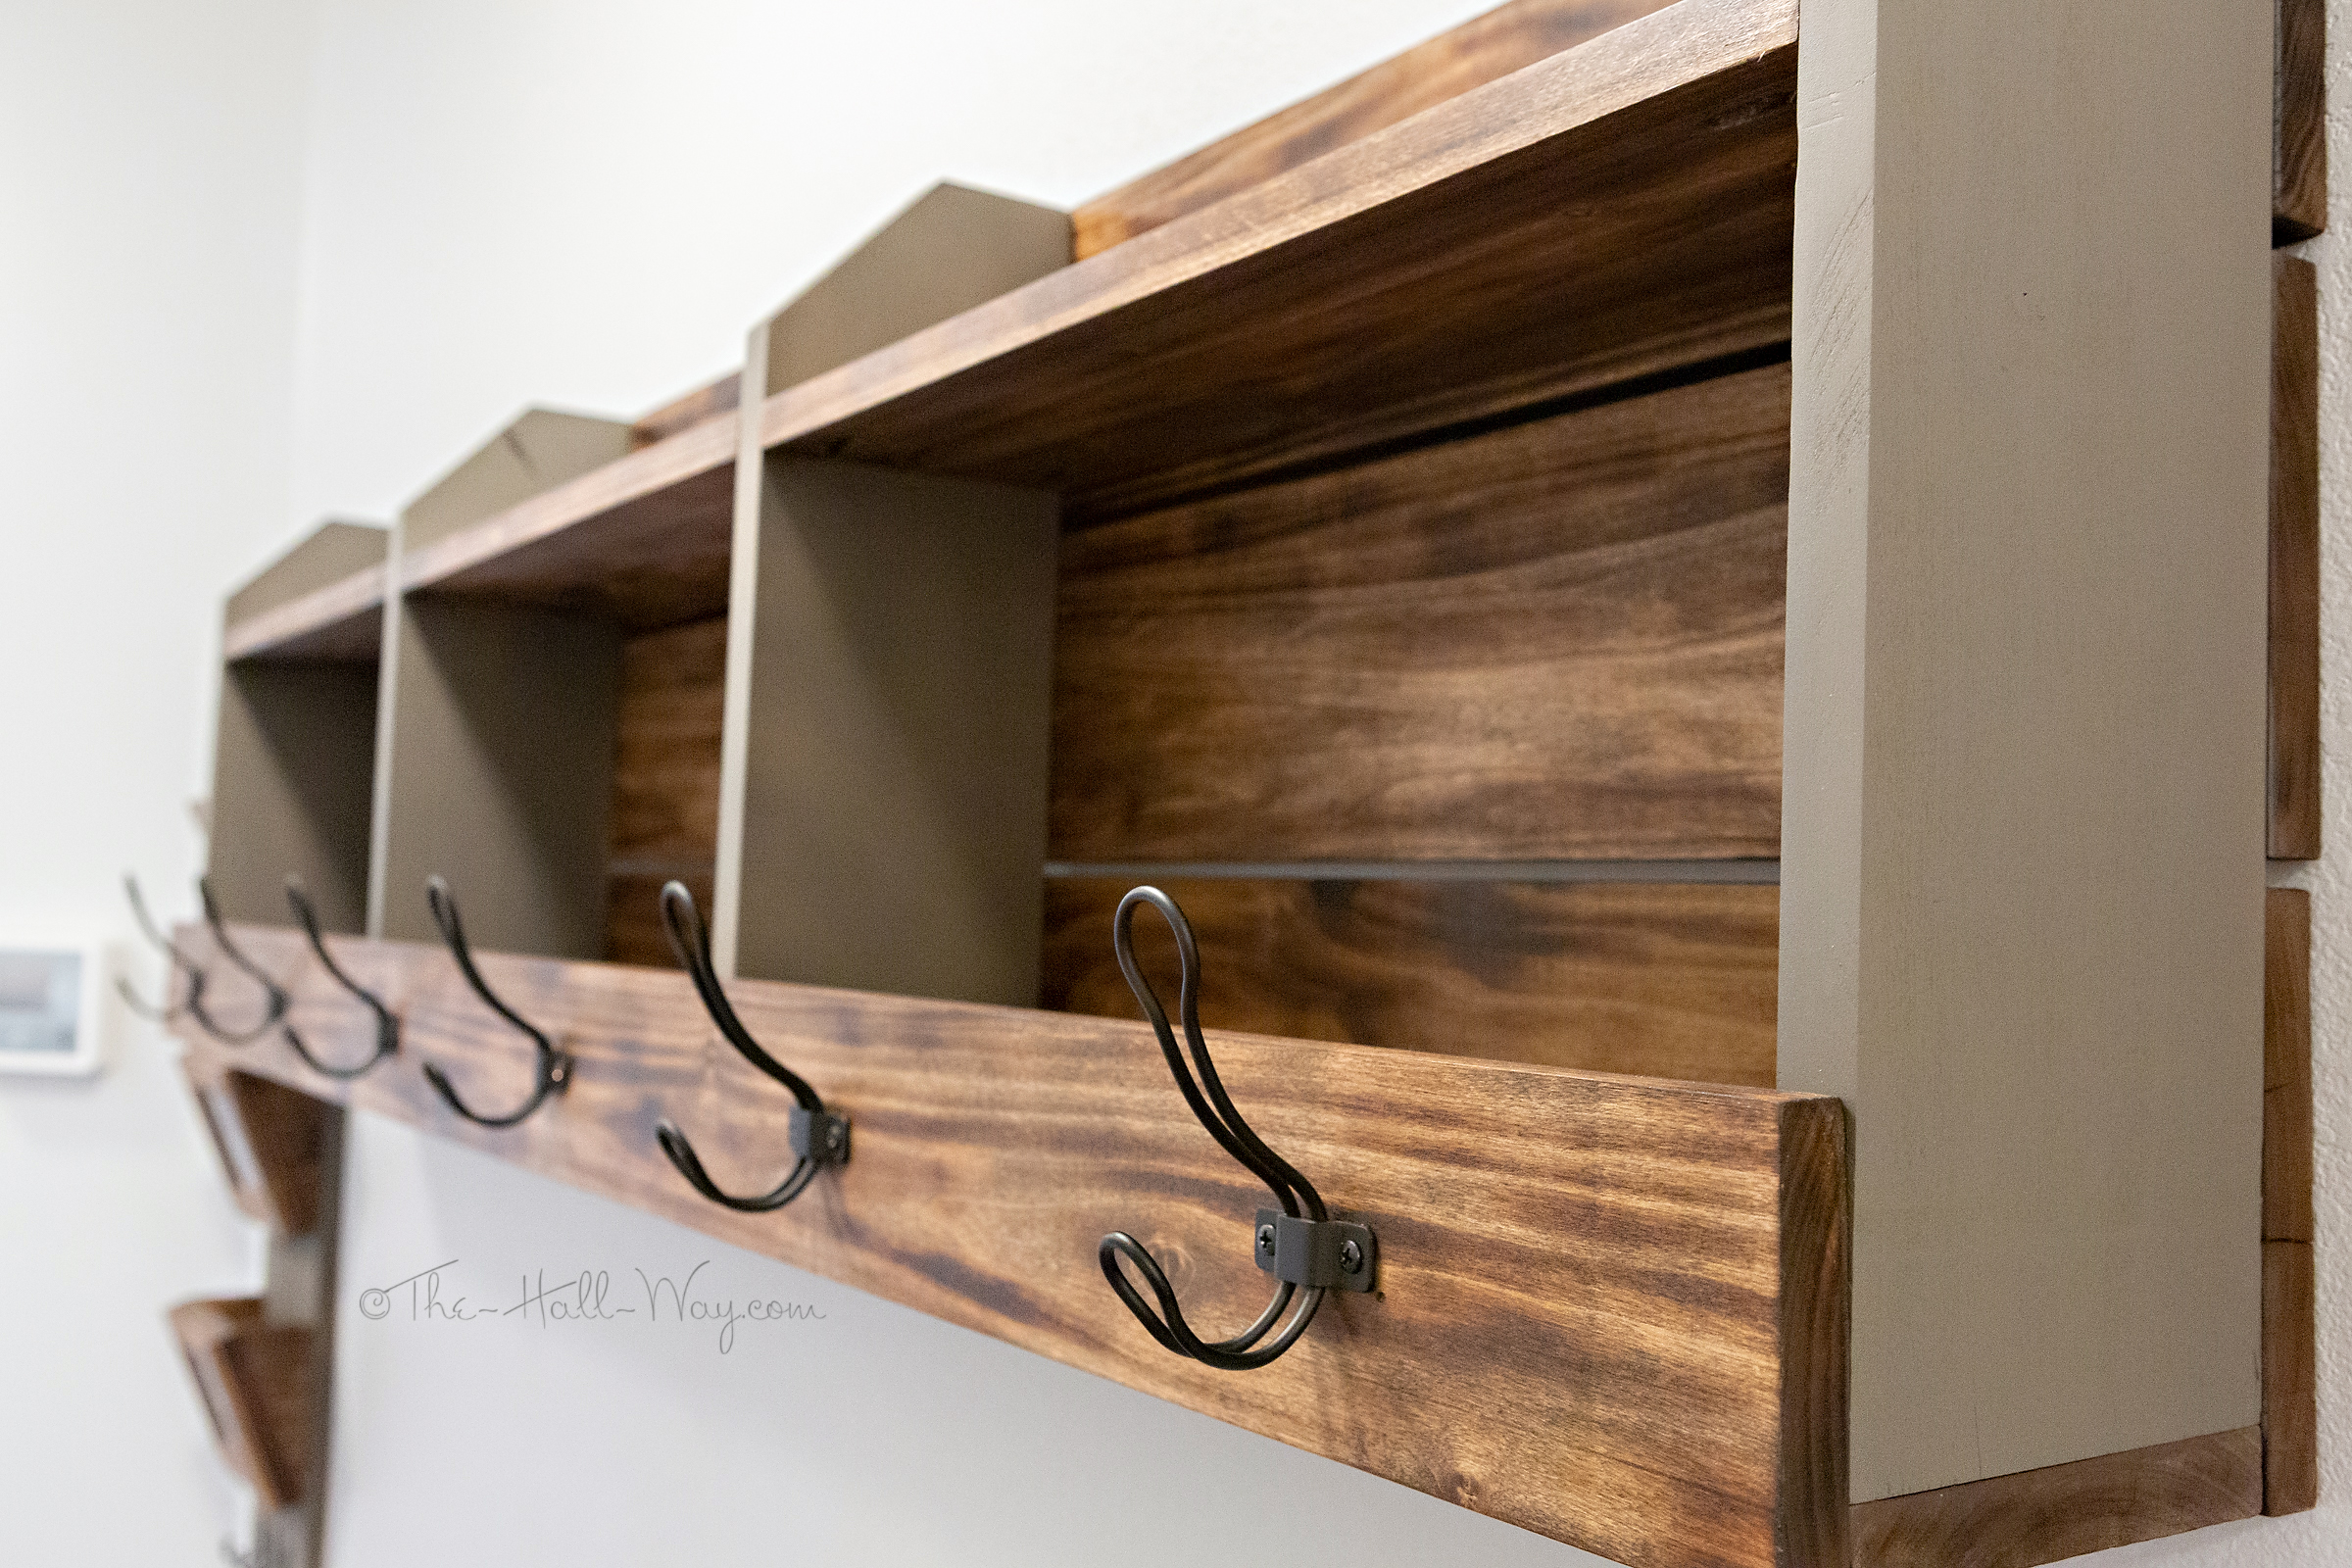
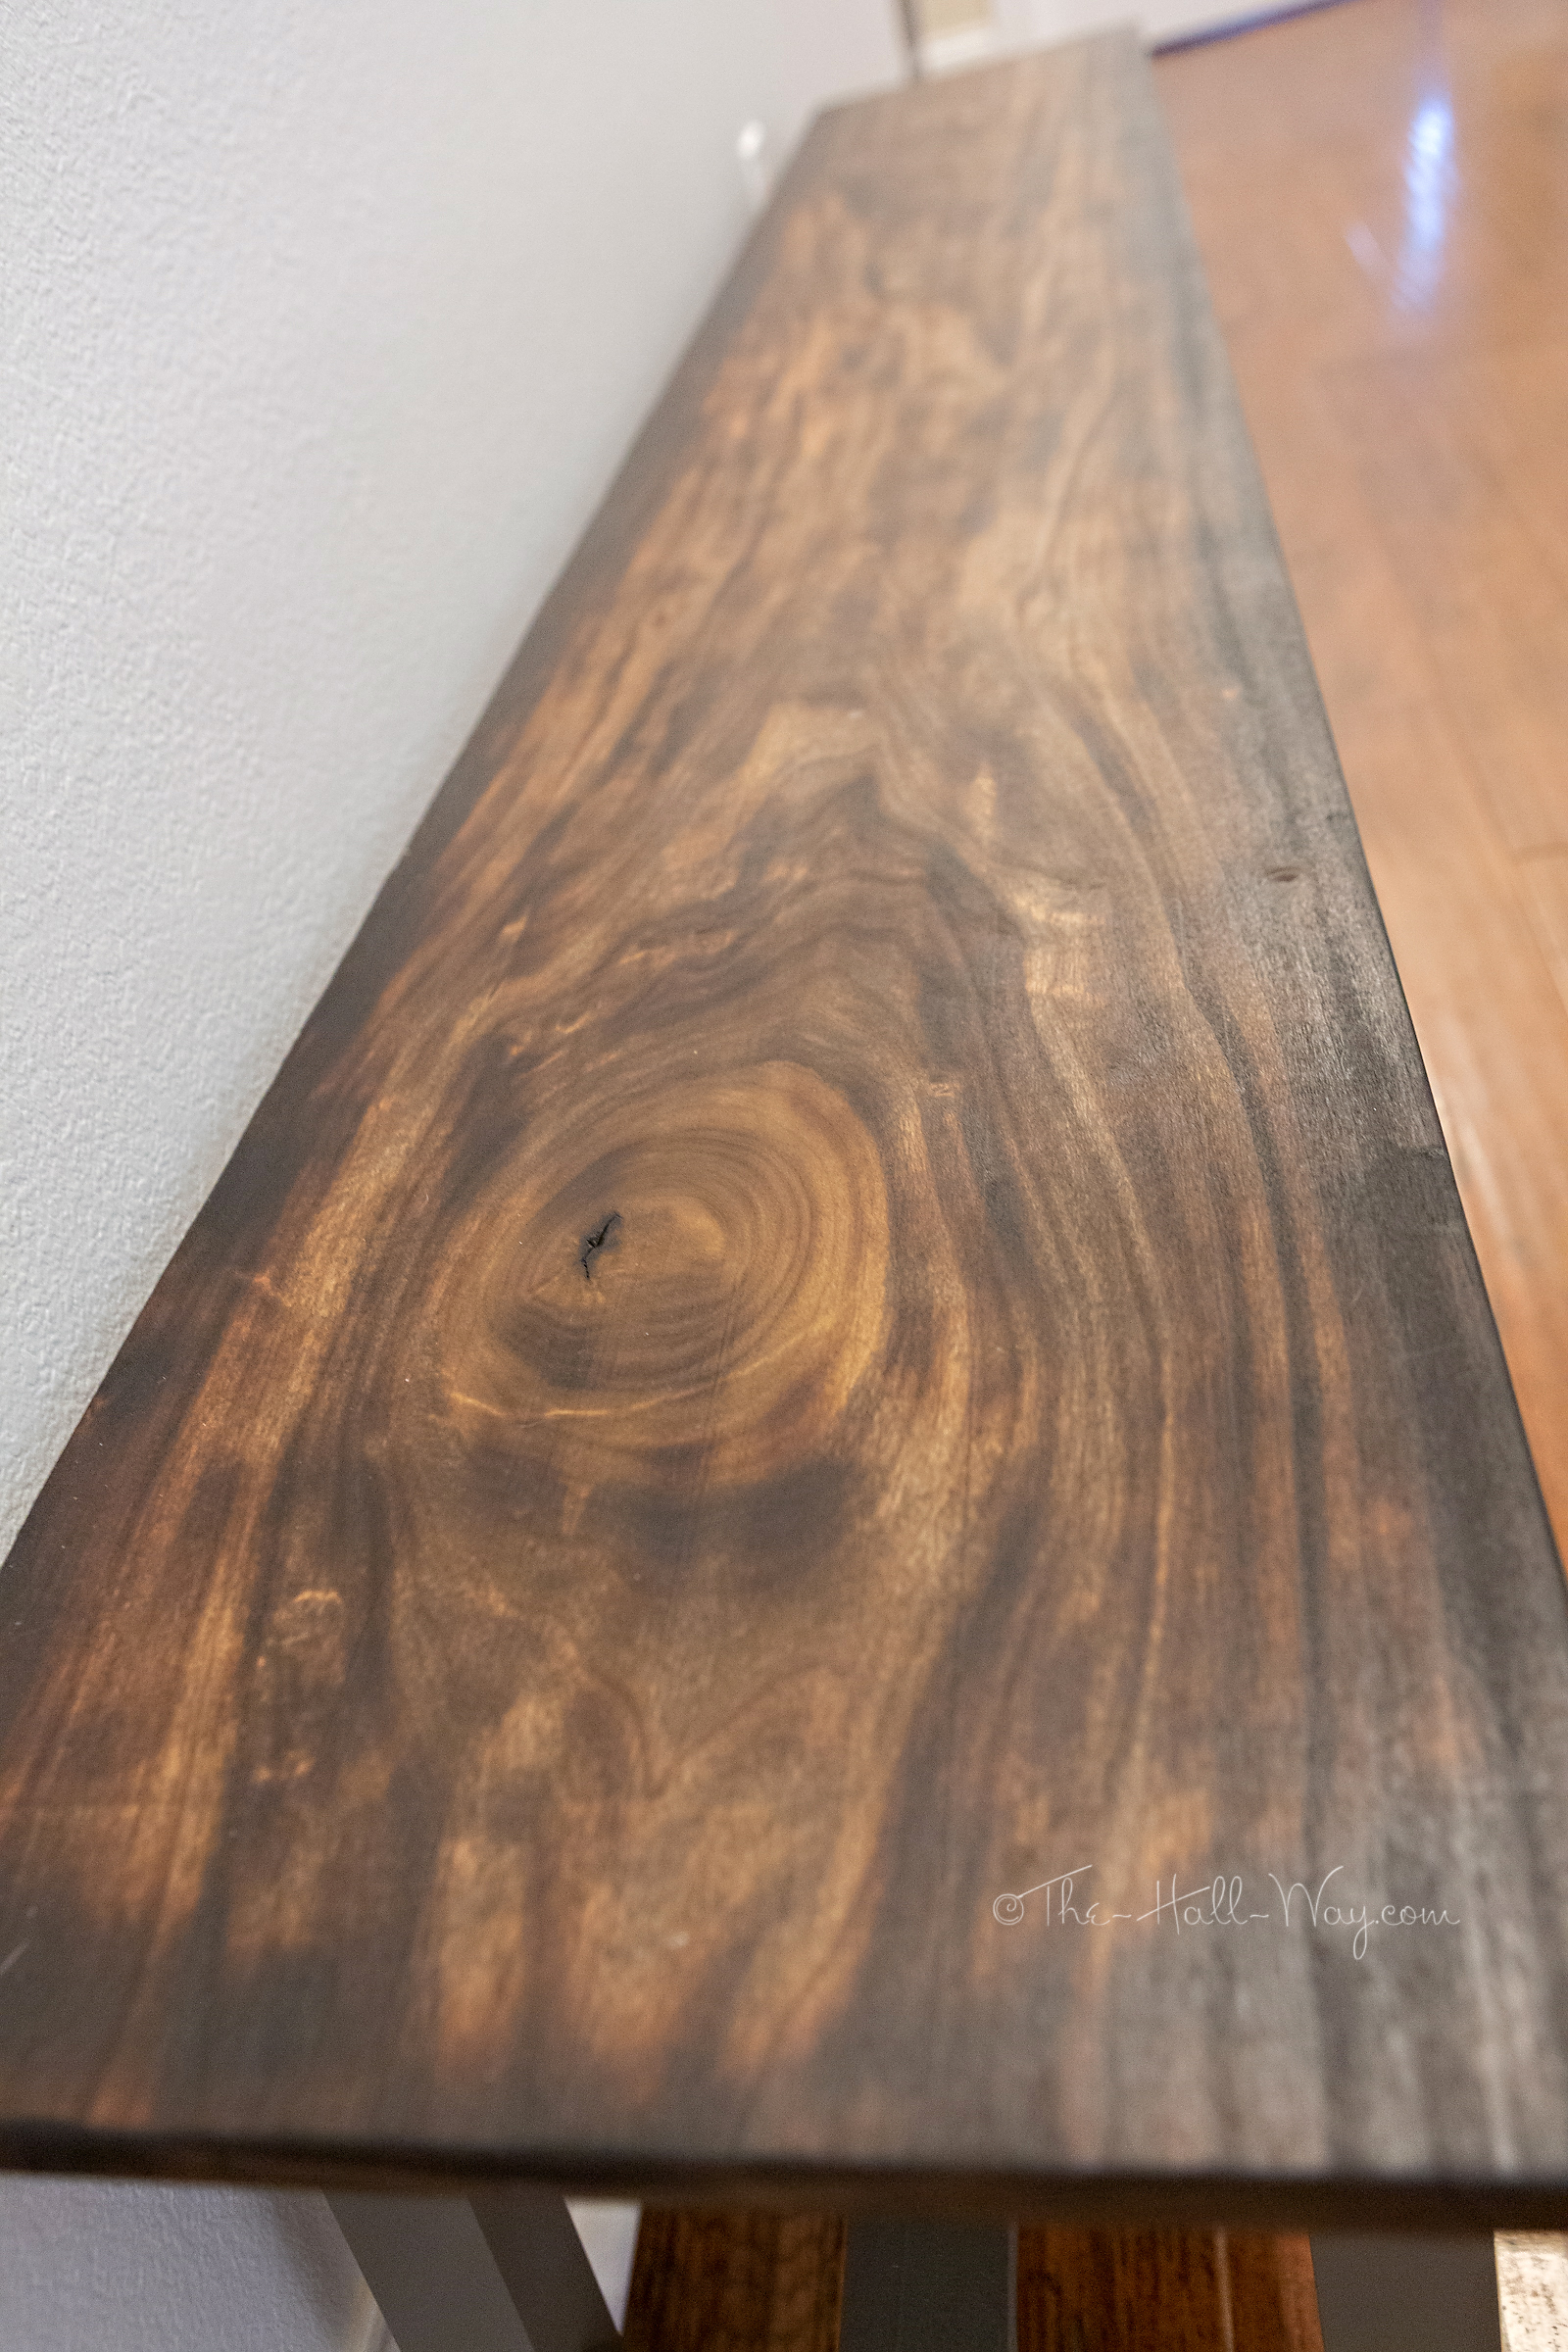
The-Hall-Way Mud Room
Please check out my latest project on Ana-White.com. Plans available at the link.


Custom Dog Kennel
I had a great idea for a Memorial Day weekend project, but it took 6 days, not 3. Back in November, we added another puppy to our family. He’s been staying in my late Mastiff’s kennel which is 15 years old and not exactly visually appealing in the living room.

I decided it was time for an upgrade. If I made something nice, we could put it in our bedroom where there was more room and it would look less out of place. My design inspiration came from HERE.
I decided to make mine out of poplar (which I have a large supply of in the garage) instead of pine (which is too soft and scratches and dents too easily). Poplar also added to the weight, but this thing was going to be heavy no matter what. Cutting and ripping the boards took me a short morning. I drilled pocket holes to assemble everything together. The back and top panels are poplar boards screwed and glued together.

I had wanted to use steel rods instead of rebar, but the rebar was a decent amount cheaper. I should have went with the steel rods. Rebar is very inconsistently sized, not always straight and is various shapes of “round”. I wasted a bunch of time before finally buying the drill press I’ve needed for a while. Once I got the drill press setup, things went somewhat smoother. I eventually got one of the side panels completely assembled. Then the second side, then the front.

Because of the size and weight, I decided it would be best to do the final assembly and finishing on the back porch so it could easily be carried in through the bedroom door. I assembled the sides and front using glue and pocket screws.

I attached the plywood floor with pocket screws and attached 3 boards to the bottom for it to sit on and for extra support. The Puppy like it! (He is a Berger Picard.)

I decided to use multiple finishes and started by applying Minwax Classic Gray.


Once the gray was dry, I applied Minwax Dark Walnut.


Then I applied a discontinued Metallic Black Coffee glaze which I had previous used on the Powder Room vanity. I tried to apply and remove it randomly to allow the gray and walnut stains to show through. The board on the bottom in the picture below has the glaze, the top board does not.

The glaze has metallic flakes in it which makes it sparkle in the light.

Once that was dry, I applied 2 coats of poly to protect it. We carried it into the bedroom and attached the back panel with pocket screws. I used gate hardware for the door.

Before putting the top on, I installed peel and stick vinyl to the floor. This is the same vinyl I used on the Home Theater Platform. It looks like wood, but should hold up to claws and messes. I am going to caulk around the edges to prevent any messes seeping down between the real wood boards.

Once the top was added, it was finished.

Now for my disclaimer – The kennel ended up 6″ taller than I wanted. I transferred my numbers incorrectly at the beginning. Whoops. Overall, it’s approximately 52″ wide by 32″ deep by 42″ tall. The puppy has a long body so I wanted him to have room to stretch out and maybe be able to share it with his “Mini Me” someday.


Now, we have more room in the living room and it looks less cluttered. Our bedroom only has the bed and 2 nightstands, so we had room for this kennel in there and it doesn’t stick out like the old wire crate would have. I’m really happy with how it turned out.

Master Bathroom Refresh
In previous posts, I had documented how we had repainted almost the entire house. Downstairs, the only rooms that we hadn’t painted were the Master Bathroom and Laundry Room. I had contemplated doing some changes to the Master Bathroom which is why nothing had been changed in there. The laundry room was low priority (and I dreaded the thought of trying to paint around everything in a fairly small space). A couple months ago, we went ahead and repainted both rooms. As always, we wish we had done it sooner.
The Master Bathroom still had the original ivory ceiling and trim and khaki walls. Everything coordinated well together, but it didn’t coordinate well with the new Master Bedroom and Master Closet color schemes.


First, we painted the ceiling and trim Behr Silky White. Just like the rest of the house. Then we moved on to painting the walls Behr Sculptor Clay which is very similar to Benjamin Moore’s Revere Pewter. Below is an “in progress” pic where you can see the big difference between the old wall color and the new. So much brighter!

It is now a nice, neutral color that still goes well with the existing finishes. And it now blends well with the surrounding rooms.

We also replaced the chandelier over the bathtub with a small ceiling fan. It may not be the most popular design choice, but, again, it’s one of those things we wish we had done along time ago. It makes a significant difference on hot summer days when the room is filled with shower steam and the hair dryer blowing. (Info about the window design HERE.)

Master Bedroom Reveal (Finally)
I noticed that I never posted pictures of our completed Master Bedroom, so here’s a quick post. When we moved in, the walls were the same khaki as most of the rest of the house. The ceiling was a few shades darker and the trim was ivory. And there was carpet. The only carpet downstairs. Not ideal for us with 2 dogs.

I previously posted about my choices for wall color and the new flooring. The walls are Behr Silver Setting – a pale silvery blue. The ceiling and trim are Behr Silky White with the center of the trey ceiling being a high gloss finish. It made the room seem so much bigger. The floors are a butcher block oak. The finish is darker than the rest of the house, but being the same species, they could all be refinished to match someday.


Stay tune for an update on the Master Bathroom.