Blog
The Contract
We celebrated our anniversary yesterday by signing the contract with the builder. I had been nervous about it for some reason although it was really just a formality. It’s very exciting to have it done, but we need to get through the next month of the loan process next. The appraisal is our biggest concern – how much the land appraises for and the finished house. Our construction costs are higher than normal because of the ICF and other things we are doing, so sometimes the house will not appraise for what it is going to cost to build. I don’t know what we’ll do if that happens.
The contract has a start date of June 1st, but we can start as soon as the bank is ready to close, which will hopefully be before then. I emailed the contract to the bank this morning so they should have everything they need from us now. I asked the builder about the permit process and he said it usually only takes a week or 2. He had originally told us it would take 8-10 months to build the house (my guess had been 9 months or more). I was worried that would be extended once he saw the final plans, but he’s now saying it should take 8 or less. That would have us finishing in January sometime. He said a lot of it depends on us and how quickly we can make decisions. He will be giving us a schedule of what decisions need to be made by what date. A lot of the items he mentioned, I already have selected. I plan to be able to give him all the exterior selections – brick, stone, siding, roofing, windows – before we even close on the loan.
Closet Design
I’ve been continuing to work on the model of our home, trying to get it as close to how we want it as possible. I started working on the master closet design this past week. We do not have dressers, so everything goes in our closet. We put a Closetmaid system from Lowe’s in our first house. It worked pretty well, but the closet wasn’t that big.
For our last house, we put the Ikea Pax system in the closet. It looked nice, but the closet really wasn’t big enough for it and putting things away wasn’t convenient. The interior of the cabinets had pull out drawers, shoe racks, pants racks and hanging bars.
(I did love the full length mirrored door.)
 I’d like to do something different for our new closet. I came across this closet a while back and thought it was awesome. She built it entirely on her own.
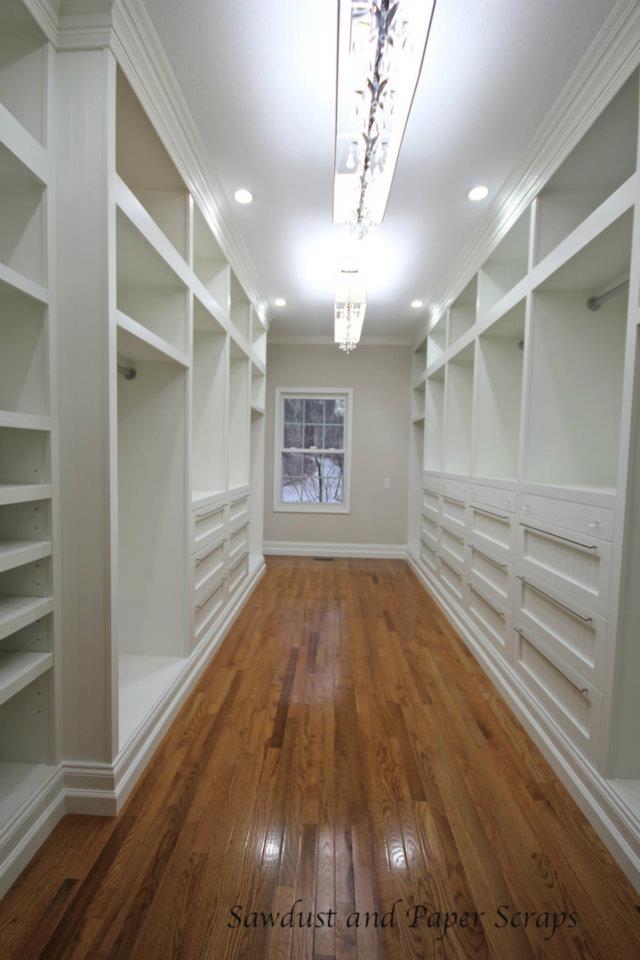
Image via SawDustGirl.com
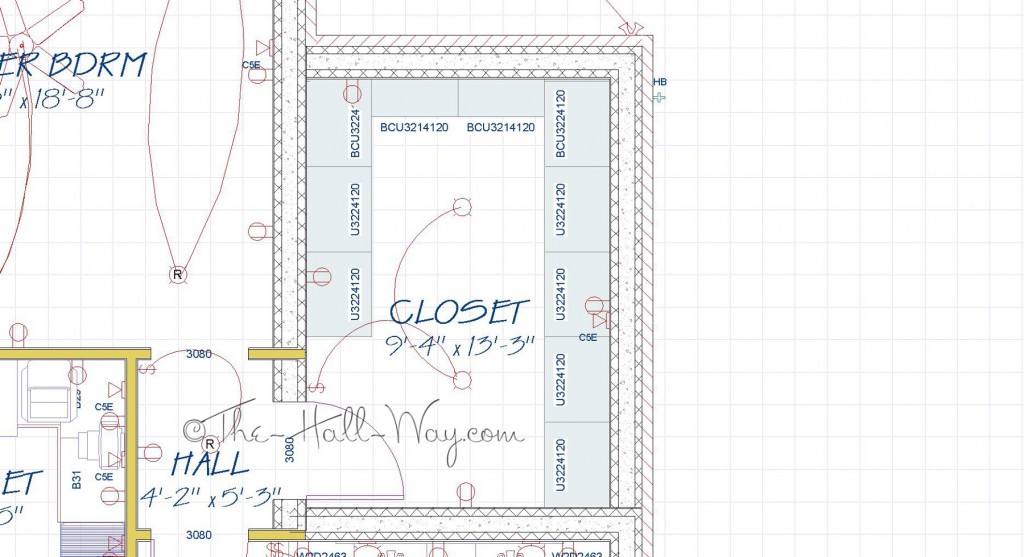
Our closet will not be as large as hers. It also doubles as the storm shelter, so we have to leave room for us, the dogs and potential guests if there is a storm. Below, I’ve put 24″ deep cabinets on the sides with 14″ deep cabinets on the far end. There will be a large, full length mirror on the bottom wall.
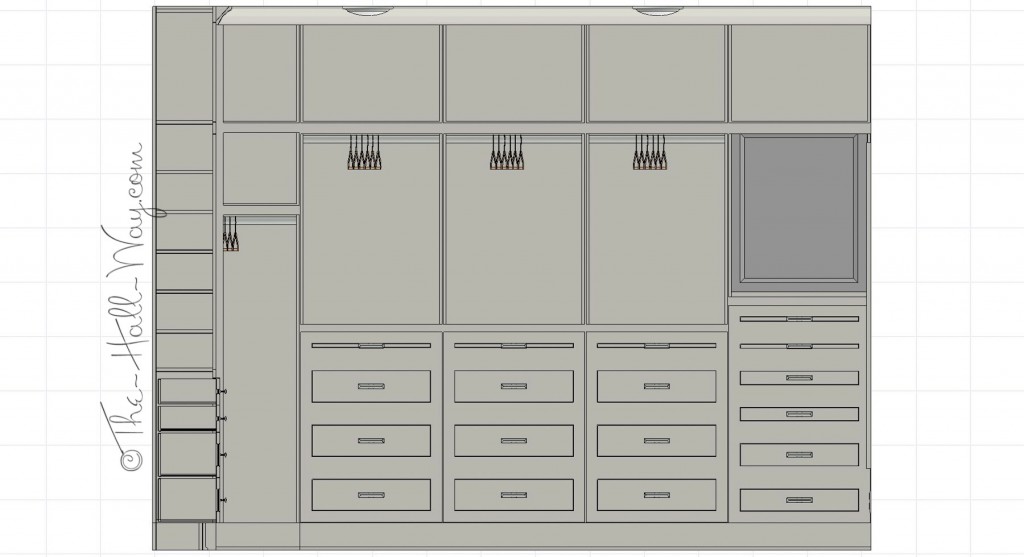
Here is a cross section of the right wall. The cabinet on the far right has a mirror for putting on jewelry, etc. The cabinet on the far left goes back to the corner, partially behind the 14″ cabinets, but long hanging clothes should be able to be slide along the bar to fill the space in the corner.
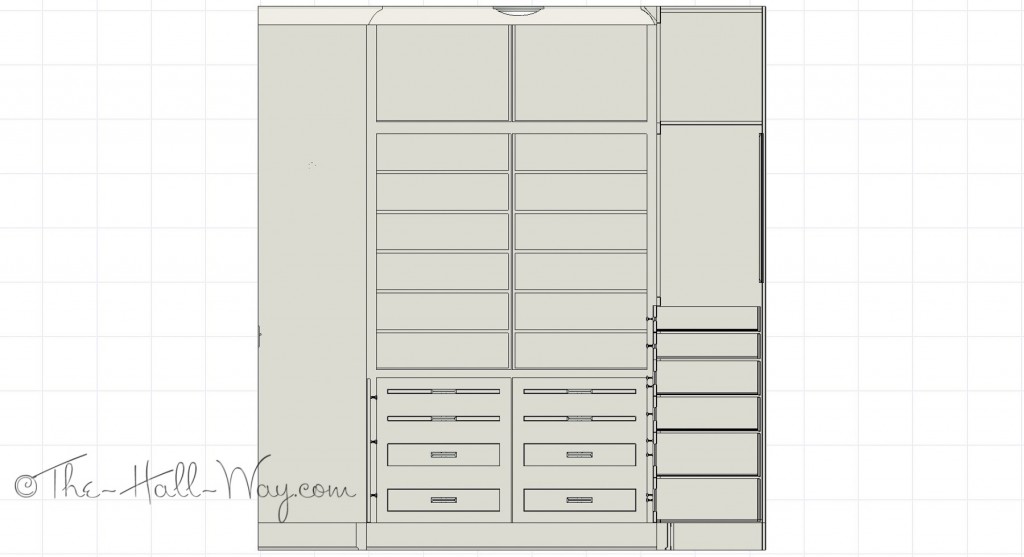
This drawing shows the 14″ cabinets. The shelves will be for shoes.
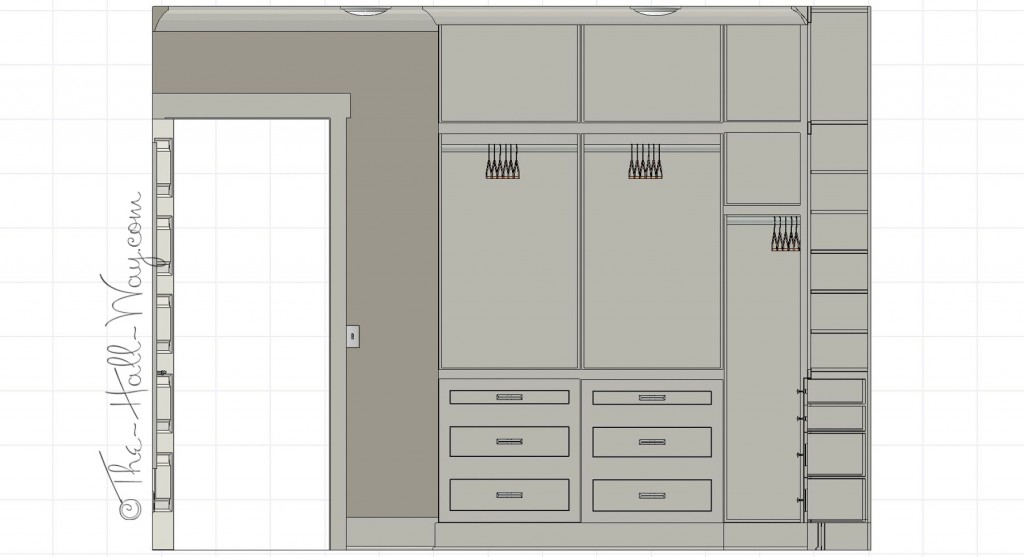
The door wall is similar, but there is one less drawer so that the hanging space is a little longer for men’s shirts, pants, etc.
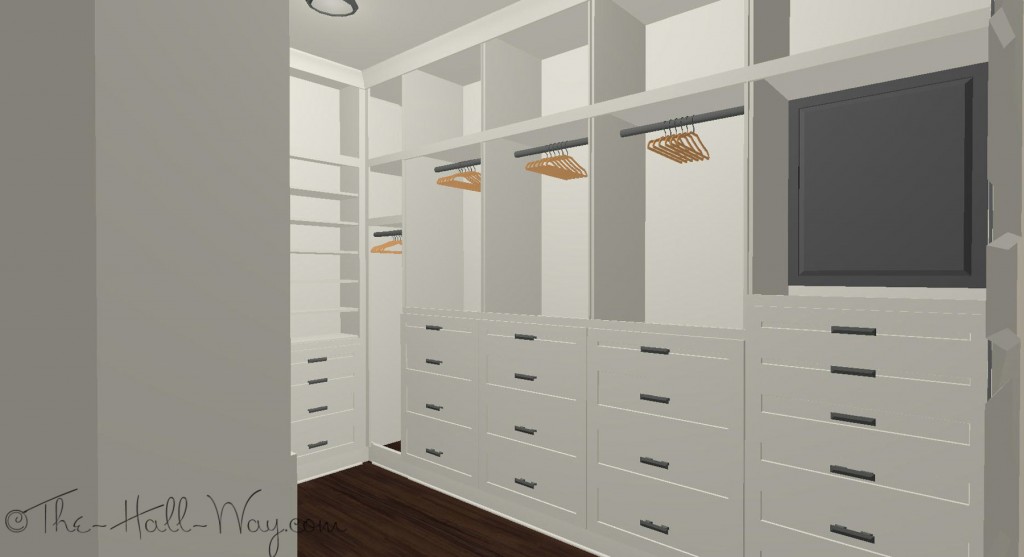
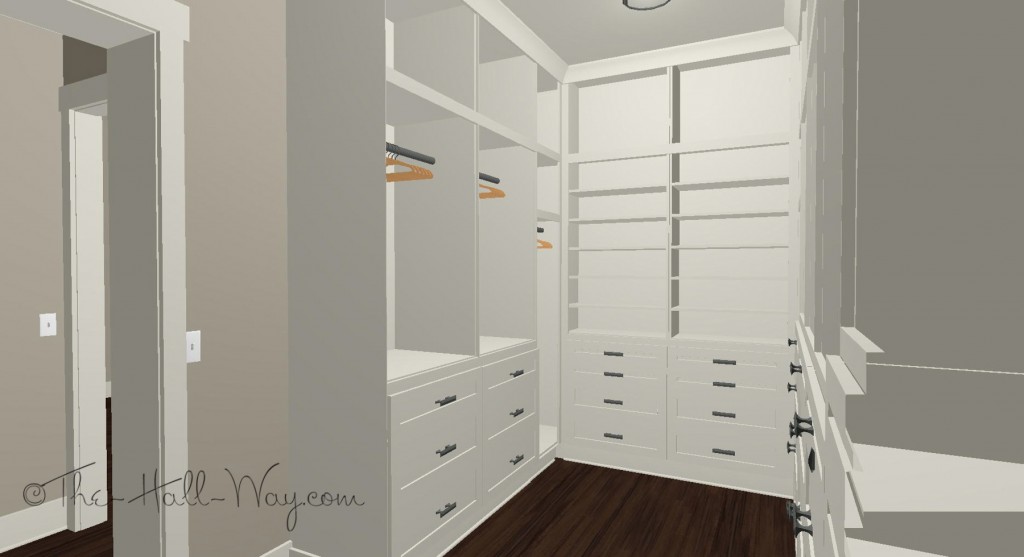
Here are renderings of the closet. The cabinets go up to the 10″ ceiling. I’d love to put a library ladder in there to reach to the top shelves, but they are usually pretty expensive.
We will have to decide whether we are going to build this ourselves or have someone build it for us. I’d like to get an estimate so we can see see the cost difference and decide whether it’s worth doing ourselves.
We spent most of this past week going back and forth with a local credit union. Long story short, we got a slightly different story each time we talked to them and we ultimately decided that we would be better off staying with the farm bank we used for the land loan. Unfortunately, we’ve wasted another week, but the good news is that the farm bank already has our info and application so hopefully they can get moving on it soon. I’m going to drop off the final house plans tomorrow and we will probably get the builder’s contract signed this week. They originally told us we would be able to close within 30 days so hopefully we can close within the next month (if all goes well!).
Finding The One
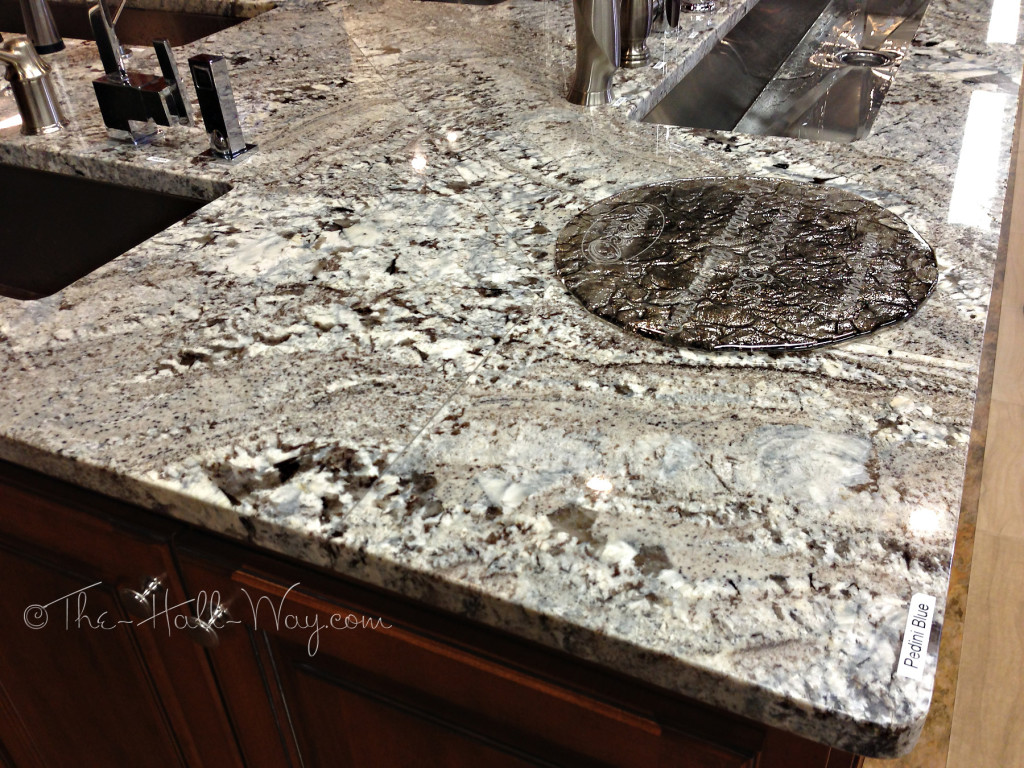
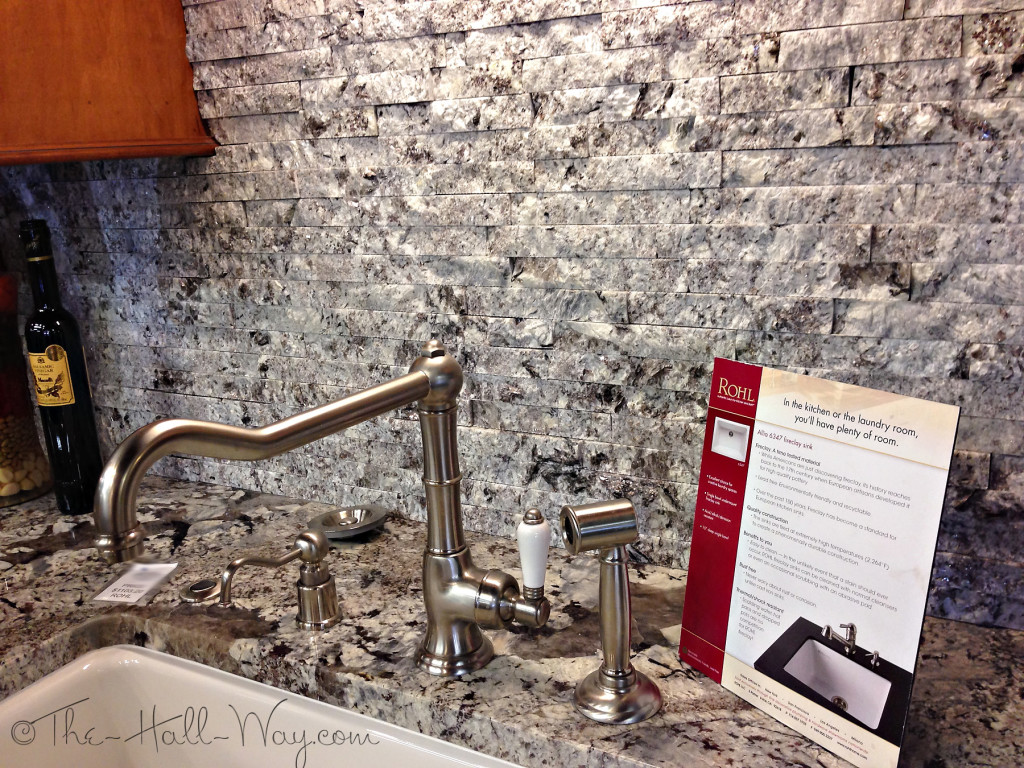
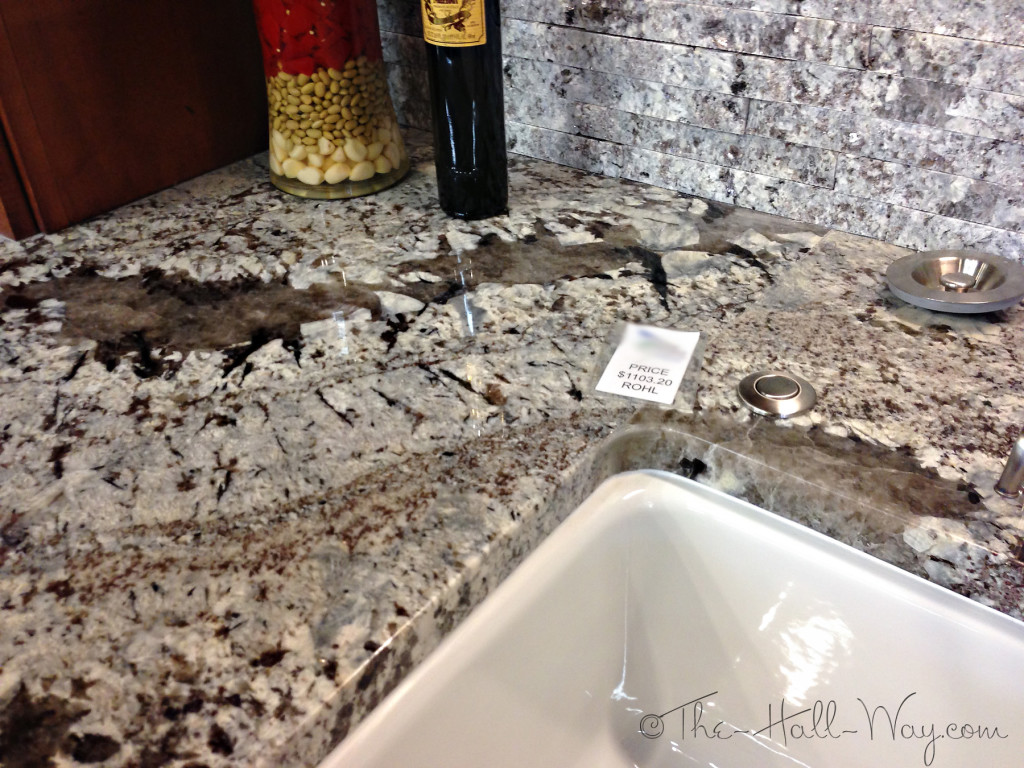
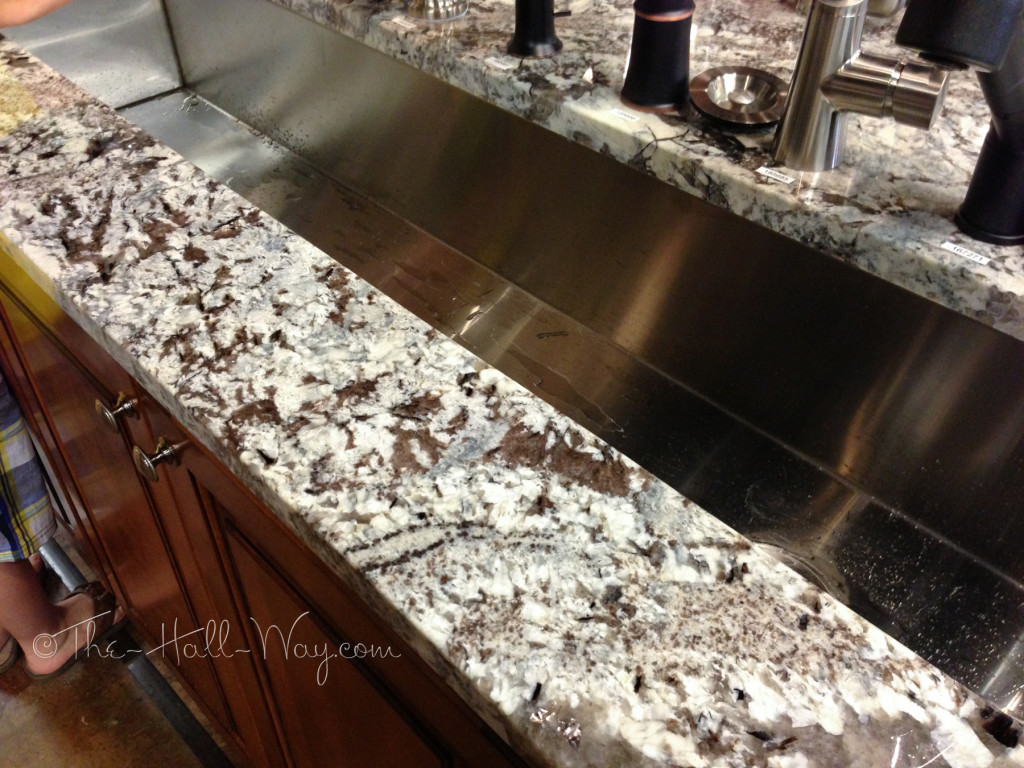
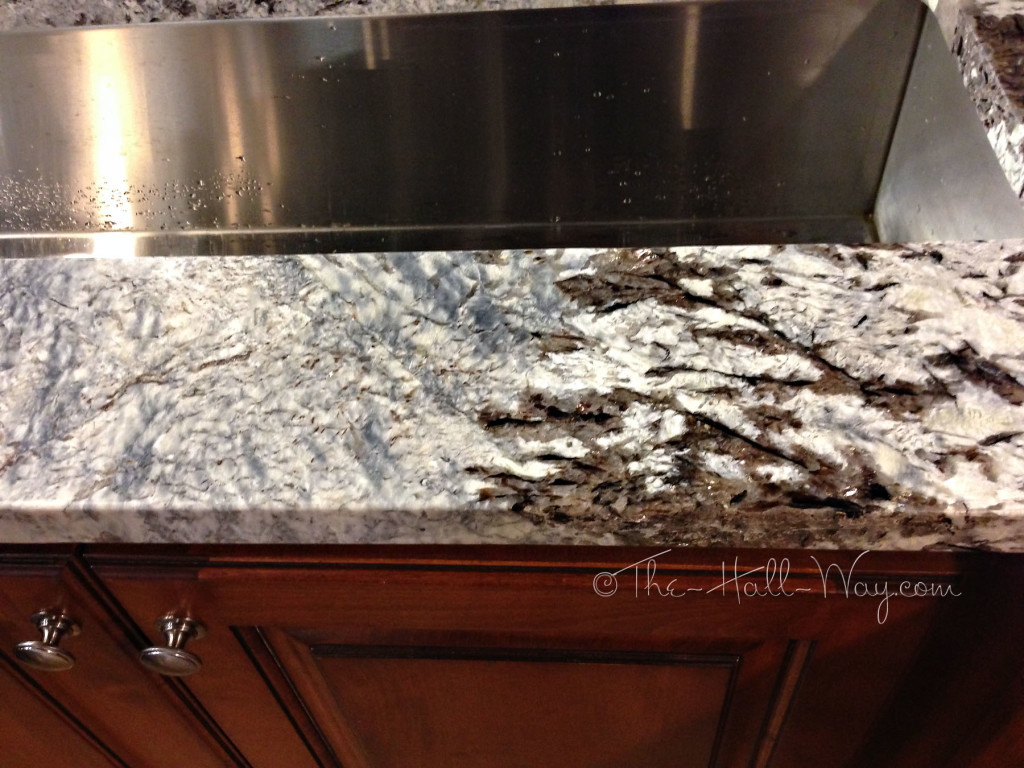
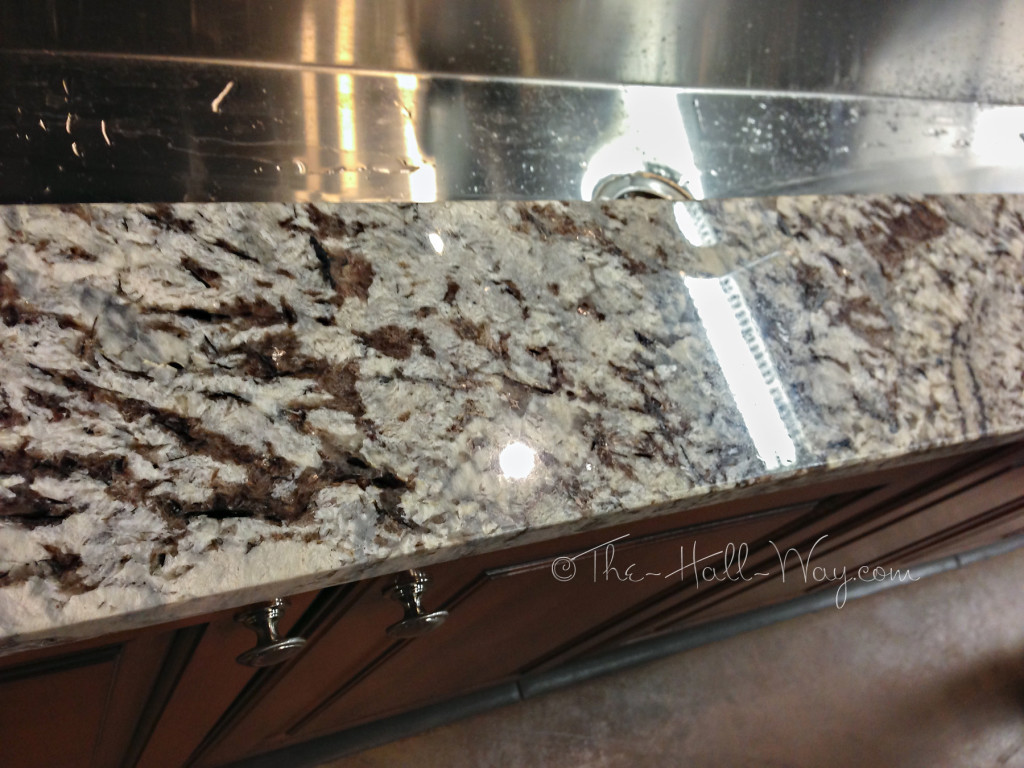
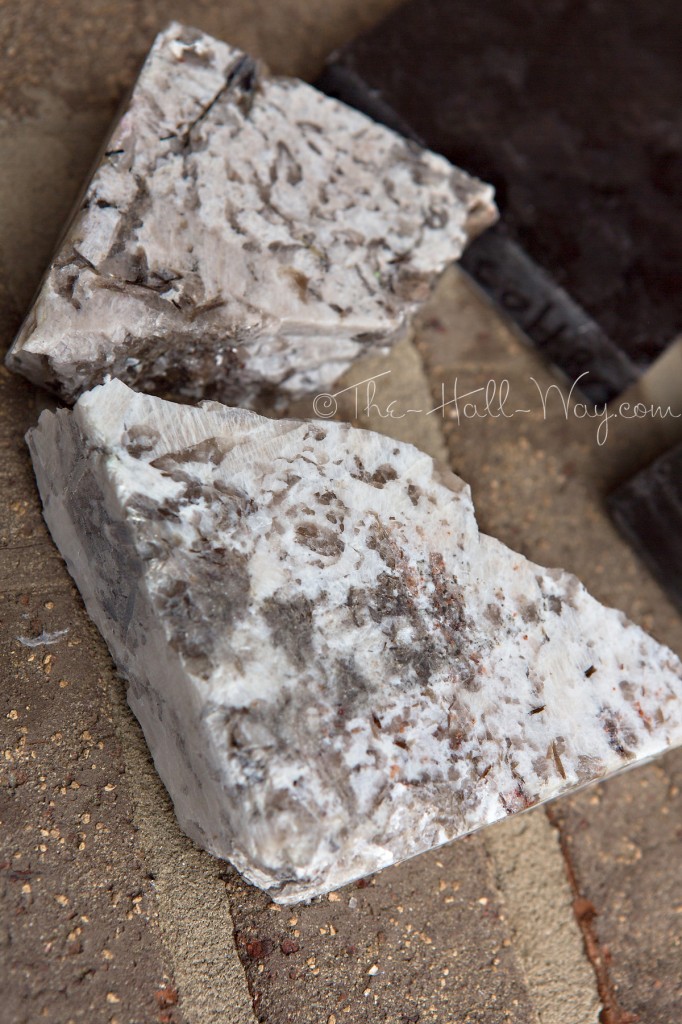
A trip back to the plumbing supplier this weekend ended up having the added bonus of us coming across another granite option for our island. I had a coupon code for an extra 15% off the kitchen faucets I have picked, so I wanted to go see them in person again in case I decided to order them. I’m not sure how I missed this countertop the first time – probably because I was still planning on using the Cambria Praa Sands on the island and was too busy looking at the faucets and not the countertop. They have a large working faucet display with 4 5-6′ long trough sinks. All of their displays have different granite countertops from different local suppliers. This one was from one I hadn’t visited yet and was a granite we hadn’t seen before. It was similar to the New Azul Aran that was one my list, but it has a lot more white in it. One of my concerns with the New Azul Aran was that it didn’t have much white and the slabs we had seen weren’t that spectacular.
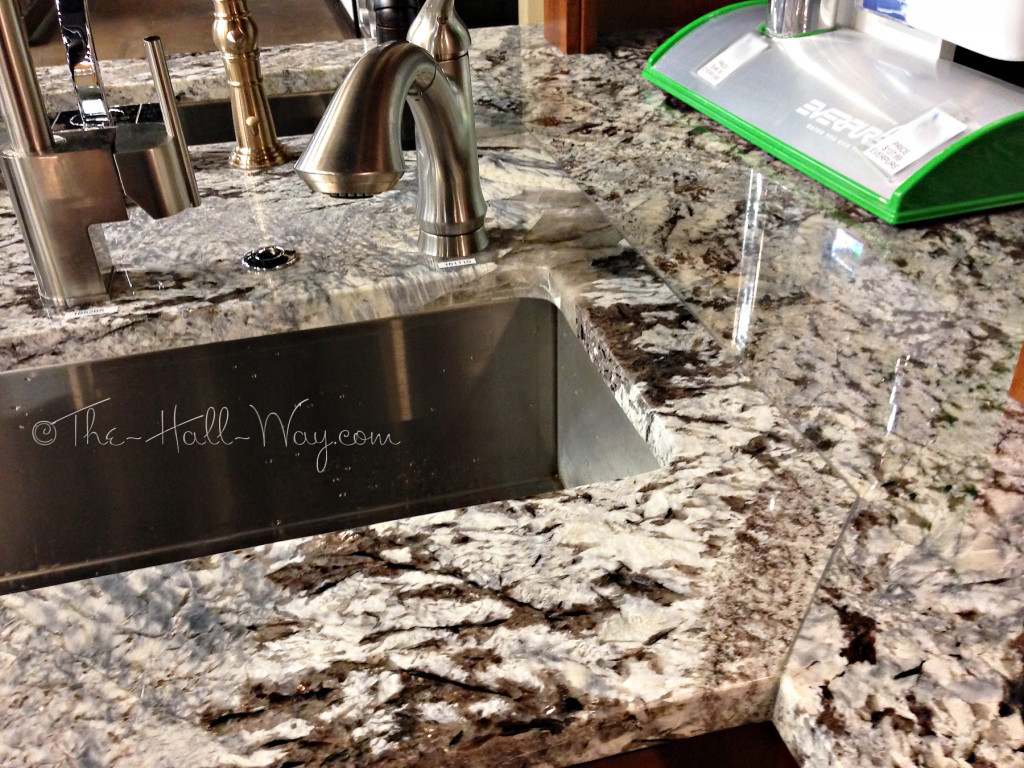
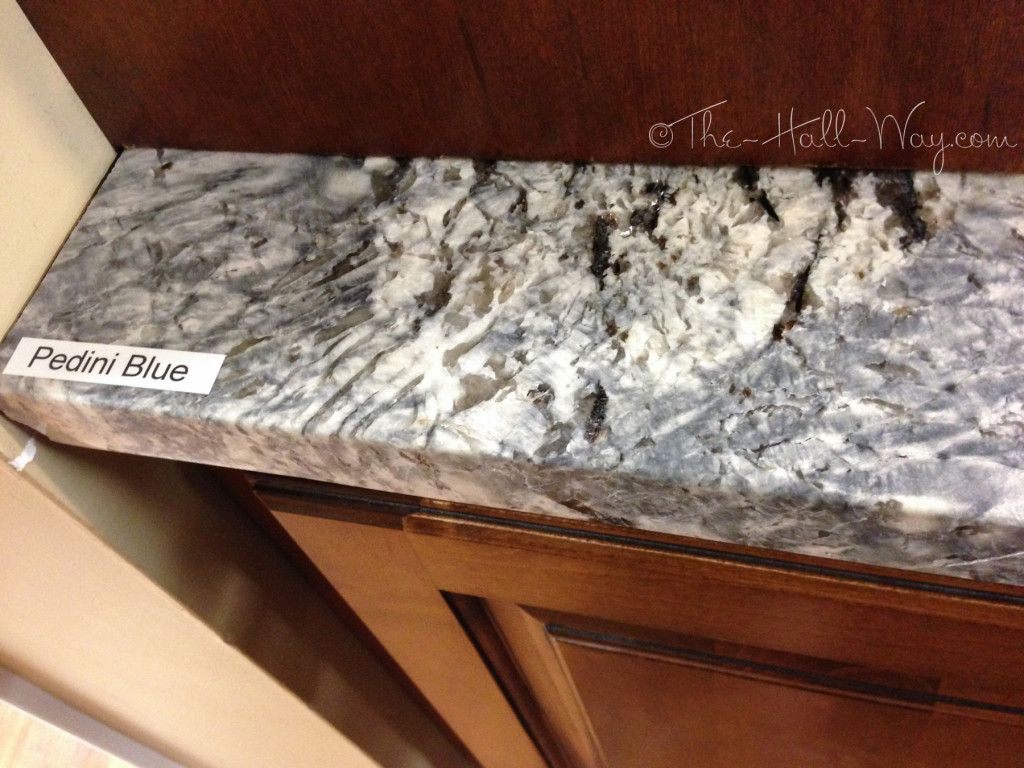
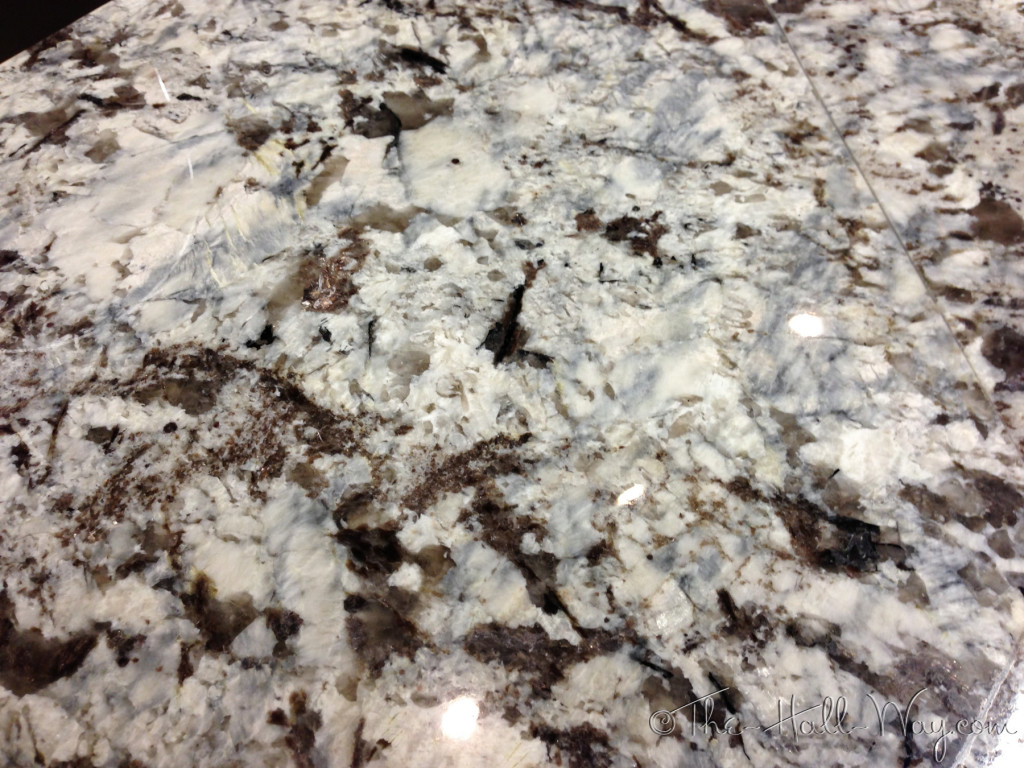
This was beautiful and has all the colors I was wanting – shades of grayish-blue, taupe, white and charcoal. It also has sparkles in it. The backsplash (below) is made from the same granite stacked with the rough edges exposed. That really makes the sparkle show up. This picture also has the faucet I have picked although ours will be polished nickel with a 9″ reach instead of the 11″ shown on this one. We’ll also have the matching metal control instead of the white porcelain one.
They had it labeled as “Pedini Blue”. I searched for it online when we got home and literally couldn’t find anything about it anywhere. Most stones have multiple names so that it’s difficult to price match. I was pretty sure that was the case here.
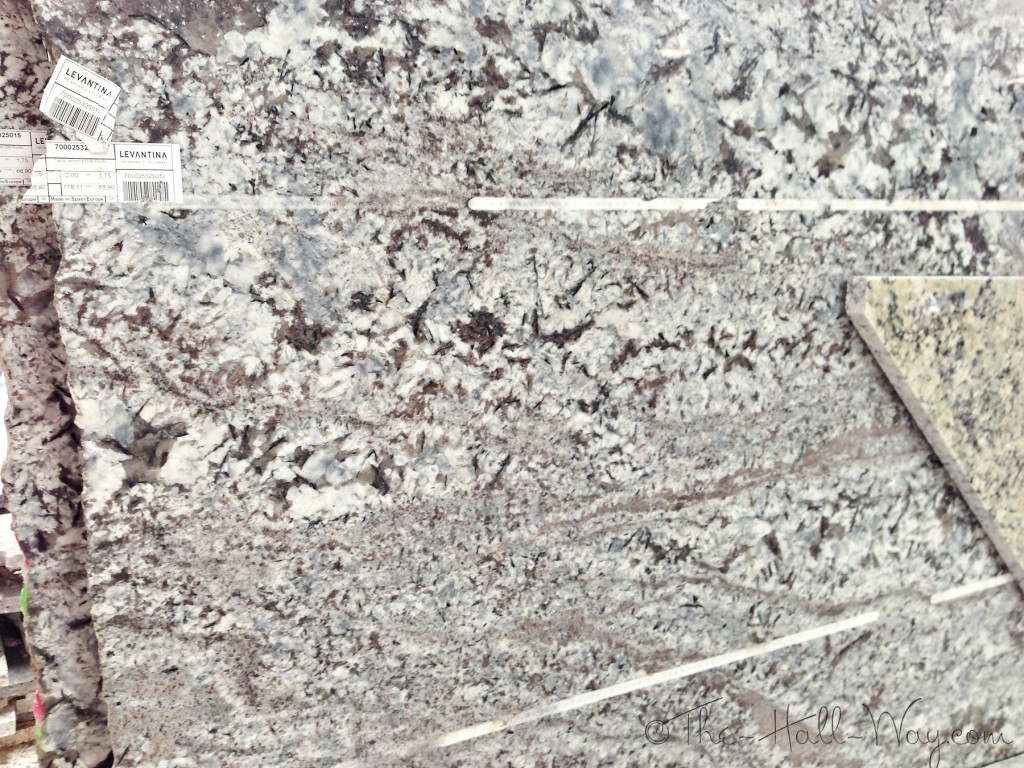
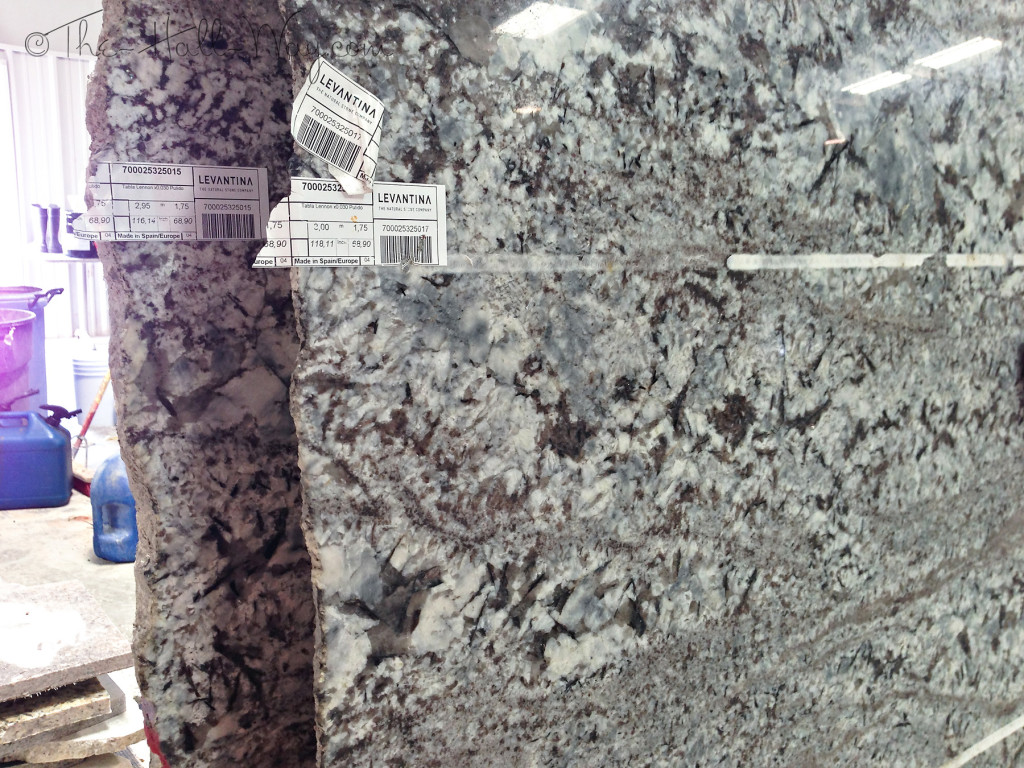
Yesterday, I ran to the warehouse who supplied it for the plumbing showroom. They had at least 6-7+ slabs of it. I took a couple quick pictures of the first slab and it’s label. Some more searching online and I confirmed that it’s real name is “Lennon”.
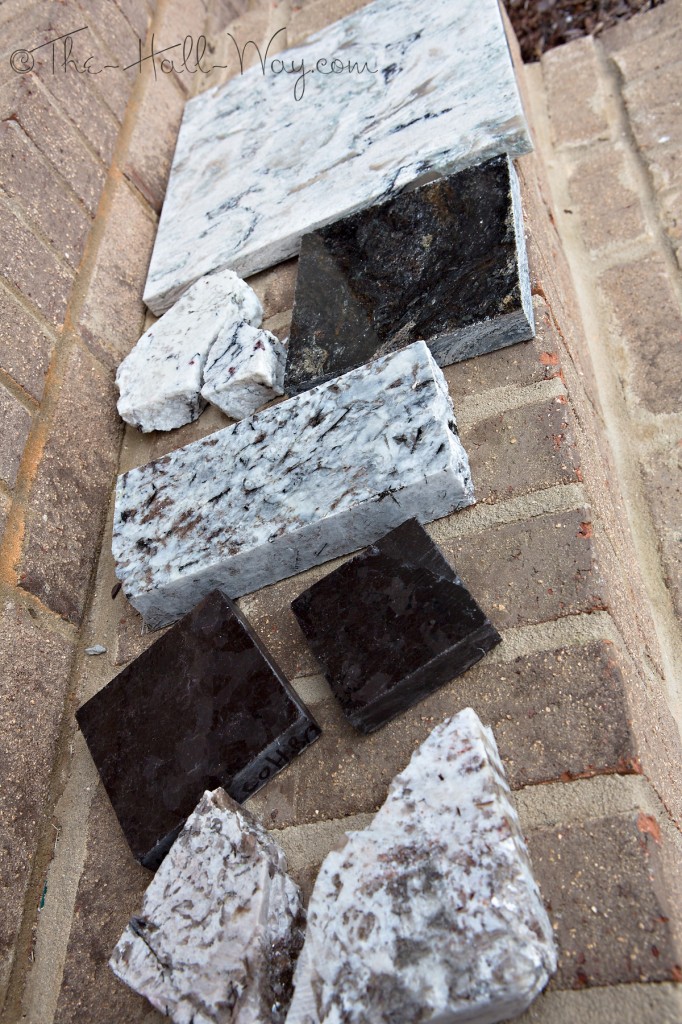
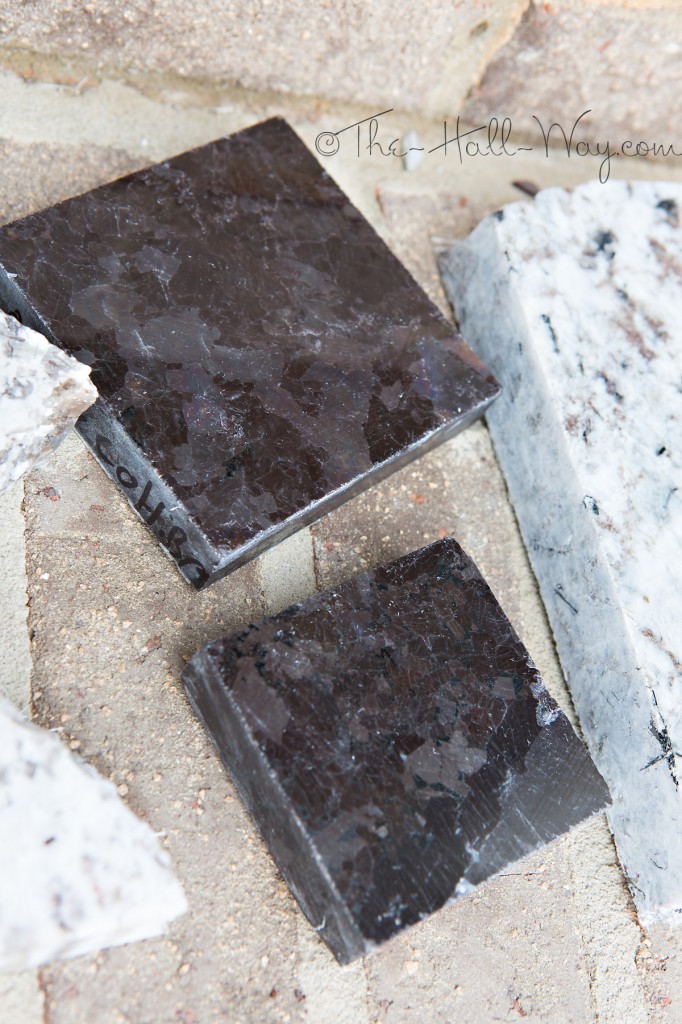
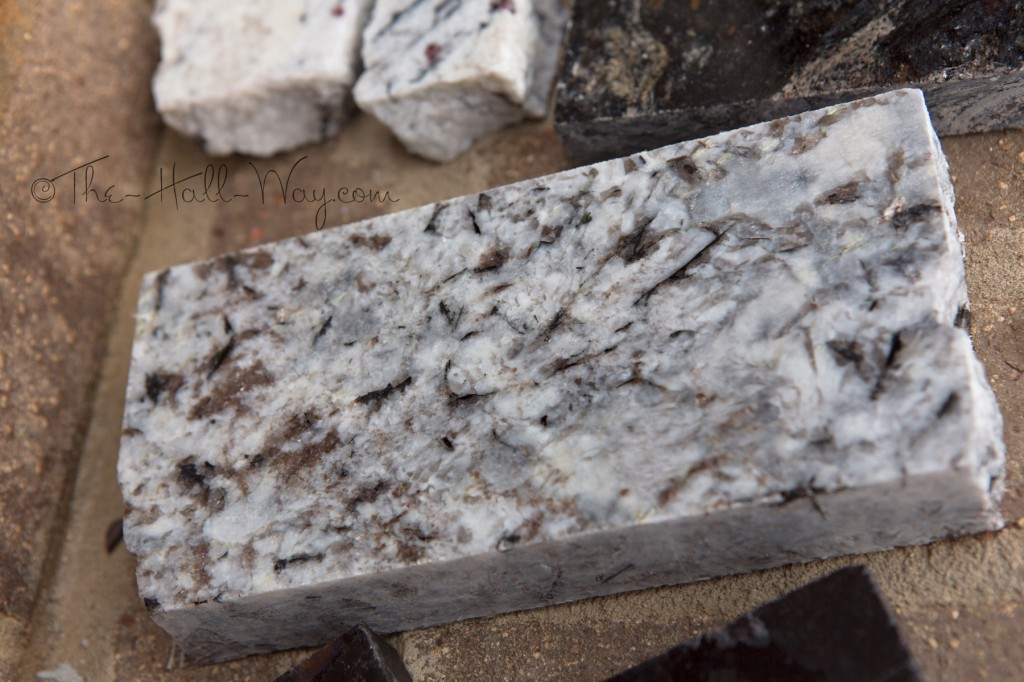
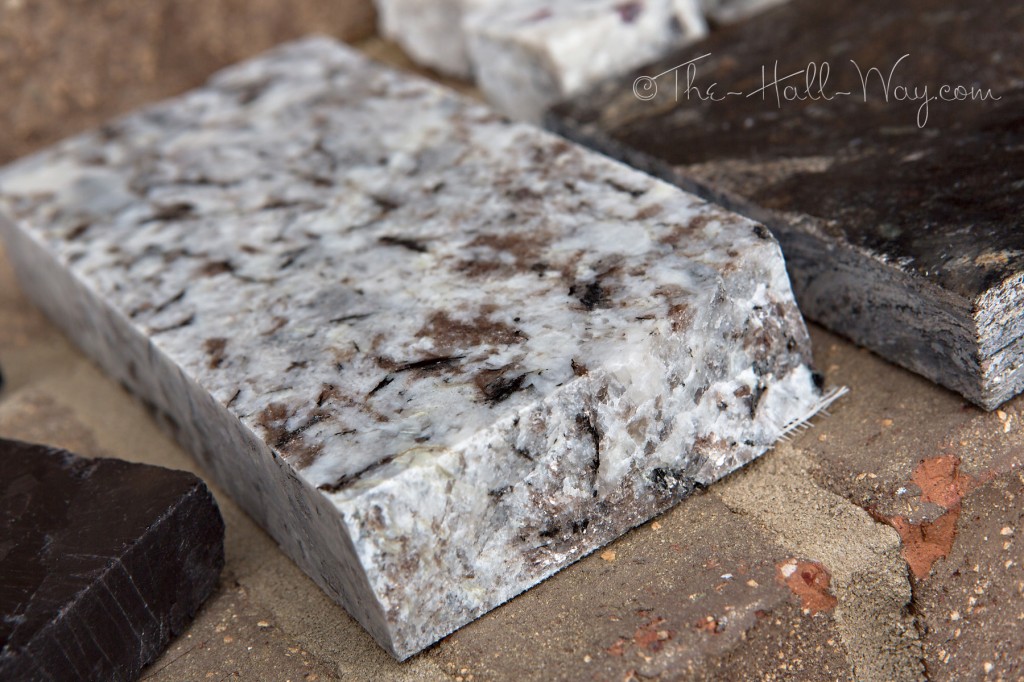
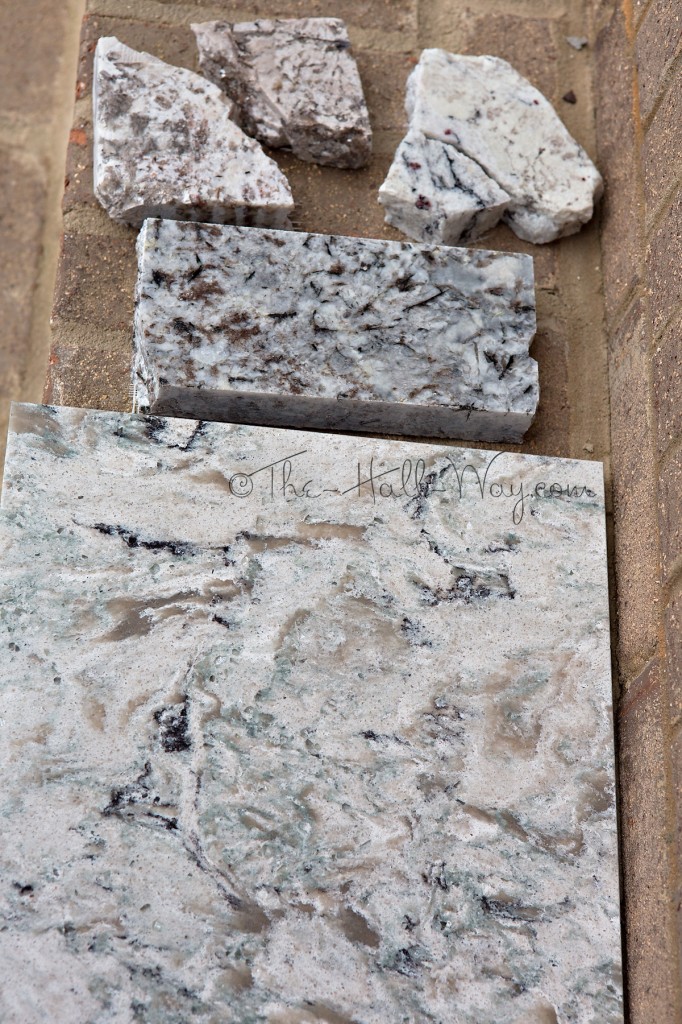
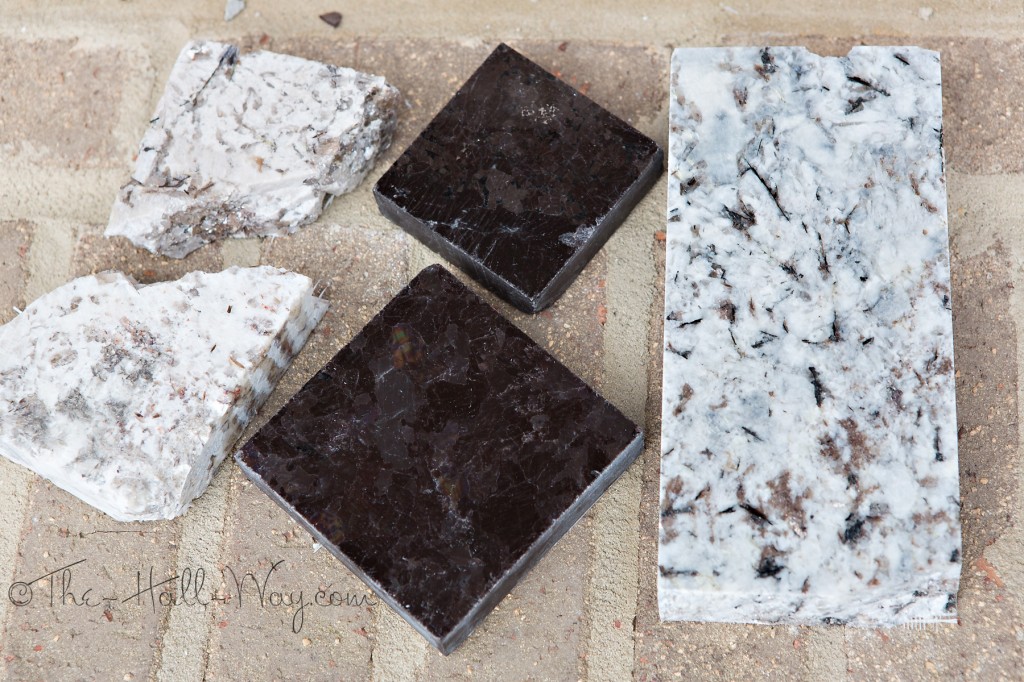
They are going to email me the price for it, but I’m fairly confident from our conversation that it’s not going to be as high as some of the others I had picked. I think it’s going to be around the price of the Cambria quartz I was originally going to use. Below is a picture of most of the samples I have.
Top to Bottom: Cambria Praa Sands Quartz, White Ice Granite (left), Kosmus Granite (right), Lennon Granite, Antique Brown (Marron Cohiba) Granite, Bianco Antico Granite.
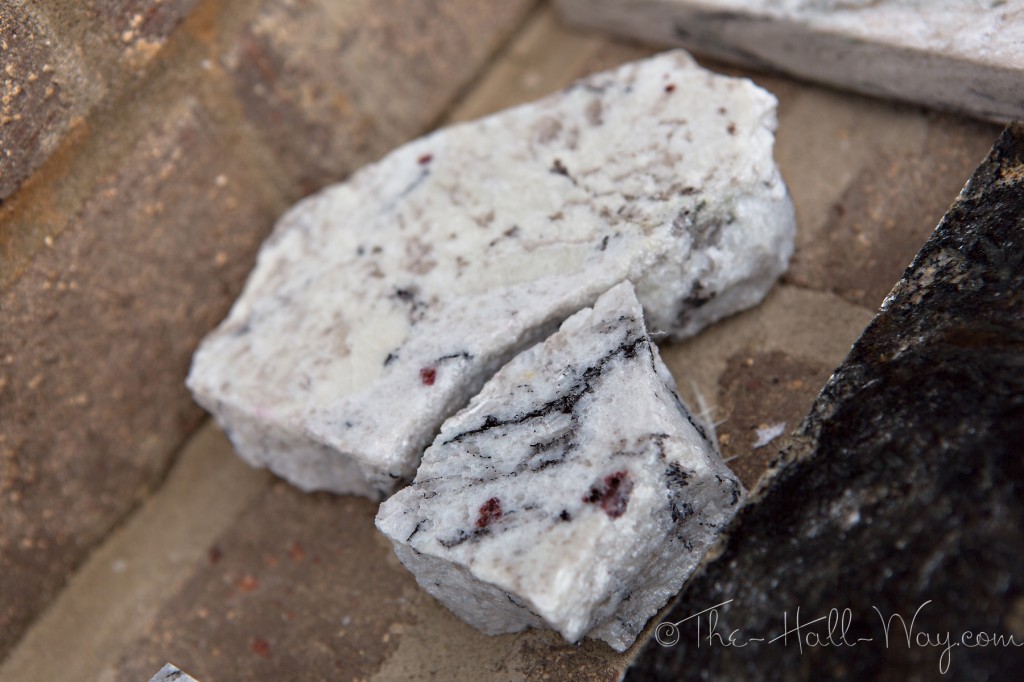
Here is a close up of the Bianco Antico. It’s very similar to the Lennon, but without the blue. You can see the sparkle on the cut edges and it’s also visible on the polished surface in person. I may still use this in other areas of the house.
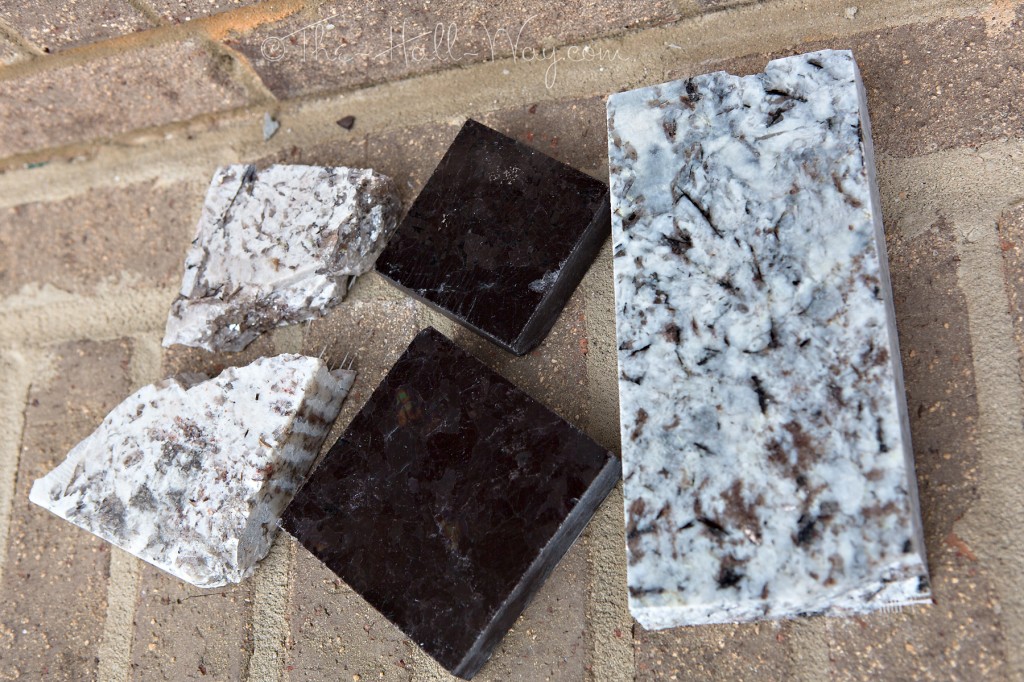
This is Marron Cohiba, also known as Antique Brown. I’ve been planning on this for the white perimeter cabinets of the kitchen. The samples are both polished, but we will probably have the counters be honed or leathered.
Here is my new sample of Lennon.
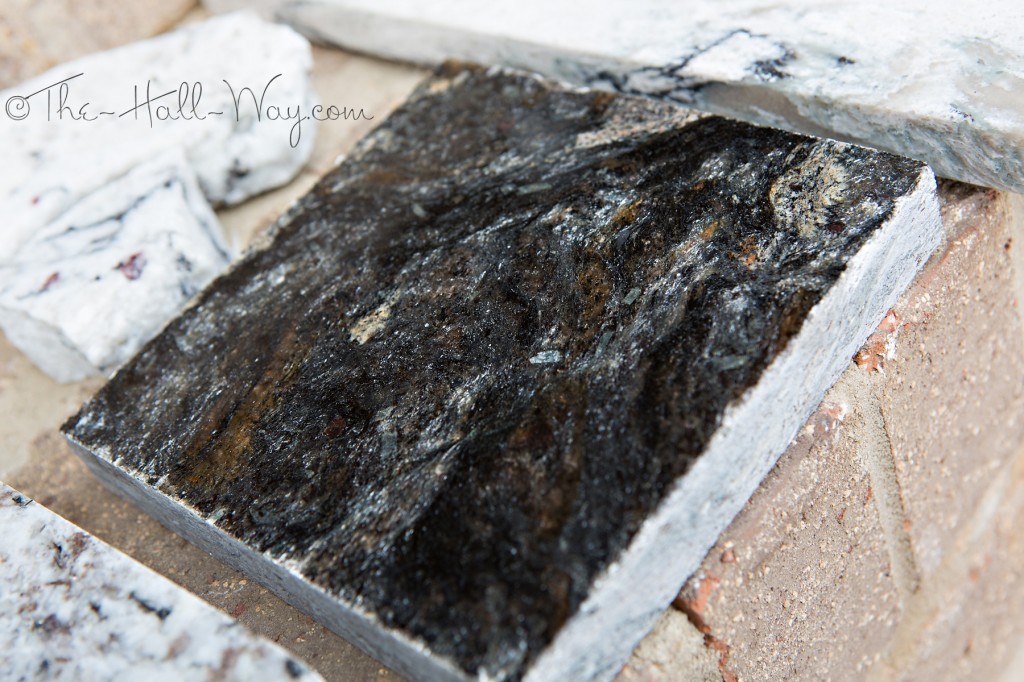
This is Kosmus. It’s mainly black with a lot of silver “glitter” in it. This is pricey, but “Metallic” is very similar and less expensive. I think it would be neat to use somewhere in the house.
This is White Ice. Unfortunately, my samples don’t have the blue in it. Slabs of this are mostly white, but they also lack any sparkle so I had mostly ruled it out for the kitchen.
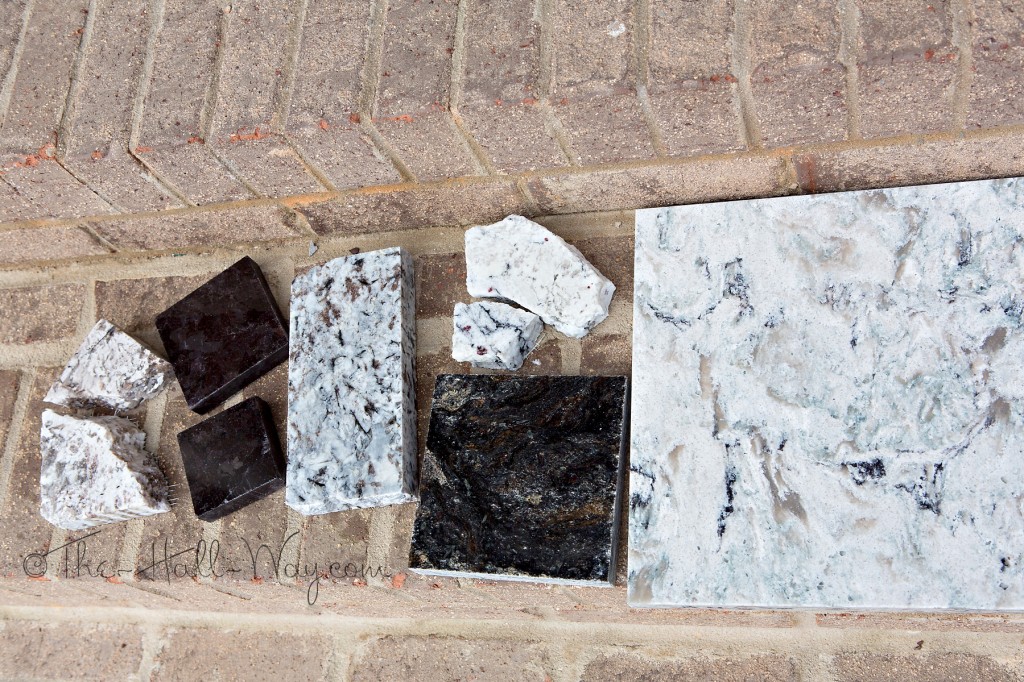
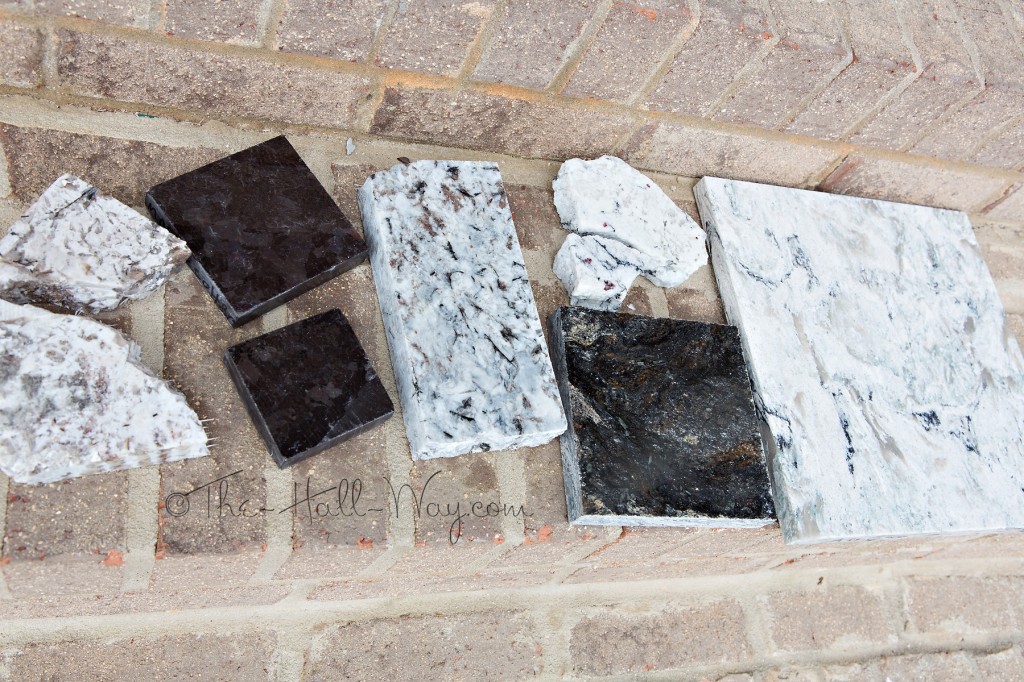
Below were the finalists for the island.
Top to Bottom: Bianco Antico (L), White Ice (R), Lennon, and Cambria Praa Sands Quartz.
I had pretty much narrowed it down to New Azul Aran (don’t have a sample of it) or Bianco Antico for the island with Marron Cohiba for the perimeter. I think Lennon has knocked the other 2 off this list though.
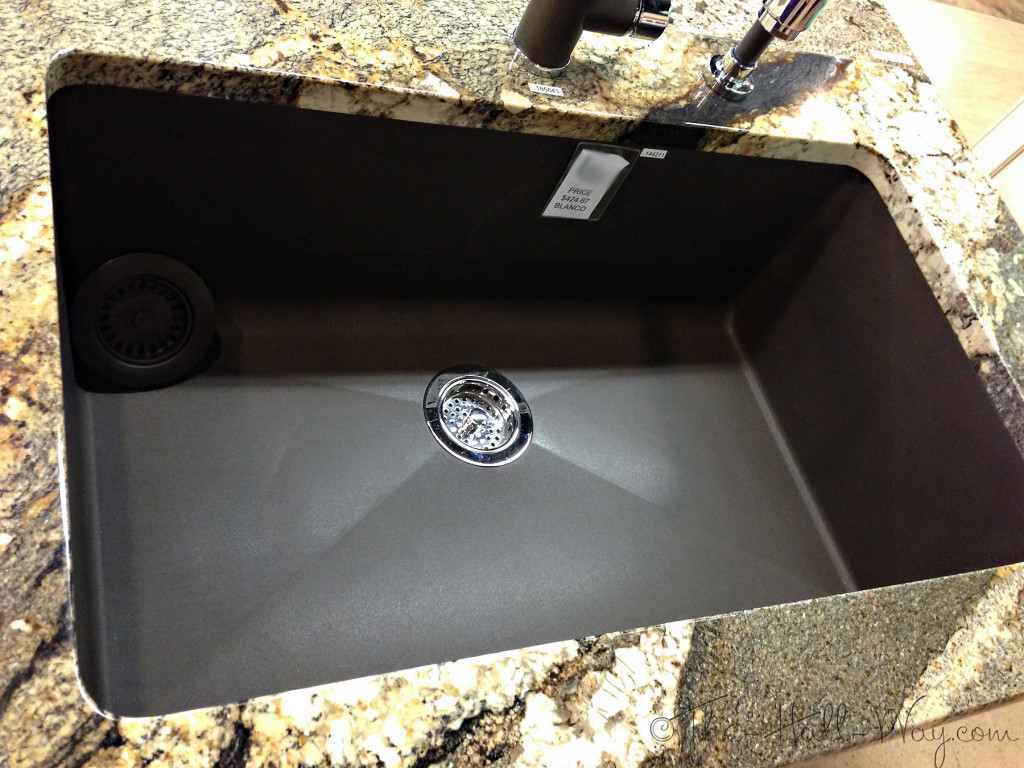
I’ve also been trying to decide on the colors for the sinks. The main sink will be the Blanco Silgranite Precis Super Single Bowl.
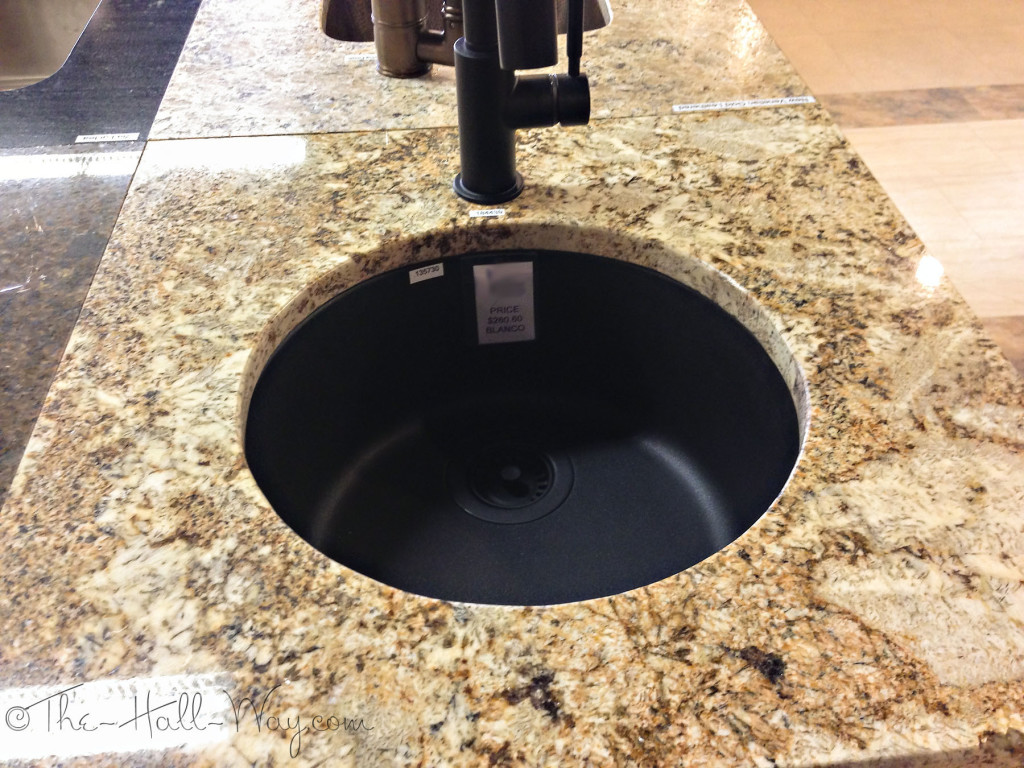
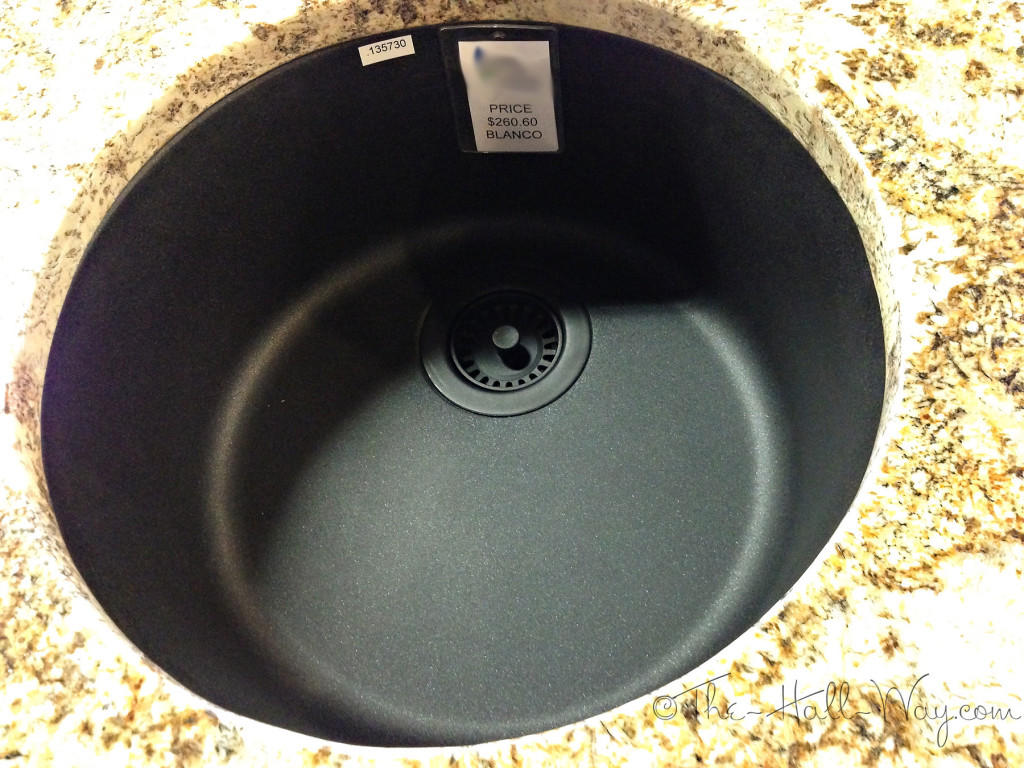
I think we are going to use the Blanco Rondo for the prep sink. It’s around 16″ across. This one is shown in Anthracite which is their metallic black color. Silgranite is a granite composite which is really durable, easy to clean and scratch resistant.
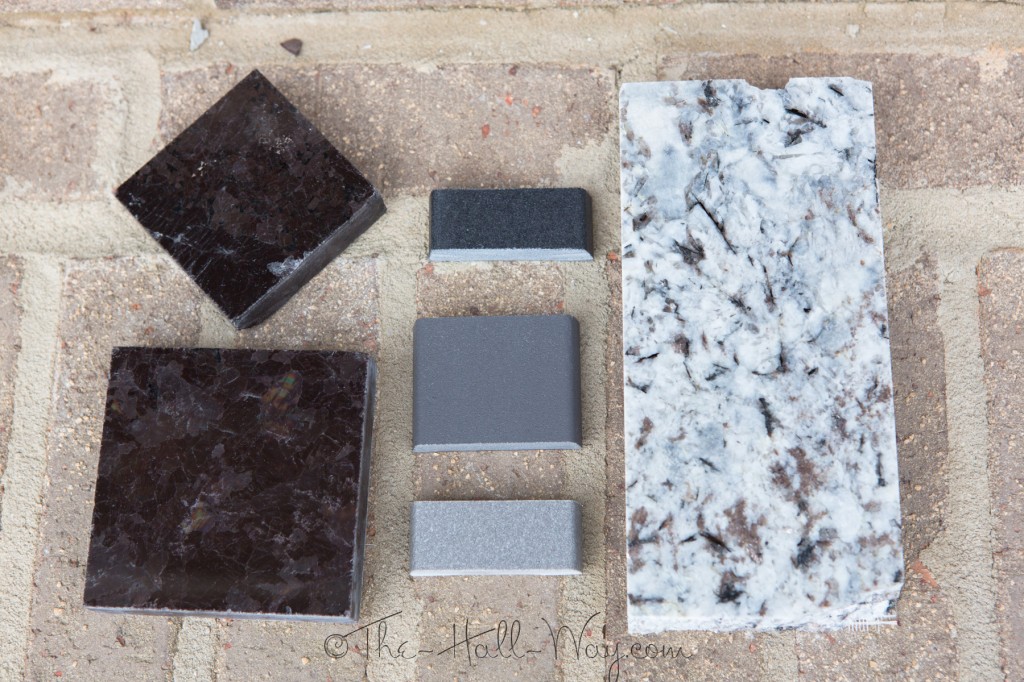
My question is, since the countertops will not be the same, should the sinks both be the same color or coordinate with their respective countertops? Below are the choices.
Marron Cohiba granite on the left, Lennon granite on the right. In the middle from top to bottom, Blanco Silgranite Anthracite, Cinder and Metallic Gray. Cinder is a new color that just came out.
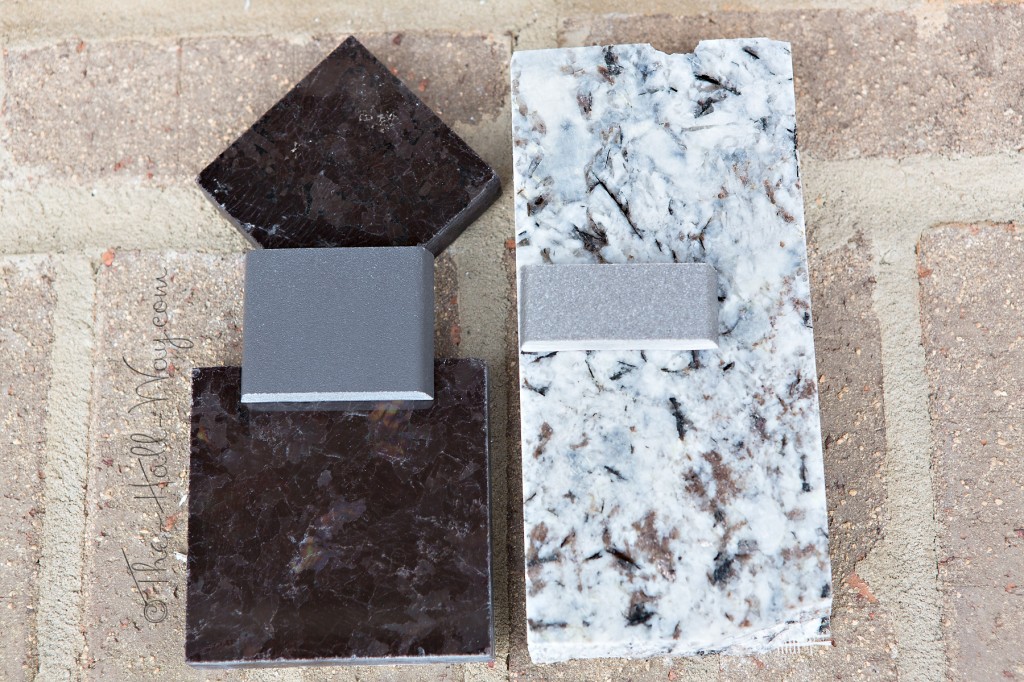
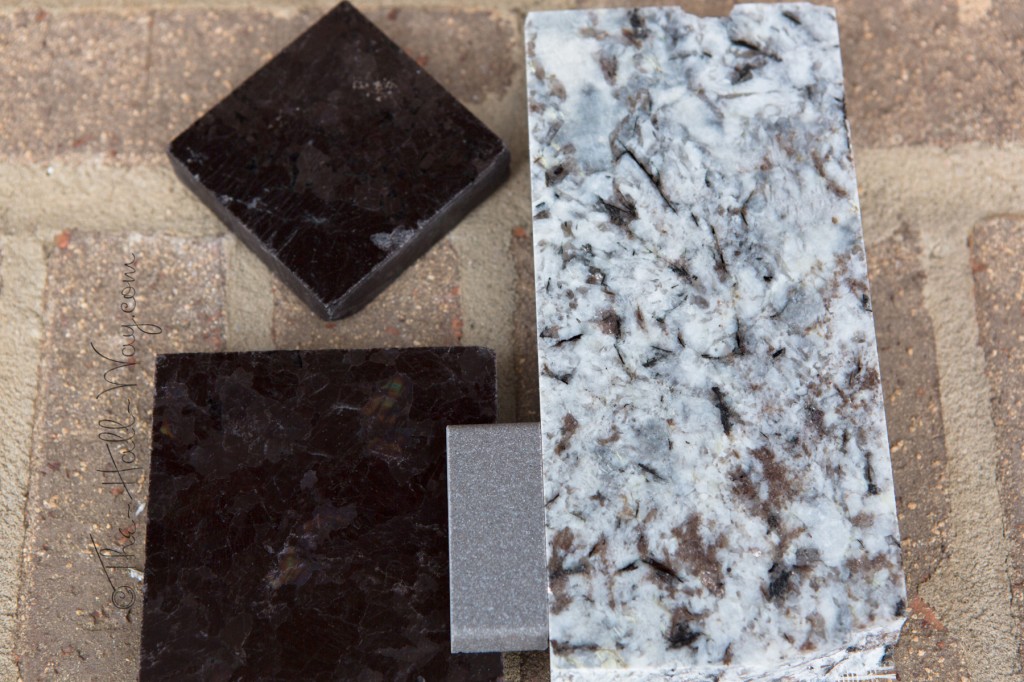
I’ve been leaning towards the Metallic Gray for the main sink, but I don’t know if it would stand out too much in the Marron Cohiba countertop. The Marron Cohiba is gray and brown so neither the Anthracite or Cafe Brown colors look right. The new Cinder color is closer and might work ok. It was suggested at the granite wareshouse yesterday that I use the Cinder for both sinks. It does also go with the Lennon granite although I prefer the look of the Metallic Gray with it. Either one would be fine though. The picture below has both stones with the Metallic Gray.
On a related note, when I got to the stone warehouse yesterday, the 3 women in the front office started gushing about how great our builder is when I told them who we are using. This is, by far, not the first time this has happened. The second question (after “How Can I Help You?”) is almost always “Who is your builder?” Virtually every time we answer, we get unprompted praise for how great he is to work with and the high quality of his work. We already knew this, but it’s always good to hear it from other people. 🙂
We received our second custom cabinet estimate. Our builder thought the first one came back too high, but the second one was almost double. I figured it would be higher than the first, but not that much. I’m also waiting on a semi-custom estimate which I think I should receive today or tomorrow. Interested to see how it compares. We may end up doing a mix of custom and semi-custom.
Meanwhile, I’m trying to get information for another bank we are considering. They were supposed to call me back Friday to let me know if they’d do our loan. I left another message yesterday afternoon, but still haven’t heard anything. I’m going to call him again here shortly and let him know we need an answer ASAP so we can proceed with our loan. If they won’t do it, we’ll go back to the farm bank where we’ve already applied. I just need to get them our final plans and the builder’s contract. We were going to go Friday to the stone yard to pick the exterior stone for the house, but that may have to wait another week because we have a long list of other stuff to do that day. The stone yard is about 90 minutes away, so it won’t be a quick trip. If we can decide on a bank before then, we could sign the builder’s contract on Friday. All we are waiting on now is the loan process. As soon as the bank can close, we can get started on the construction.
A ‘Virtual’ Tour – UPDATED
*UPDATED 4/5/13 – I have updated the pictures below with more accurate trim styles and details. The window and door trim is now closer to the style we will have. I also updated the cabinets doors and drawers to be more accurate. All subtle changes, but it’s all a lot closer to how I think it will really look.*
Since we now have the final plans, I’ve been redrawing them into my home design program. That way we have a 3D model to walk thru and play around with. I can use it for furniture layouts and a lot of other things. I’m trying to make it as accurate as possible (within the limitations of the program).
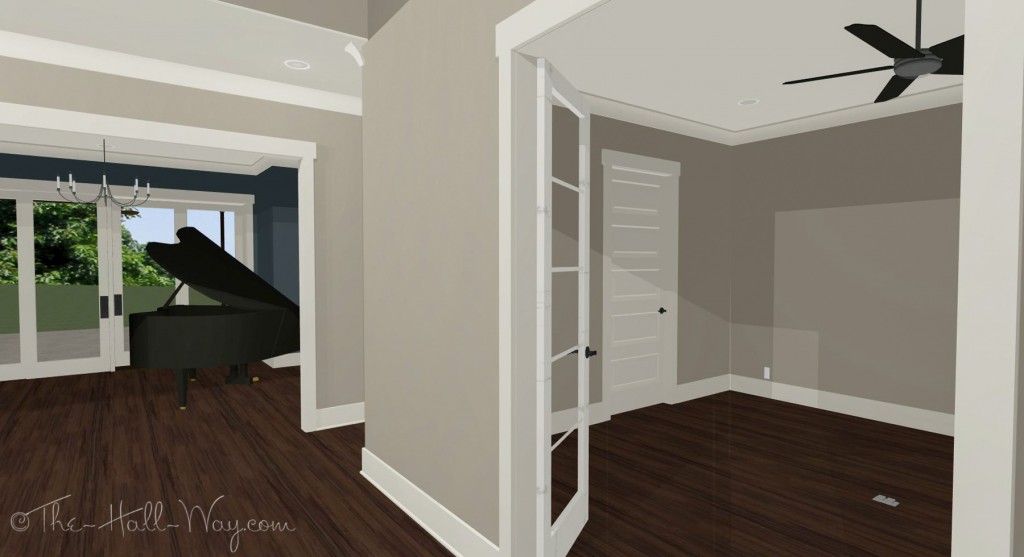
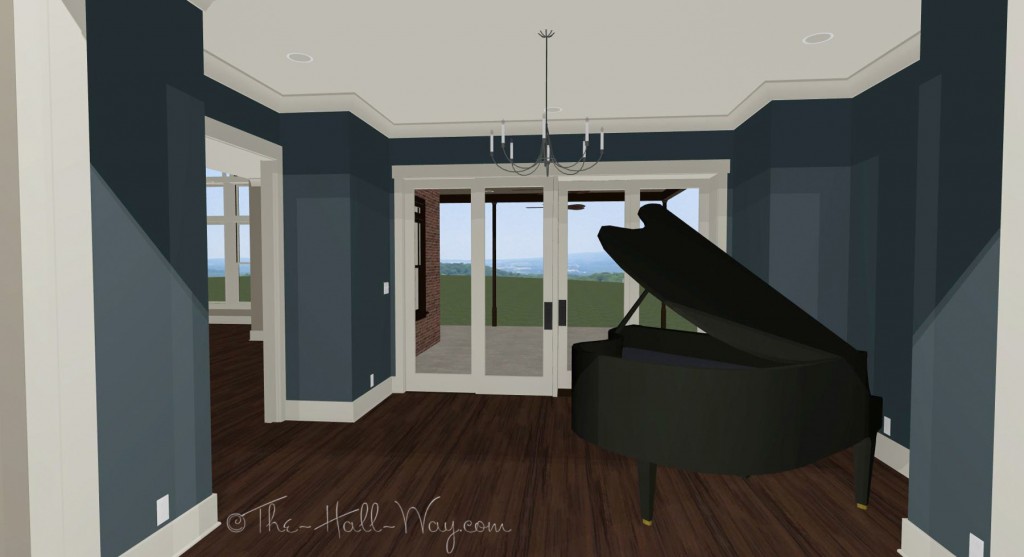
 Let’s go inside! Ahead is the piano room with sliding doors out to the back porch.
 Looking back at the front door, the staircase is partially open to the 2 story foyer.
 Across from the stairs is the office. There will eventually be built-ins along the far wall and a matching desk.
 A closer look at the piano room . . .
 Looking into the Kitchen, Breakfast Nook and Family Room. The table will go in front of the windows on the right. The mud room is the door on the far left.
 Standing near the table, looking back at the Kitchen and into the Family Room.
 A closer look at the kitchen with the mudroom beyond. The door to the garage is on the left thru that door.
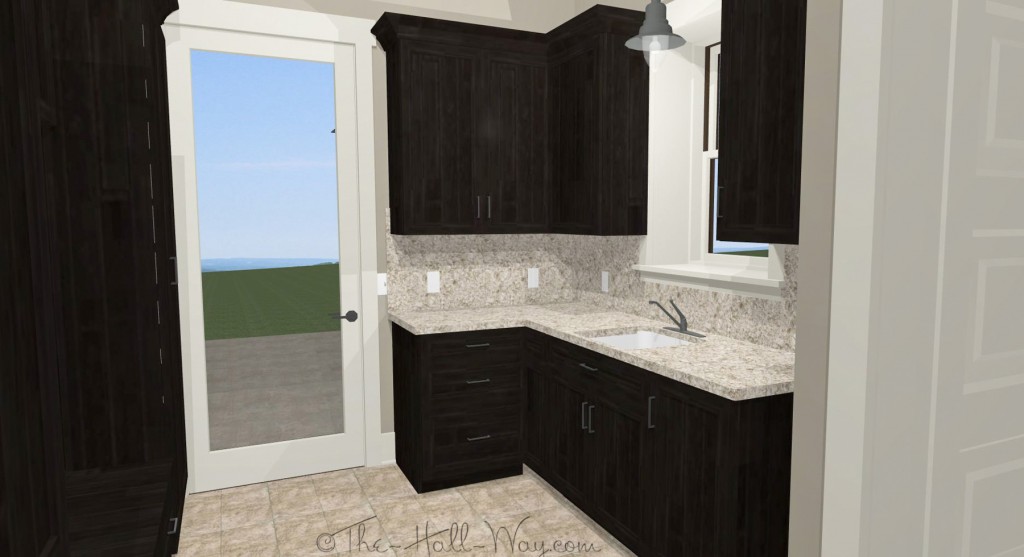
 Here is the mudroom. The garage is on the left, the driveway is thru the door straight ahead and the laundry room on the right.
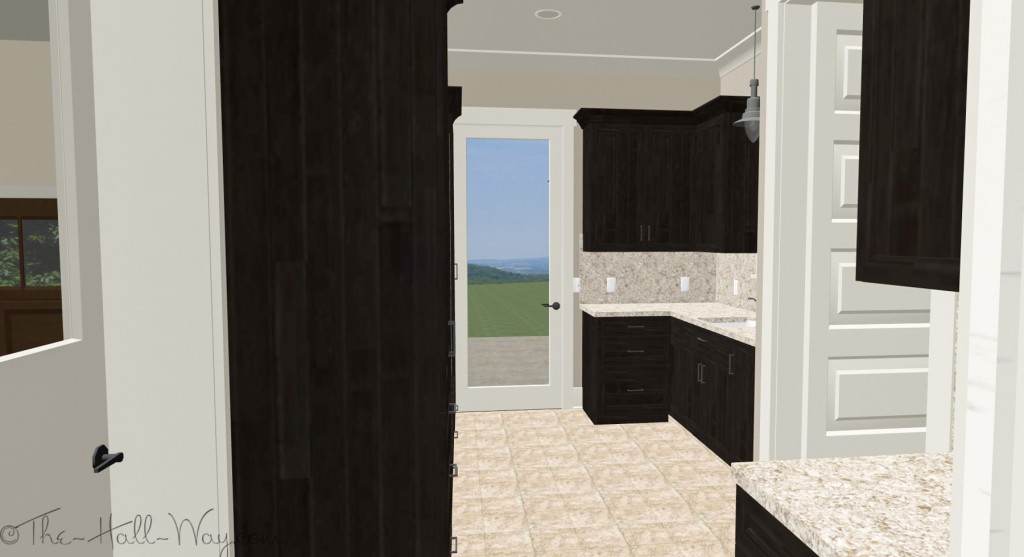 The dog dishes are on the floor to the right. I hope to have storage for the dog food in the cabinet next to them.
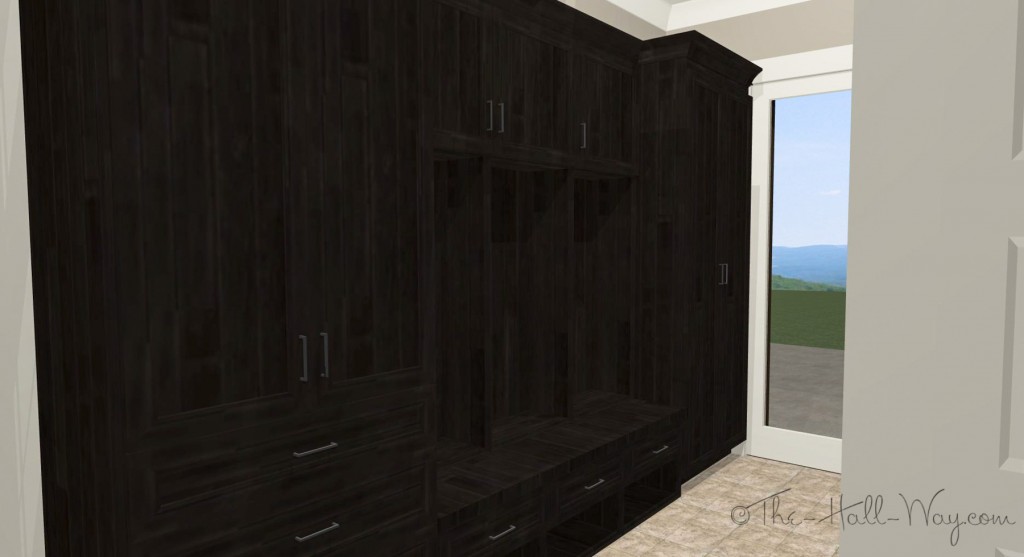 Here is a sketch of the bench which is a little easier to see.
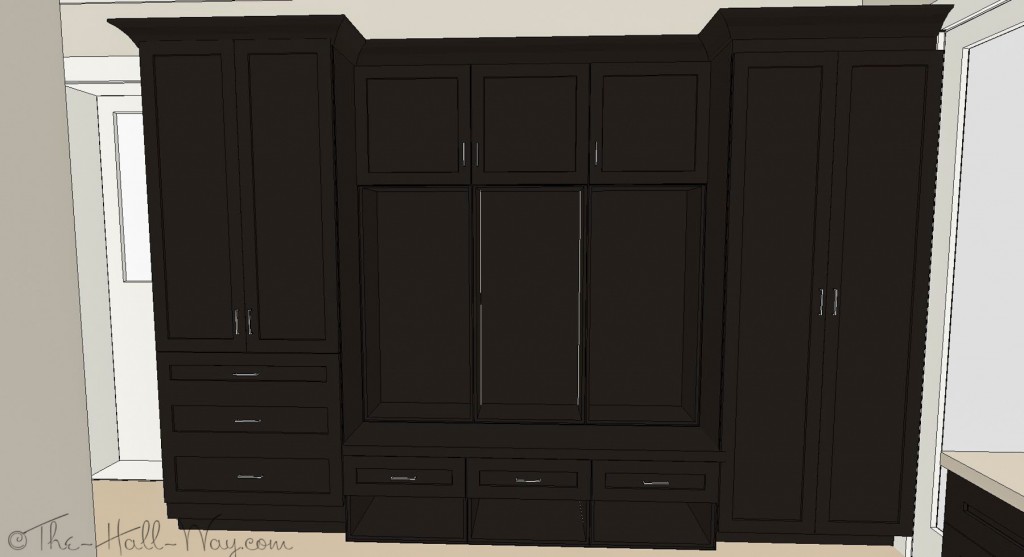 The counter on the far right is for dropping things off as we come in from the garage.
 Looking into the Master Bedroom. There are sliding doors on the left which go out to the back porch. This room has a vaulted ceiling although it’s not exactly drawn correctly here.
 Here we are looking from the Master Bedroom towards the Master Closet and Bathroom. The Master Closet is on the left and it will also be the storm shelter.
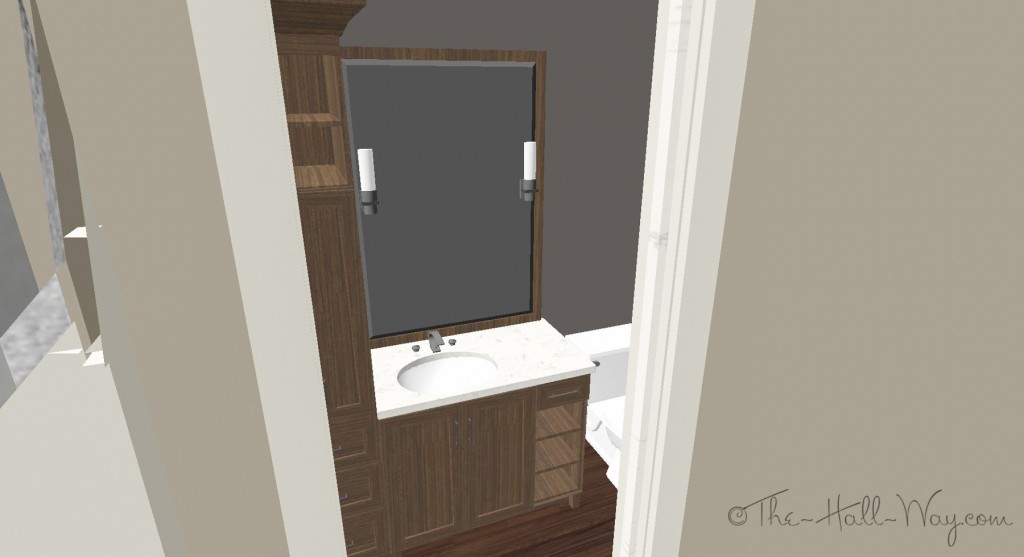
 Here is the Master Bathroom. The shower is to the left of the tub. It’s drawn with a glass wall, but it rendered weird. We need to decide how much (if any) glass there will be. On the right, in front of the door, is a tall linen cabinet.
 Standing by the vanity, looking towards the tub.
 Standing by the tub, looking back towards the vanity and bathroom door.
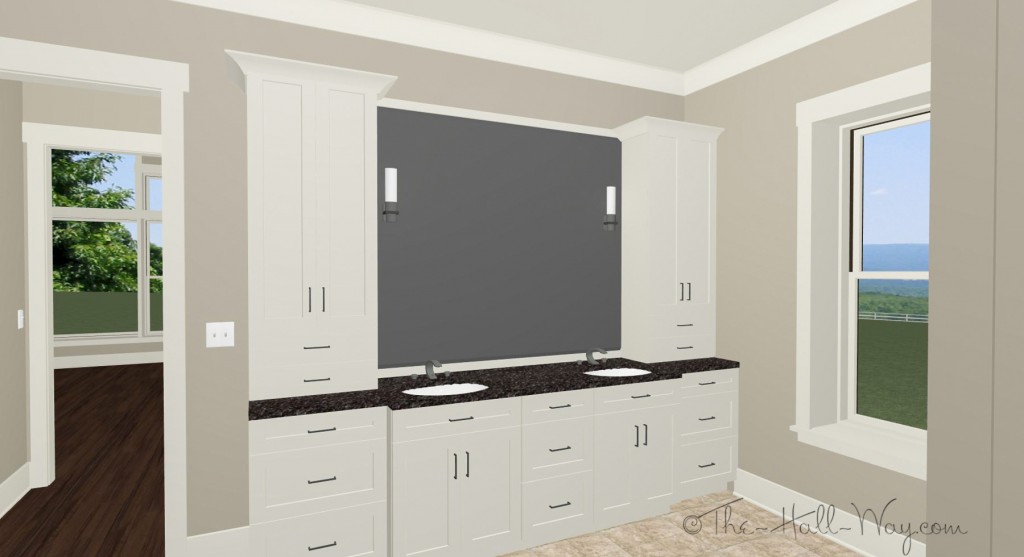 A look at the back porch . . .
 Next, we move upstairs. Here is the upstairs landing. (The foyer chandelier is currently suspended in midair ;P)
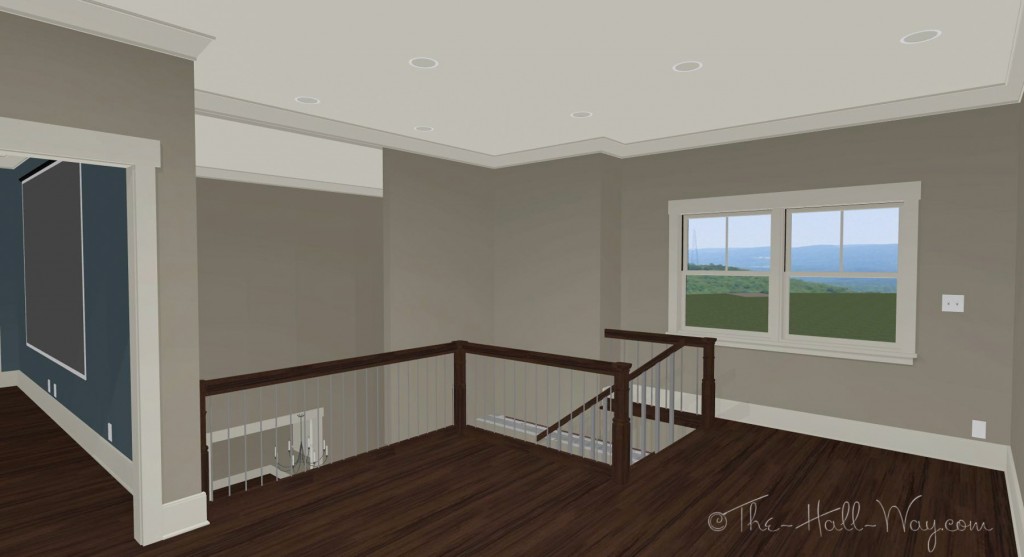 Looking down at the foyer and office doors.
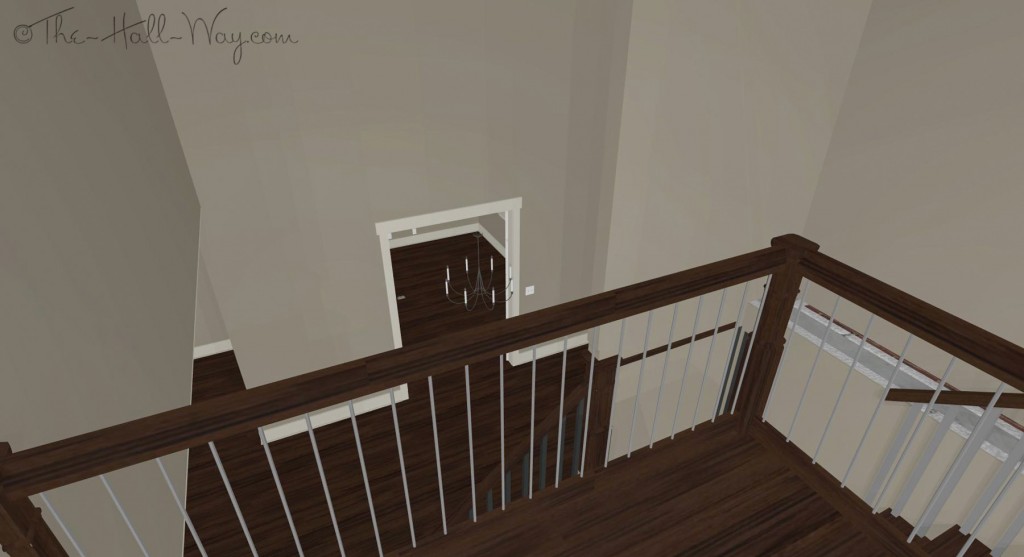 Off the upstairs landing is The Kid’s room. The area by the windows will be a playroom for now and eventually a lounge when he gets older. He has a full bath thru the door on the left with his closet beyond that.
*All renderings created with Home Designer Software Architectural Edition.
Indy Garden Show
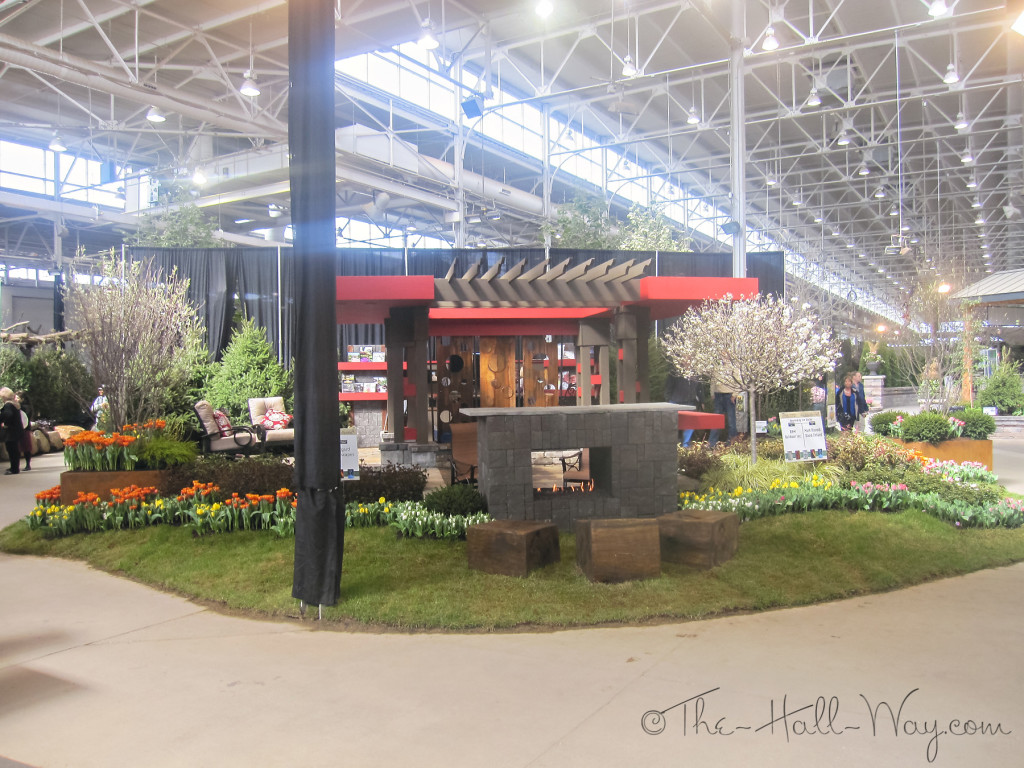
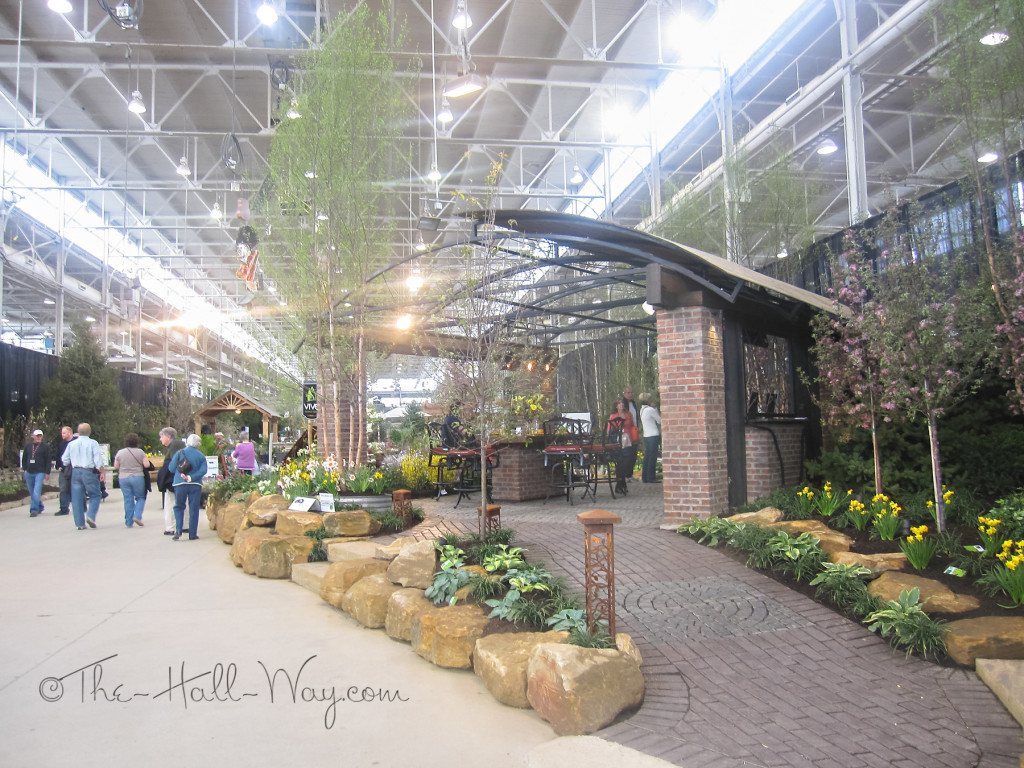
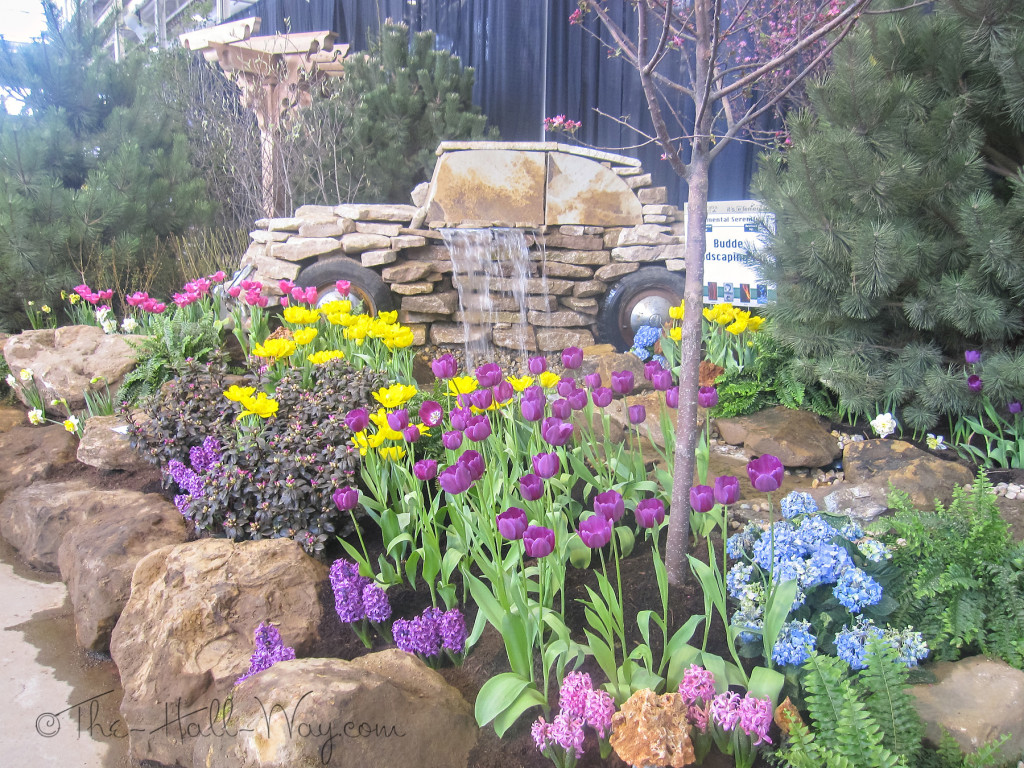
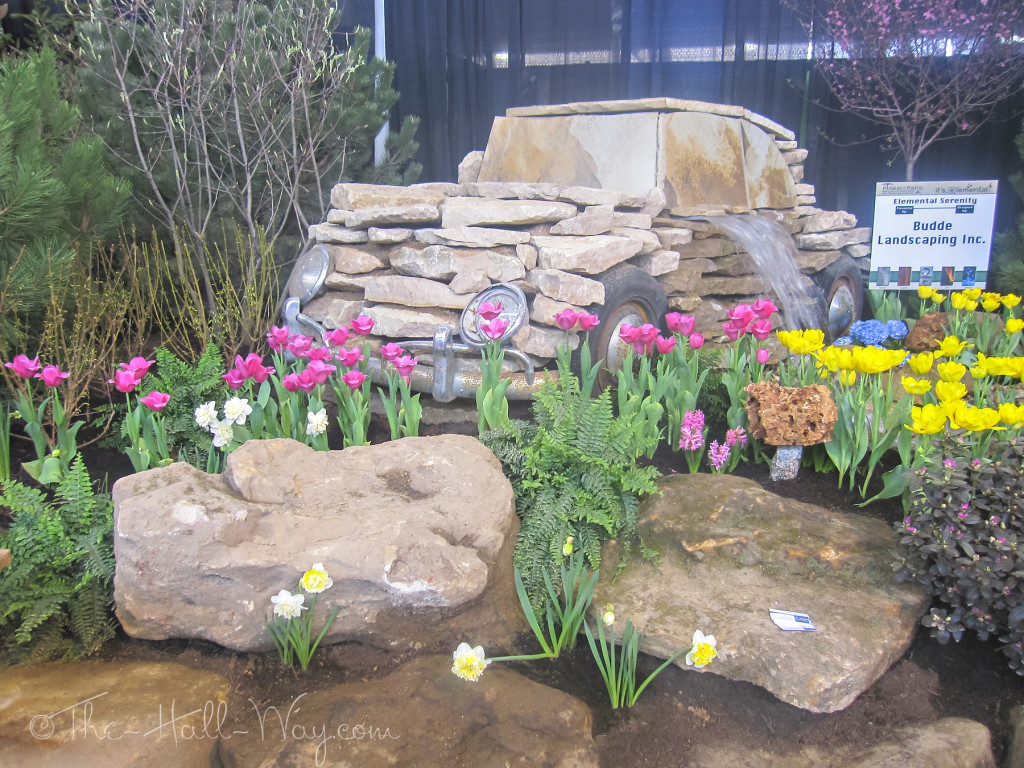
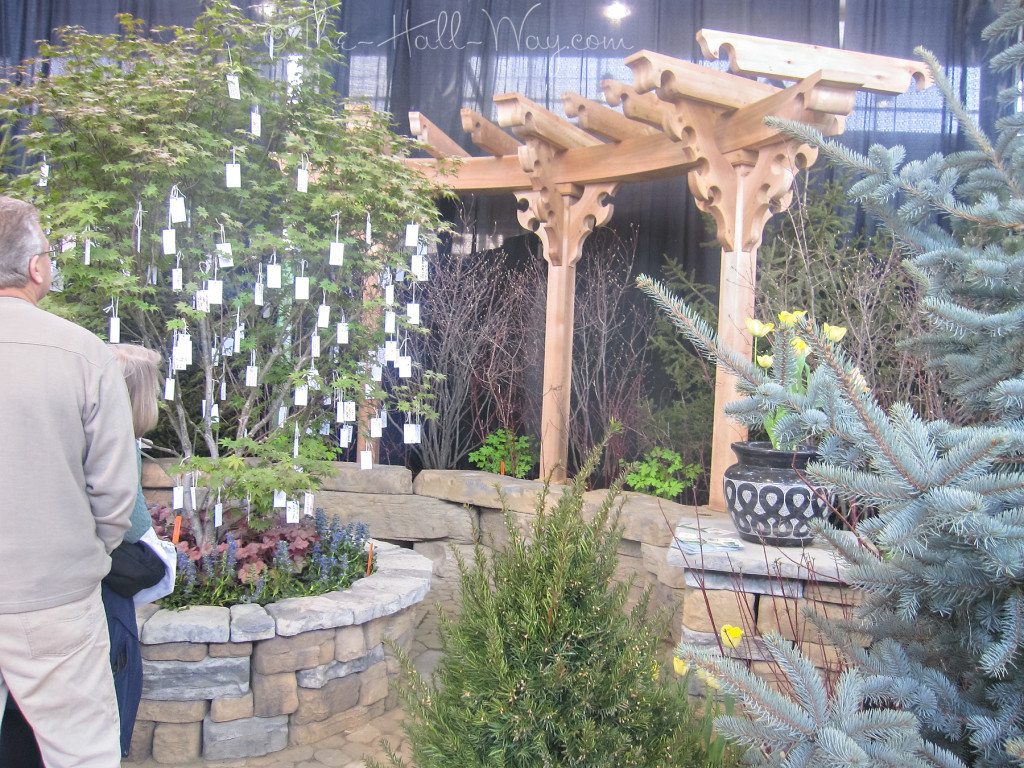
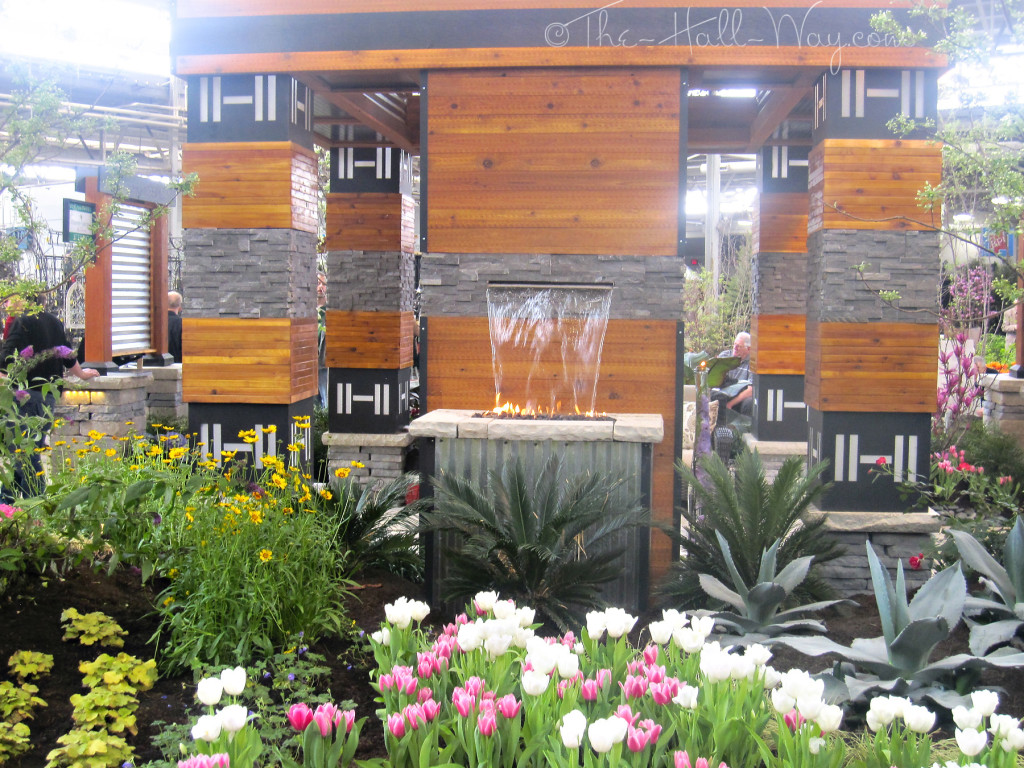
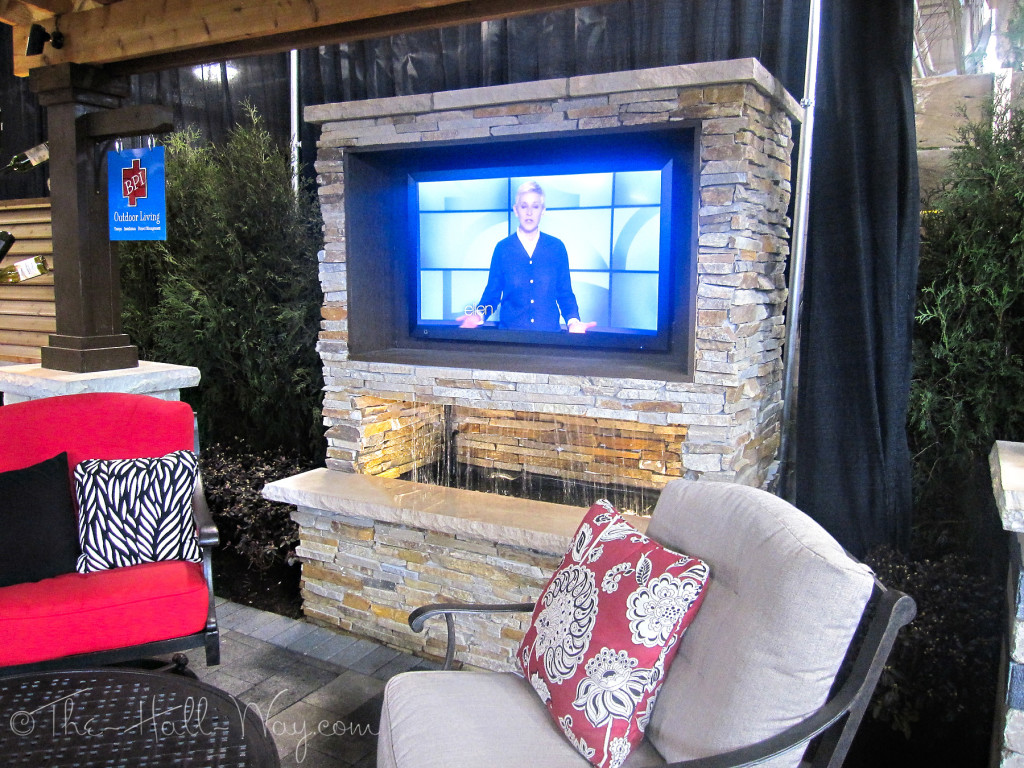
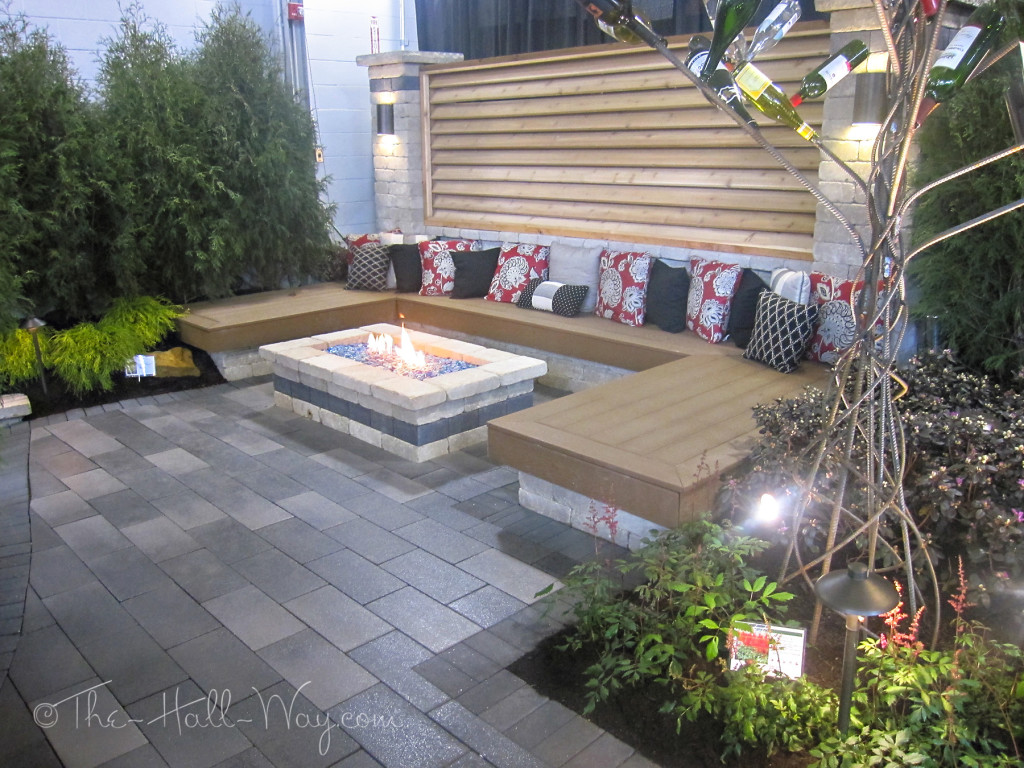
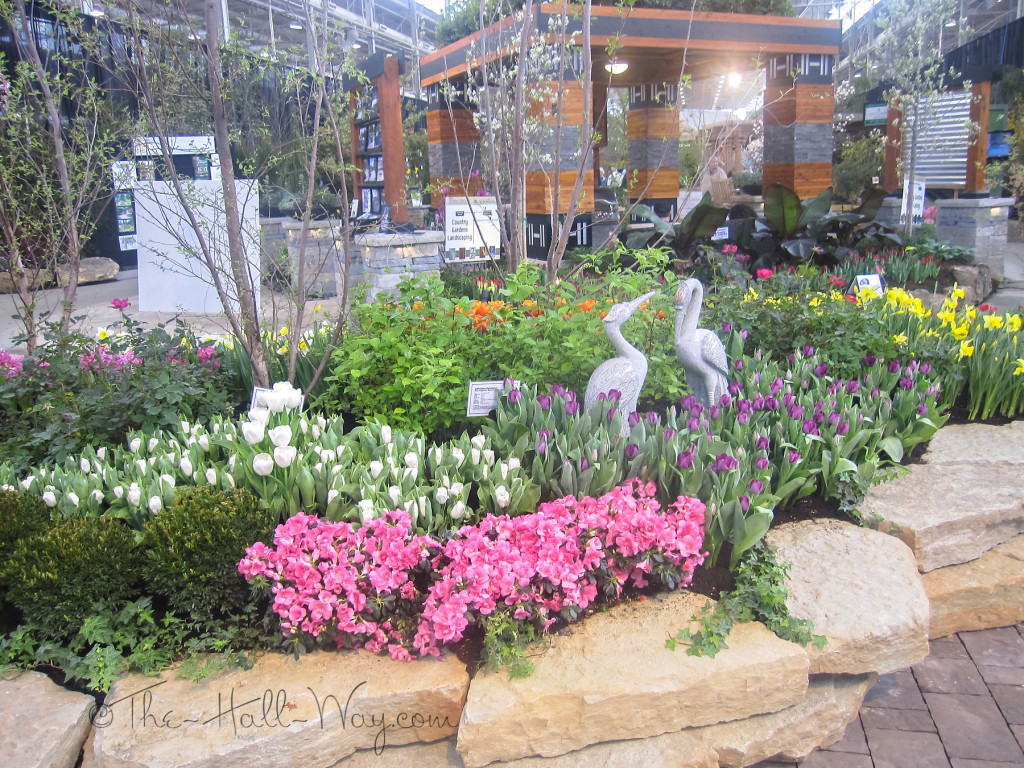
My parents went to the Indianapolis Flower and Patio Show a couple weeks ago. Mom took a bunch of pictures for me to look at. It’s surprising how much nicer and larger their show is than the ones we went to down here. They saw a lot of ideas for our big rocks. Here are a few of my favorites.
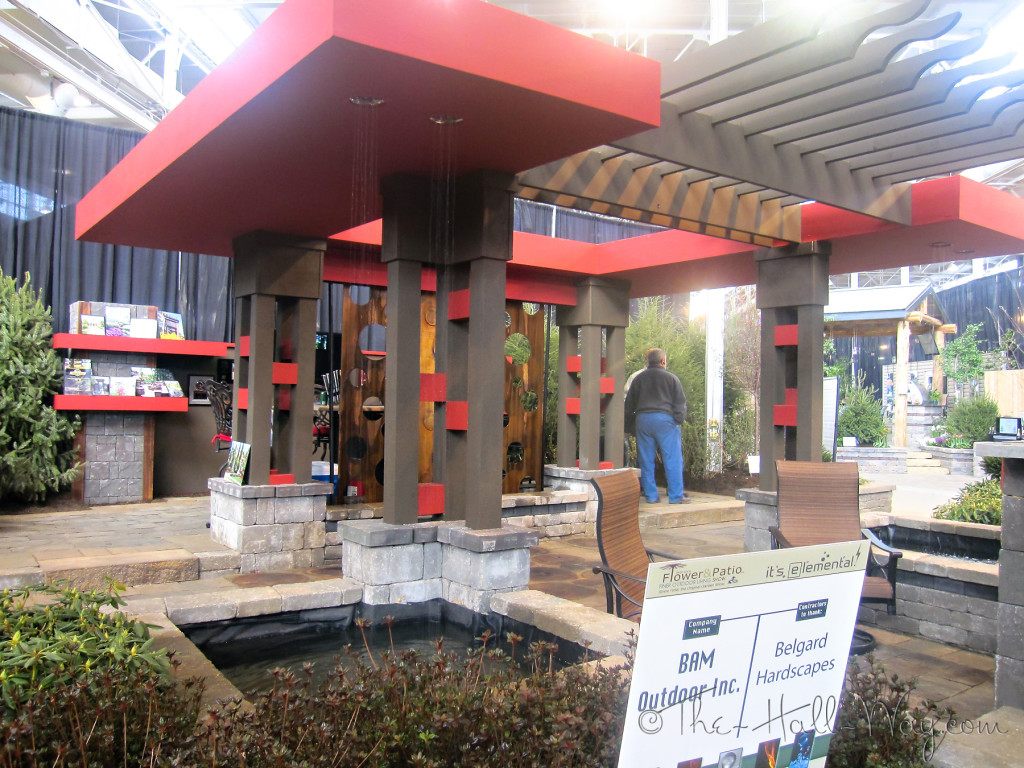
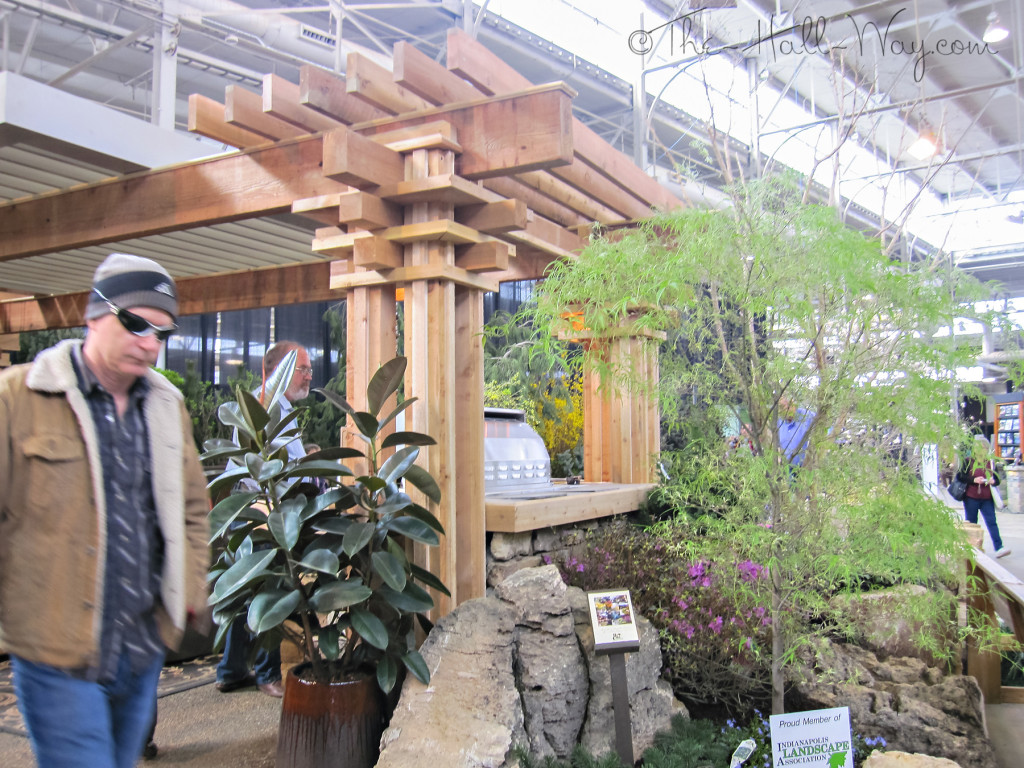
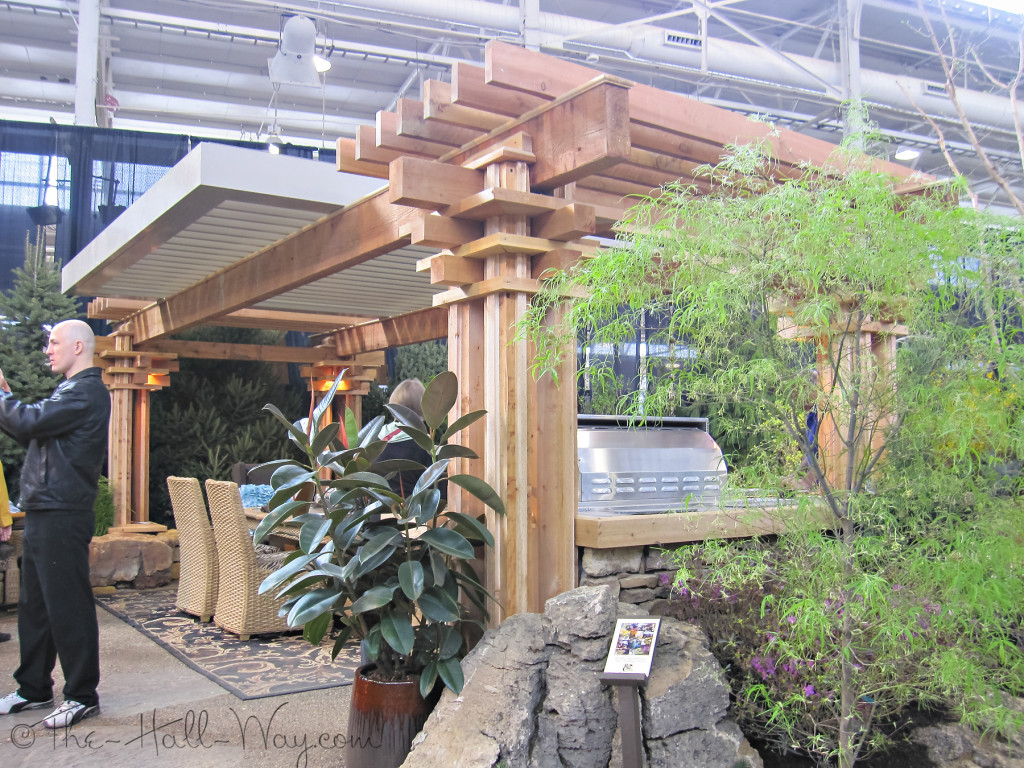
I thought this pergola was pretty cool – the style and the water features on the corners.
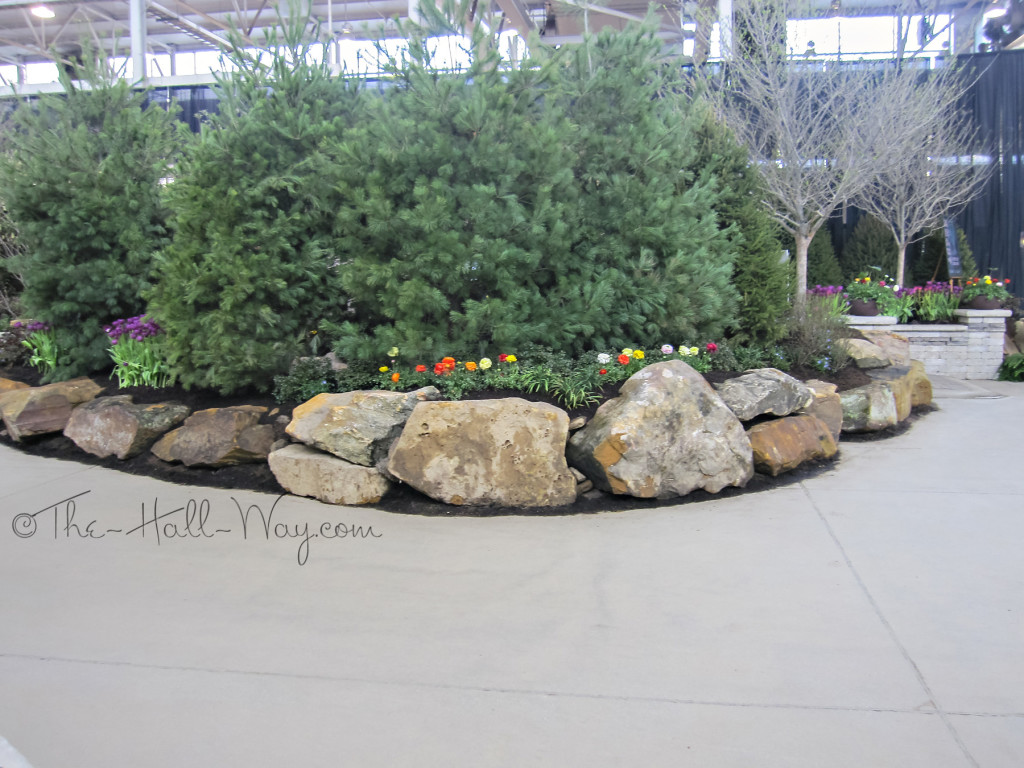
An idea for some of our boulders:
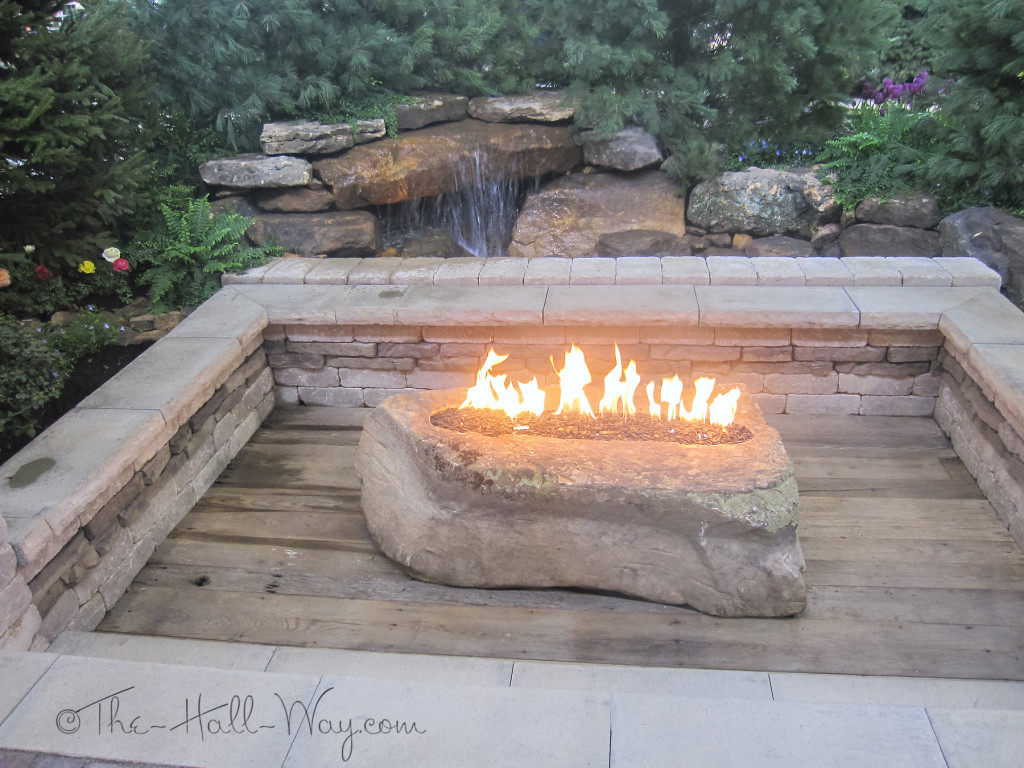
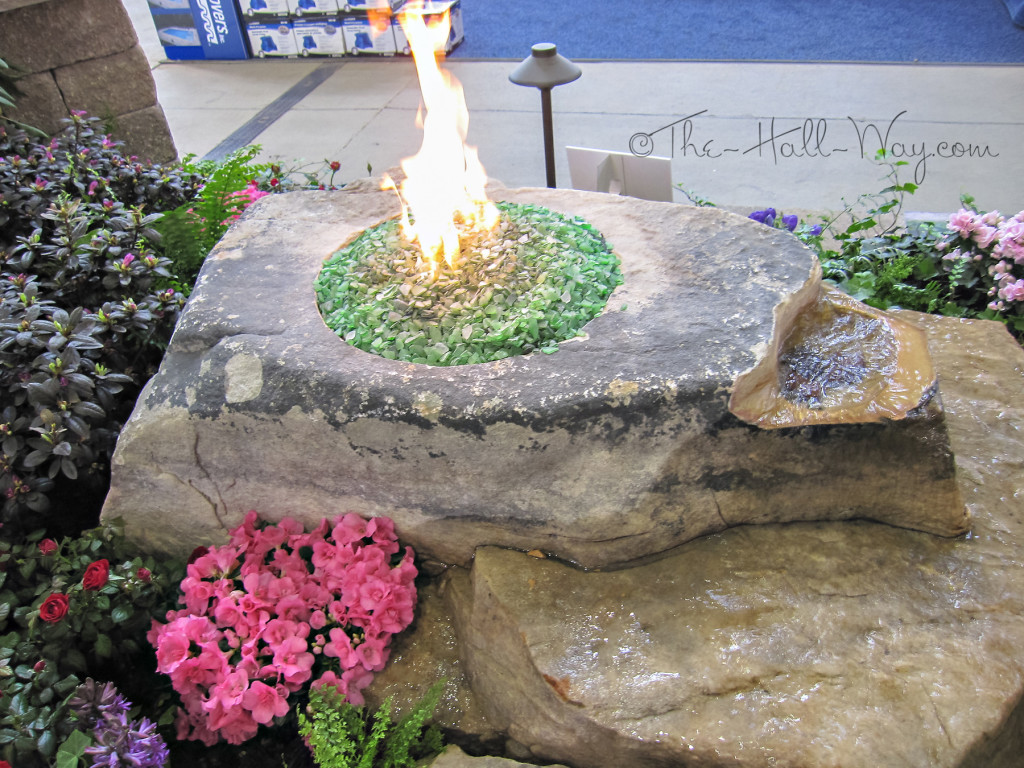
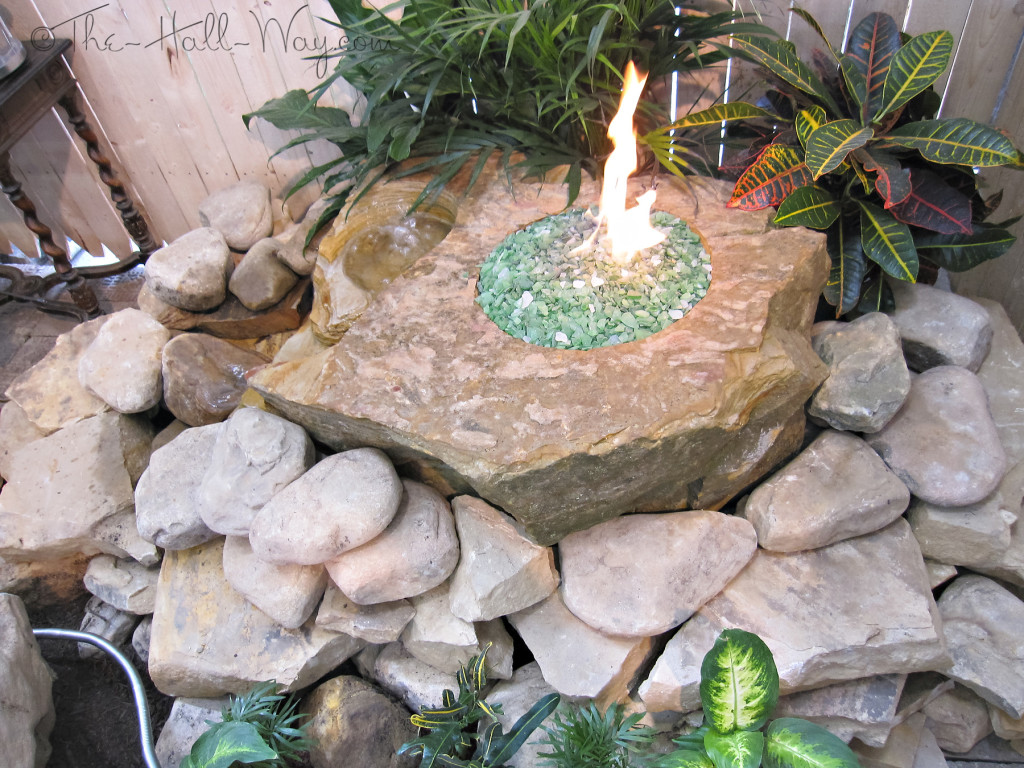
I wonder if we could turn one of the rocks into a fire pit like this?
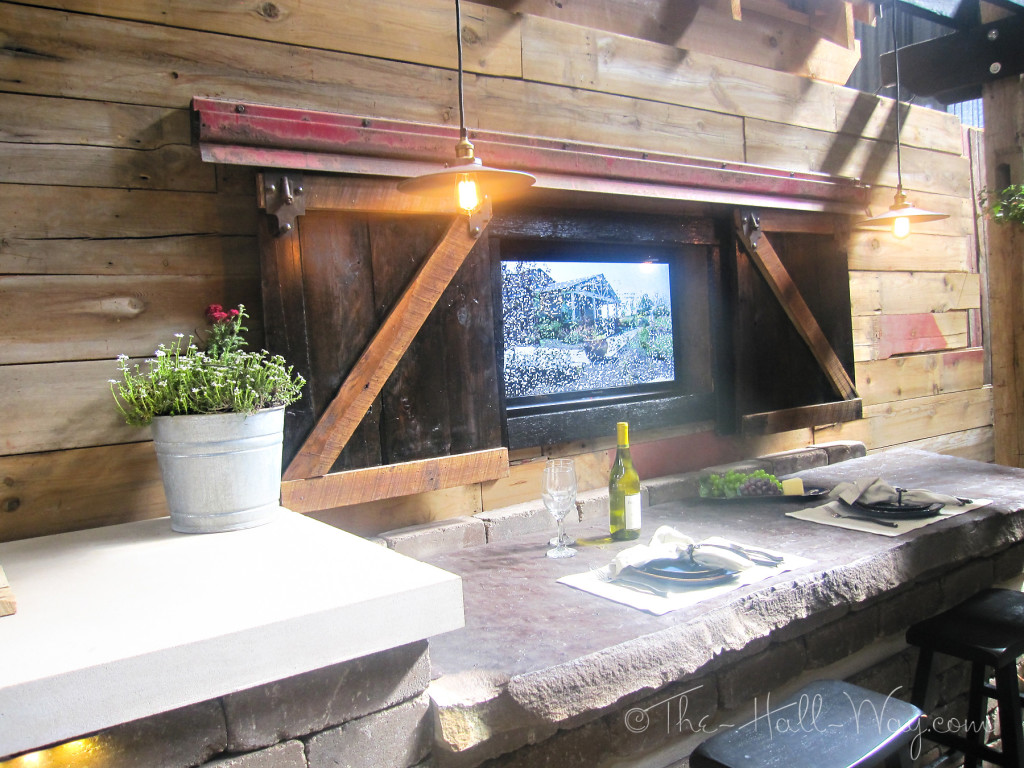
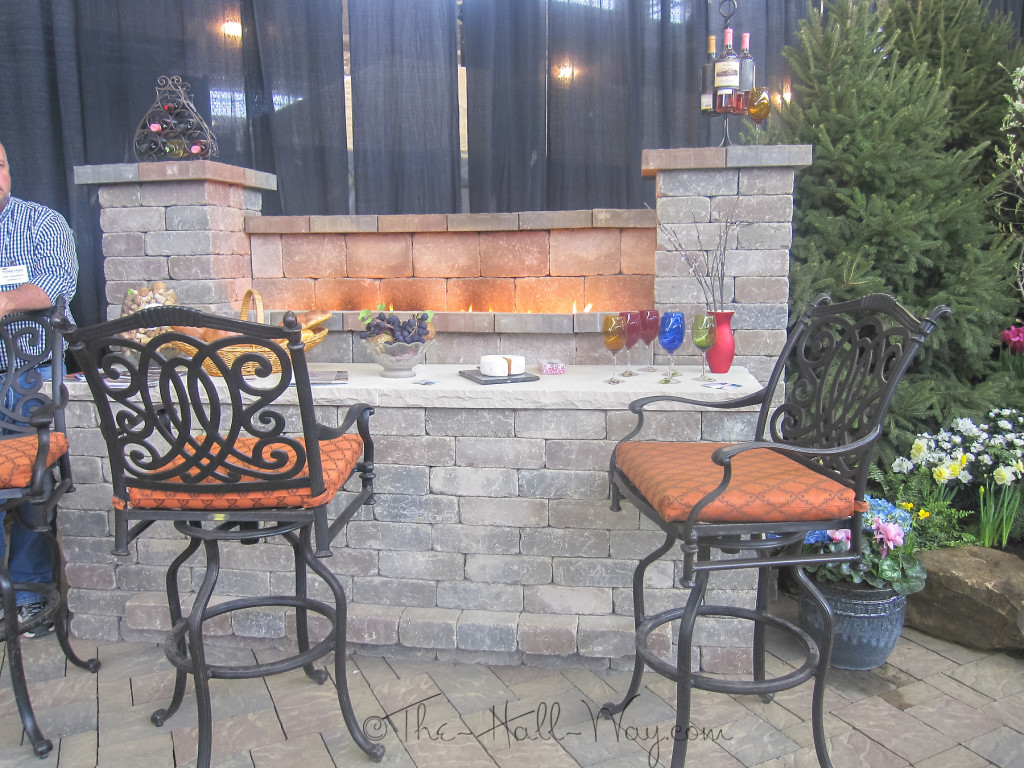
How is this for a bar?
That’s one big beetle in the landscaping!
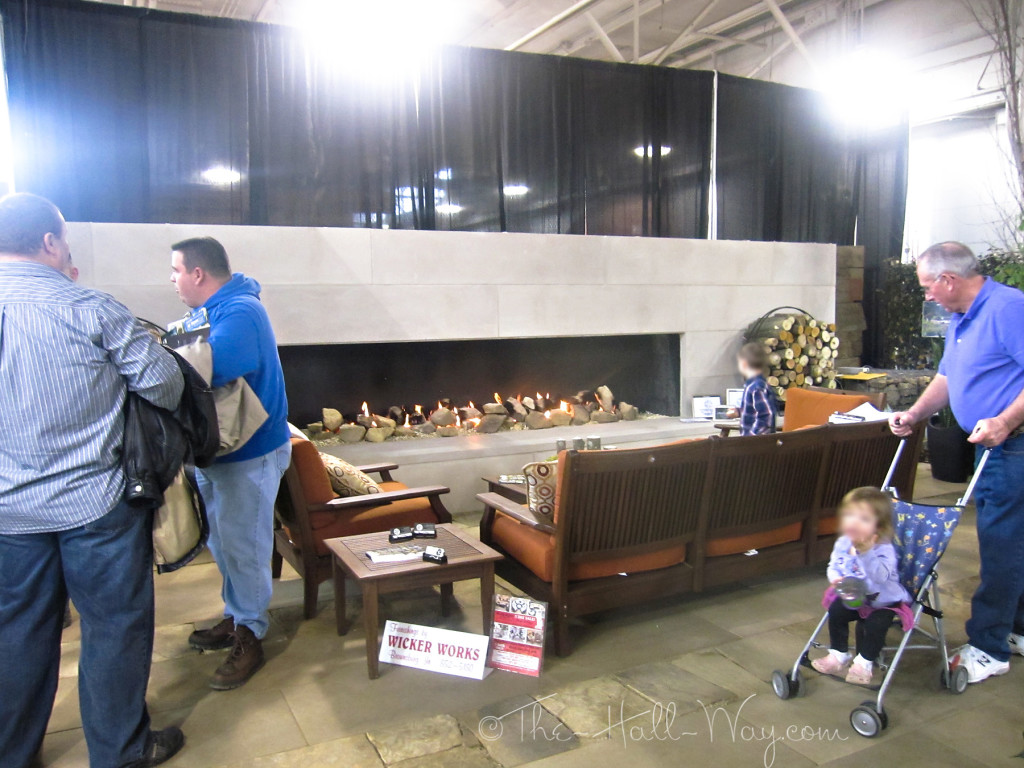
This is a great fireplace.
More landscaping rocks:
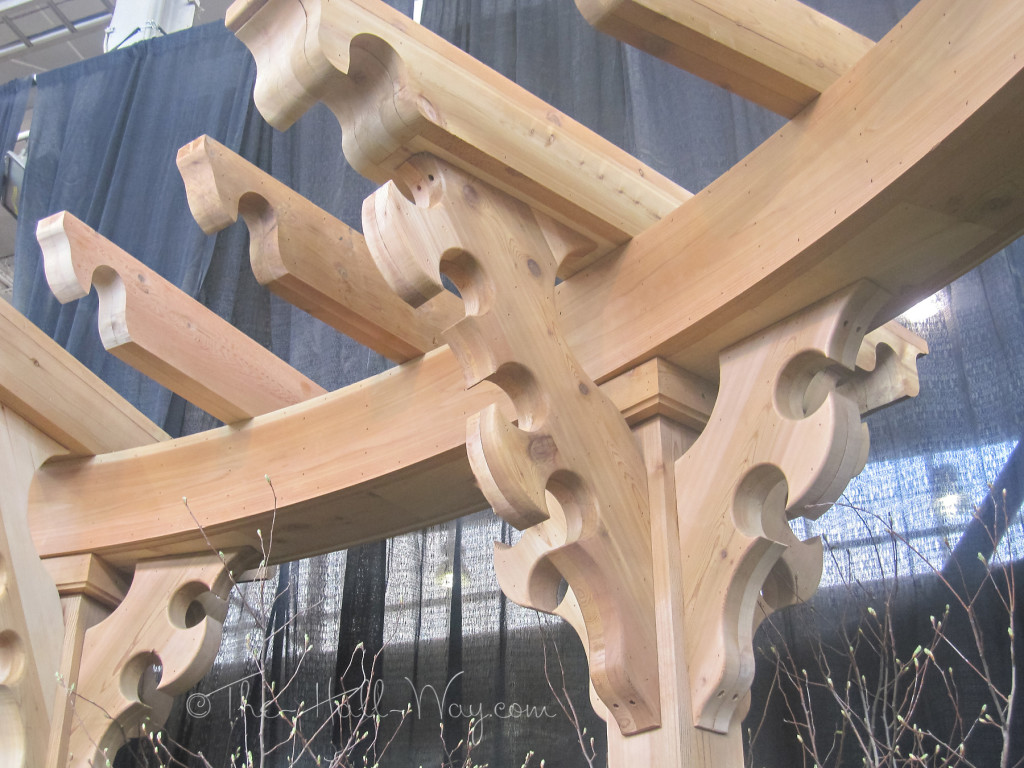
I absolutely love this pergola!
Even more large rocks . . .
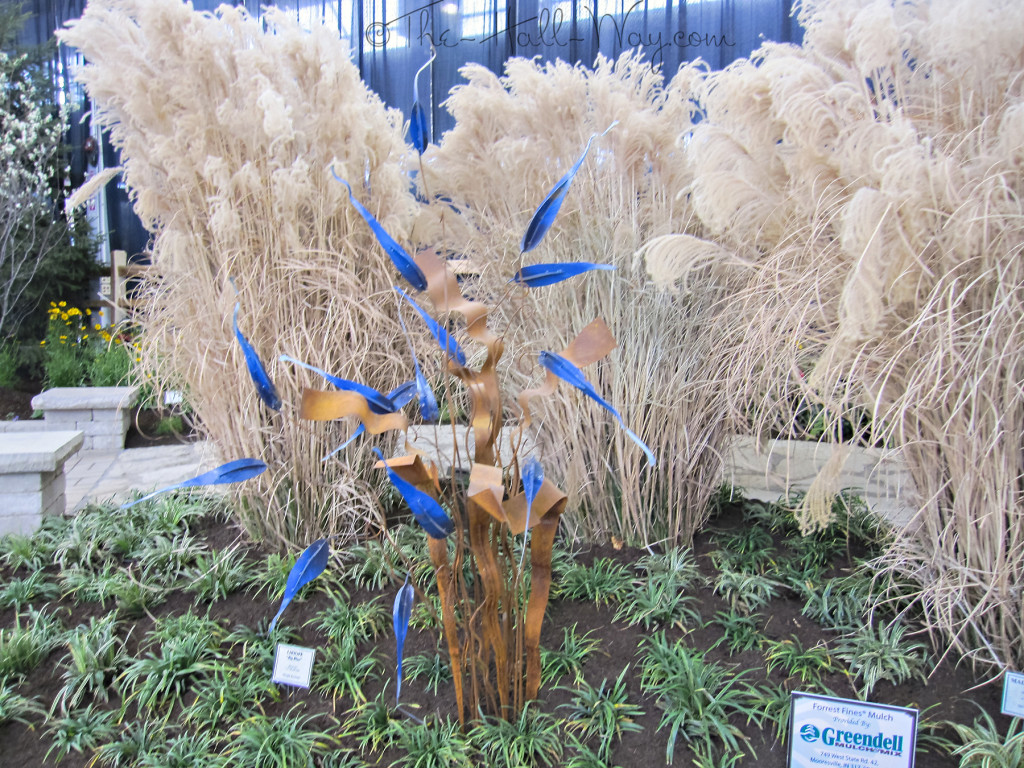
This ornamental grass is really pretty and the metal sculpture is neat too.
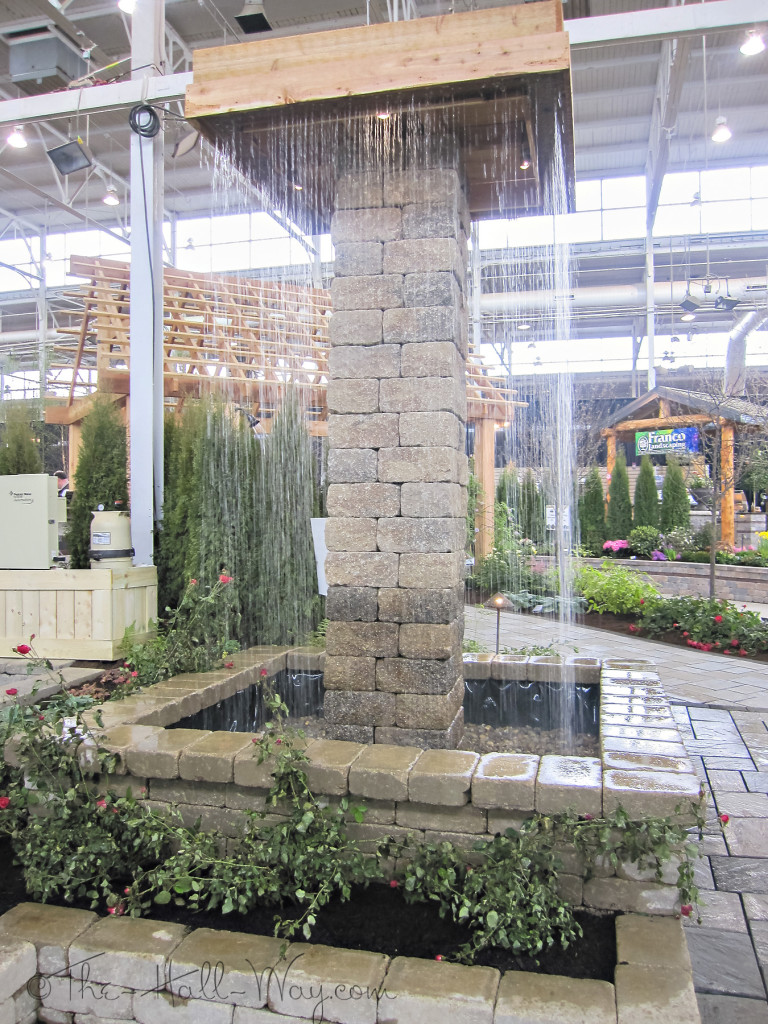
A tall water feature made of pavers:
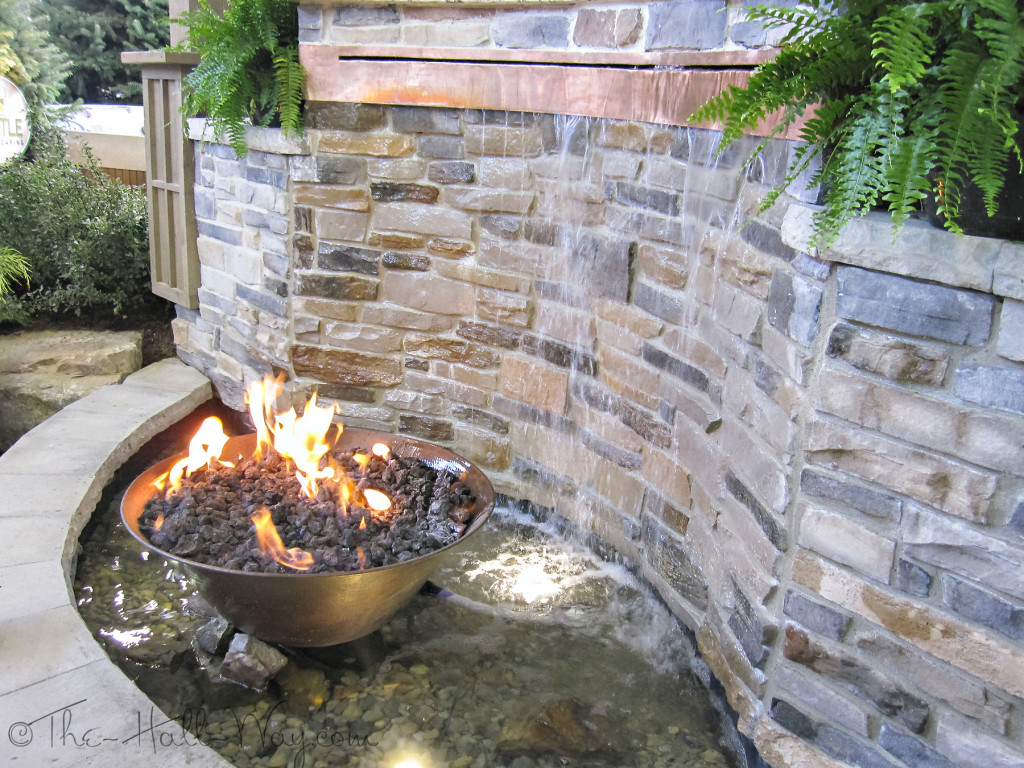
Another rock fire pit, but with water too.


