Blog
Master Closet – Part 2
I finished my last post with a glimpse of what we were working on.
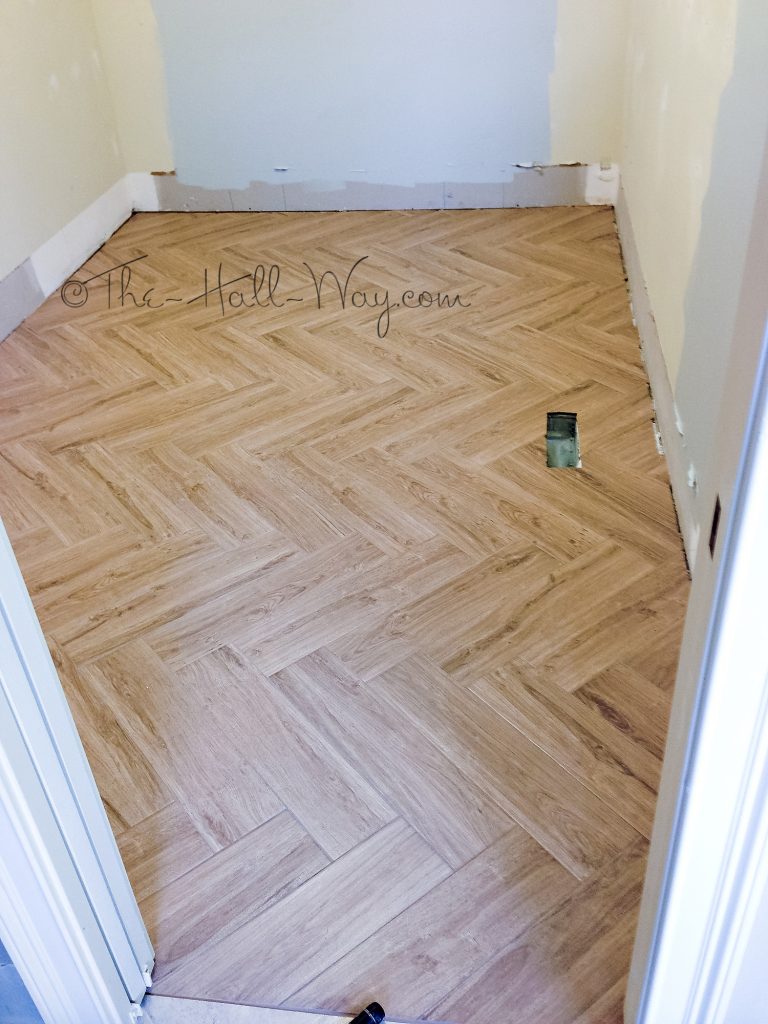
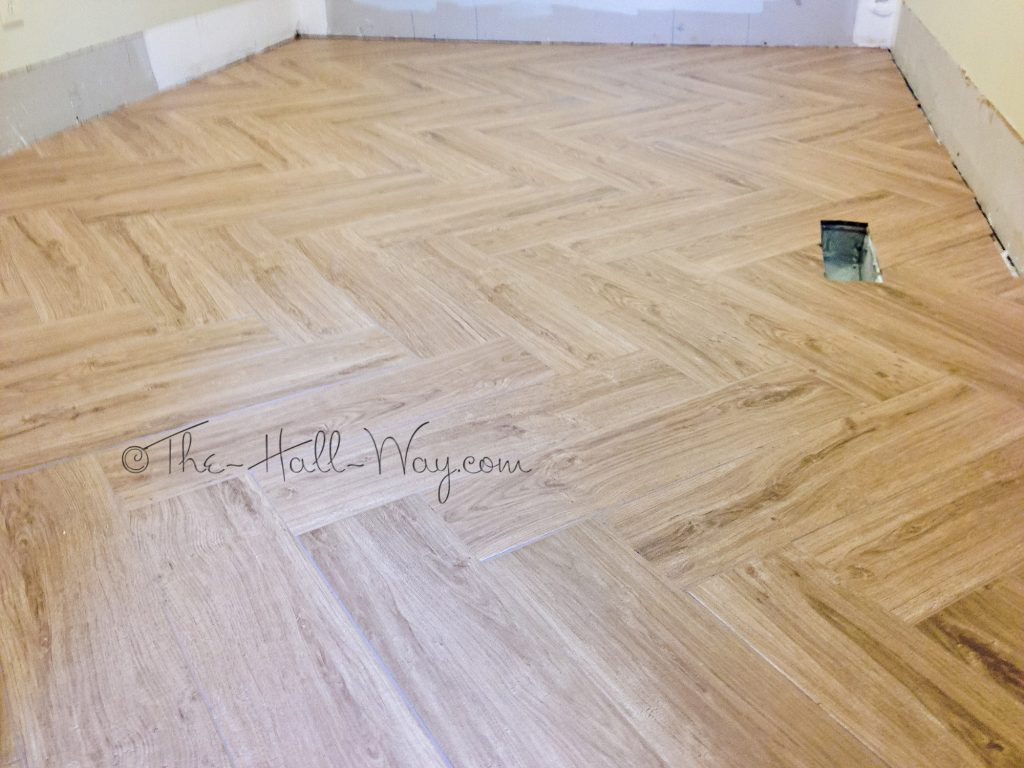
We ended up going with a tile that looks like wood from Lowe’s. It’s Style Selections Serso Wheat Tile. I need to take some pictures with my real camera to show the color better, but it has similar tones to what is in our bathroom, so they go well together. The next picture is pre-grout.
We were originally going to lay it in a standard wood pattern. I had secretly thought about a herringbone pattern, but wasn’t going to say anything. David actually mentioned it, so I laid it out that way while he was working on something else. We decided to give it a try, but laid it sideways instead of lengthwise since the room is long and narrow.
We knew it would be a lot of extra work for just a closet where half the floor is going to be covered with cabinets, but it turned out awesome. We both really like it. I picked Mapai Chamois grout which blended in well once dry (It’s still wet in the picture below which is why it looks weird up close).
Meanwhile, Sunday, we ran back to Lowe’s to get lumber for the cabinets. We didn’t buy everything I had planned, but we still loaded the truck down. 20 sheets of plywood and 8 2×6 boards.
I cut the boards done Monday night for the cabinet bases, but still need to screw them together. My dad and I spent 7 hours yesterday cutting down the plywood. It was a ton of work. Now, I need to lay everything out so I can see how it’s going to go together, drill the pocket holes and put a coat of paint on the visible sides. Then I’ll be able to start assembly in the closet.
Master Closet – Part 1
I began demo on our master closet this week. With no dressers in our bedroom, the wire shelves alone weren’t going to cut it for long.

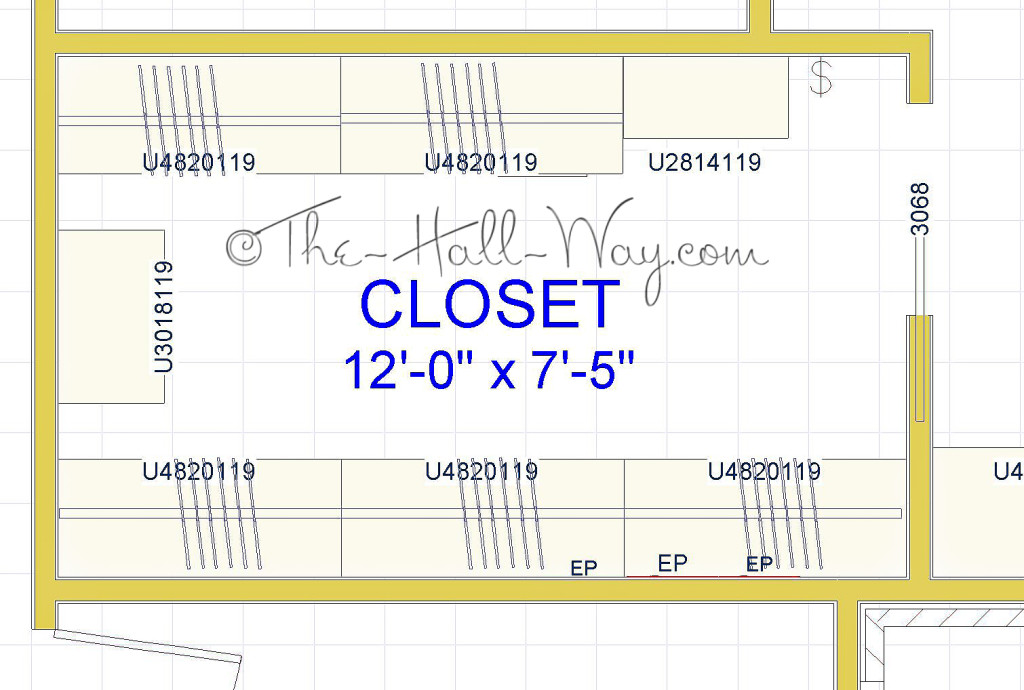
Our room is full of boxes and bags of clothes since there was no good place to put them. (Now, it’s even worse since the closet’s been emptied.) After designing our dream closet for the new construction house, I was hoping to do something similar here. This closet was a bit more challenging since it is smaller and has several obstacles I had to work around. The left wall has 2 large breaker boxes and an access panel for the coax wiring plus an outlet. There is an air register about a foot from the right wall along with the light switch and water heater control panel.
Obviously, the breaker boxes need to remain accessible, but leaving that part of the wall empty wasn’t an option given the size of the closet. After some trial and error, below is what I came up with.
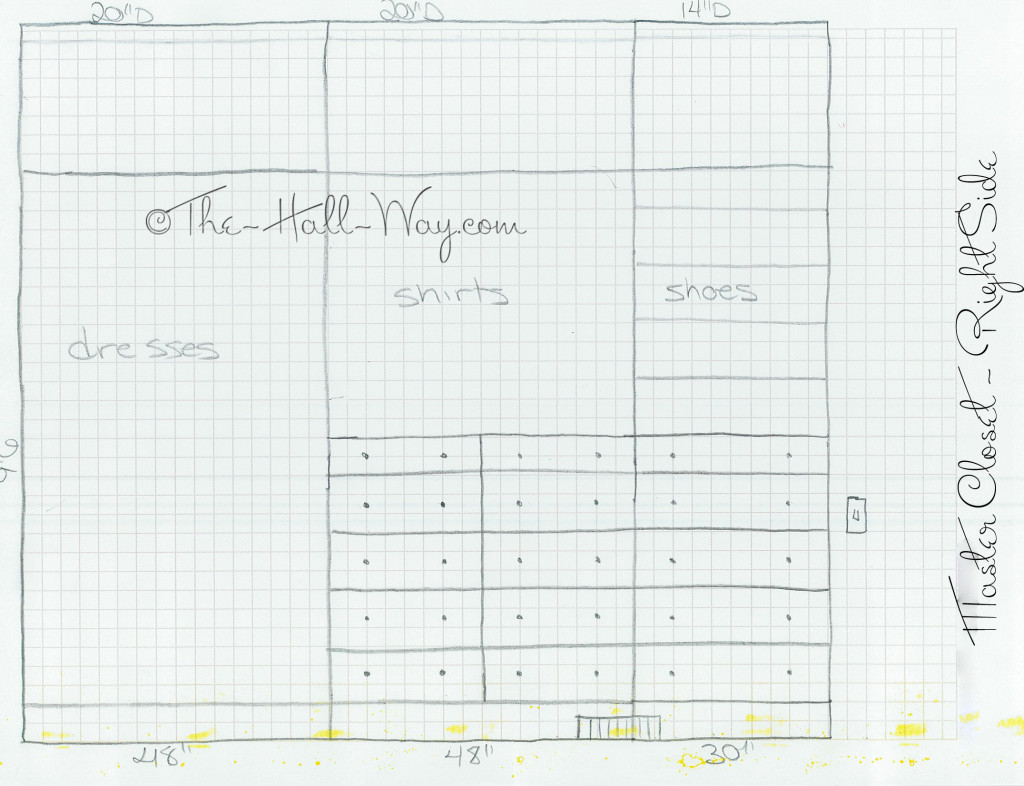
There are 5 – 48″ wide cabinets, a 28″ wide cabinet and a 30″ wide cabinet at the end. They will all go up to the 10′ ceiling.
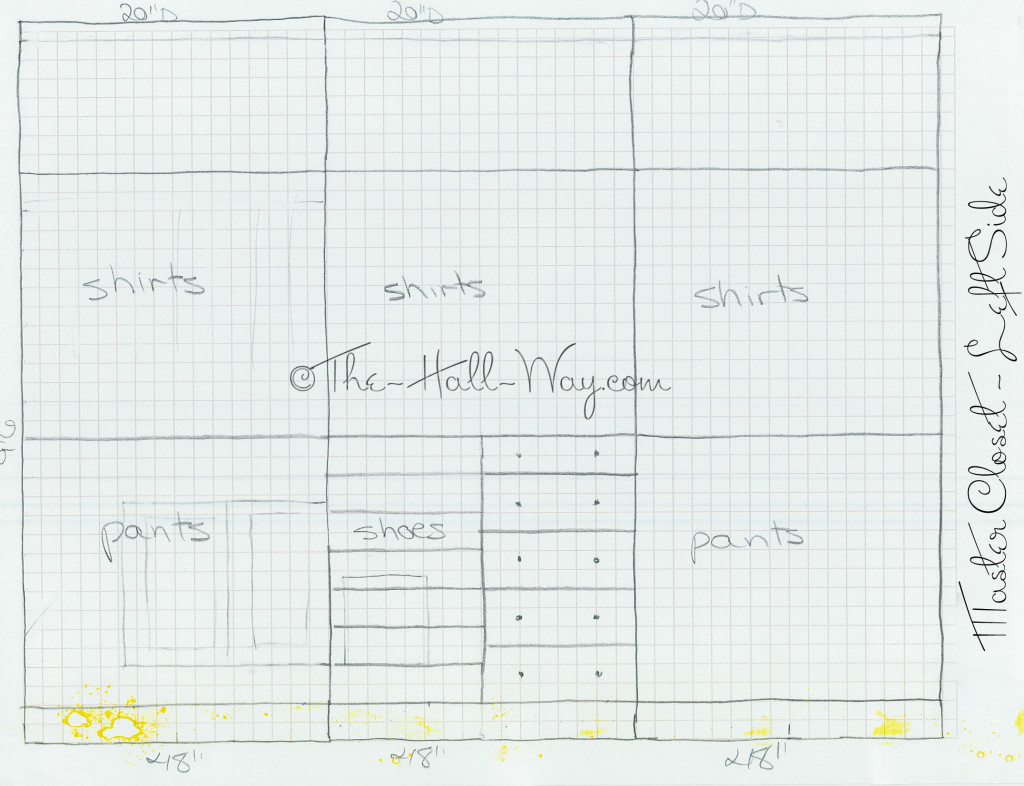
The first cabinet on the left wall will have 2 hanging sections. I will cut the back of the cabinet out around the breaker boxes so we can push the clothes to the side to access them (you can see where I faintly drew them in). The middle section will have shelves on the bottom left side that we can remove if we need to access the coax box. The right half will have drawers. The right section also had to have hanging areas on the top and bottom since it will be partially blocked by the cabinet at the end of the room (obviously, drawers wouldn’t have worked here).
The right wall has a long hanging area, again, where the end cabinet would have blocked drawers. The middle section is all drawers on the bottom. The right section will only be 14″ deep instead of 20″ like the rest, since it will be right in front of you as you come in the door.
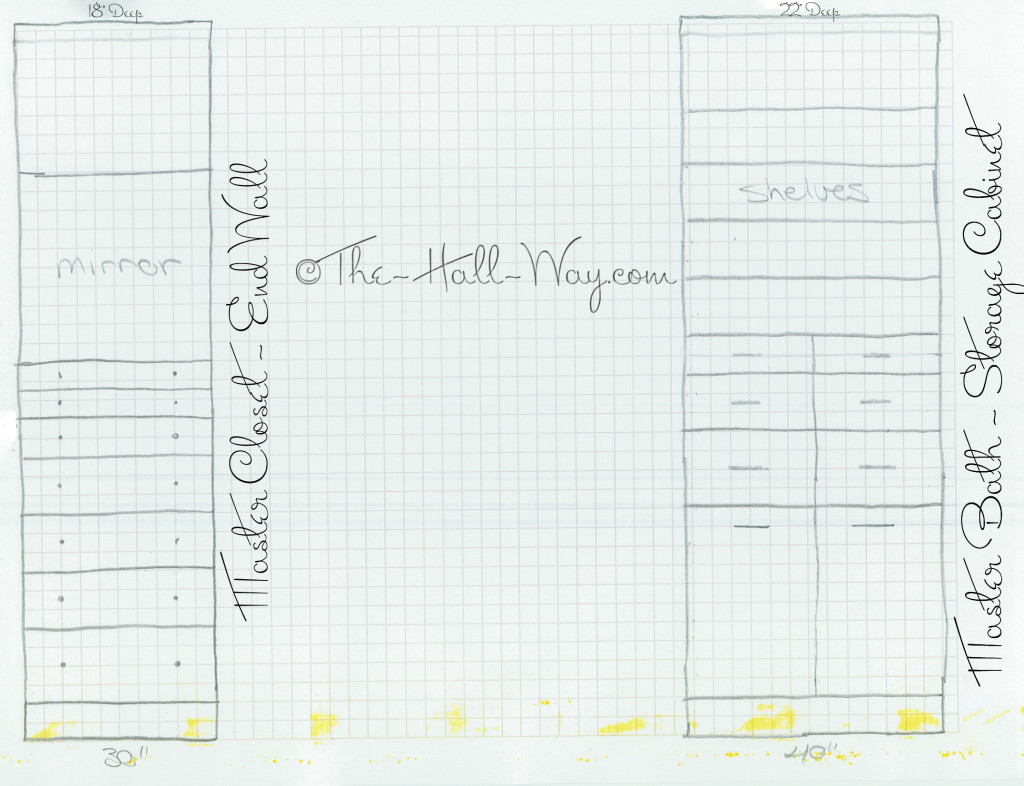
At the end of the room will be a 30″ wide by 18″ deep cabinet that will be mostly drawers with a mirror above (see inspiration pic below). The cabinet on the right side of this page will be in the bathroom outside the closet door. There is some empty space there that is perfect for a cabinet. The bottom 2 big drawers will be hampers and the other drawers and shelves will be towel and linen storage.
First, I had to spend several hours removing the wire shelves. Tip – Don’t ever install wire shelves unless you plan on leaving them there forever! You’re better off leaving the closet empty. They are a royal pain to remove and you end up with a million holes that have to be patched.
One question was what to do with the floor? I wasn’t crazy about installing basically permanent cabinets on the carpet. One, for stability reasons and because the closet carpet tends to get worn down the middle since that’s the only place anyone walks. We could put wood in there, but we don’t know what we are going to do with the wood in the rest of the house and I would want it to match. Lowe’s sells our bathroom tile still, but I wasn’t crazy about continuing it into there.
Meanwhile, our entire closet was painted the trim color that is throughout the house. I’ve chosen Behr Ultra Silky White as the new trim and ceiling color. It is close to the kitchen cabinet color I have picked and is much more white. I repainted the closet ceiling with Silky White flat ceiling paint and will paint the cabinets and trim I build the same color. You can see how much whiter it is in the picture below.
For the walls that will remain visible (which isn’t much), I picked just a color I liked. I don’t know what we will end up doing with the bathroom, but this color will work with anything I’m likely to use. Here’s a preview of what’s to come . . . 
Making Progress
This post is long overdue, but I was waiting to get all our window treatments installed and we’ve been busy in the meantime. My parents finally sold their house and made the very long awaited 500 mile move to Alabama. They are currently living with my sister while they build their new house. Since we didn’t end up where we thought we would, they also changed their location search criteria. In an unexpected twist, they are actually building in our new neighborhood and are using the builder of the house we bought. They will be on the other side of the neighborhood, but we will be able to see the front of their house from our front door. 😯 Since this neighborhood is all Southern Living Plans, they chose the Eastover Cottage. So, I may have a few future posts about that. Meanwhile, we have the majority of their furniture so that it wouldn’t sit in storage. The Kid is enjoying having recliners in the bonus room and we have patio furniture to sit on for now.
I’ve been continuing the process of unpacking. All that’s really left are things we don’t have a place for. The office doesn’t have a closet so we have nowhere (near the office, anyway) to put all that stuff. Our bedroom still has a bunch of bags and boxes of clothes since we don’t have dressers or closet storage. I’ve started working on the plans for the closet built-ins and hope to start building them soon. More on that in another post.
That said, most everything may be put away, but the house is far from done. I’ve yet to hang a picture or do any decorating. Getting the window treatments installed has helped though and I took great joy in removing the curtains and hanging something more “me”. I had collected quite a pile of shade samples and had a hard time deciding what type of window treatment to put in each room. I ended up ordering shades for 2 rooms I didn’t expect to need anything in. Below are my final selections which I ordered from 2 different websites.
Clockwise from Top: Kid’s Bedroom – Hudson Blackout Roller Shade in White, Master Bedroom – Hudson Blackout Roller Shade in Grey, Guest Room – @Home Collection Blackout Roller Shade in Solid Sedentary Taupe, Breakfast Nook – 7% Metallic Solar Shade in Snow, Garage – American Sheer Weave 5% Solar Shades in Alabaster, Powder Room – @Home Collection Designer Screen Roller Shade in Lily, Dining Room – Crystal Weave Solar Shades in White, Study and Extra Bedroom – Good Housekeeping 3″ Sheer Horizontal Shadings in Room Darkening Ivory.
I hadn’t planned to put anything on the kitchen or dining room windows, but the morning sun in the kitchen and the afternoon sun in the dining room made it necessary. I was most anxious to see the dining room shades I picked. Unfortunately, despite being the first ones I ordered, they ended up being the last ones installed.
I mentioned before that our new window sills are really shallow due to the 4″ thick vinyl windows. That leaves almost no room to mount brackets. The brackets that came with these solar shades were larger than I expected which made the problem worse. I didn’t order them with a cassette or valance because of the cost and I thought they would stick out from the window even more. Turns out that they would have been easier to mount with one.
One option was to mount the bracket this way so that one screw would go in the top and one in the side. I hated the idea of the corner of the bracket sticking out like that though. We discussed putting some trim around them to make them look like part of the window, but I wasn’t crazy about that idea. It would be a lot of work to make it all go together and look good.
Mounting them this way (below) would look better, but the screw holes were too far forward and would cause the end of the screws to come out the front of the window trim. Long story short, David ended up cutting the brackets off just in front of the screw holes to make them shorter so they’d stick out less. He drilled new holes so we could angle the screws backwards to prevent them from coming out the front of the trim.
Here is the dining room ones finally installed. I love the looks of them and would have put them everywhere if I could have. They have a sheen that almost looks metallic or pearlescent and the texture looks elegant for a solar shade. They help cut the glare from the afternoon sun since the front porch doesn’t block it like I thought it would (might depend on the time of year).
During the day, they look opaque from the outside and you can’t see in at all. As you can see in the picture, you can still see out though. At night, it looks like there is nothing there if the lights are on in the room.
I put a similar shade by the kitchen table although this one is not as “fancy”. The only time this one will be down is in the early morning, so it was less important how it looked. Other than having a different texture and slightly different color, it’s basically identical to the dining room shades.
Right now, they look kind of stark next to the “linen cloth” trim paint. Once I repaint all the trim to something more white (I’ve chosen Behr Ultra’s Silky White), they will blend in more.
The powder room was one I was anticipating the most. I couldn’t wait to get that heavy curtain down. The window is almost floor to ceiling and is right next to the toilet, overlooking the front porch. So, it has to be covered 24/7 and the curtain made it always dark in there. The challenge was to find something that will still let light in, but completely block the view during the day and night. I found this white, linen texture fabric which is completely opaque, but still allows a ton of light in.
I also ordered this one with the standard brackets and no cassette since it’s a small room and the top of the window is above our heads.
I wasn’t sure what to put in the guest room except that I knew I wanted an inexpensive roller shade that looked nice. All the whites were slightly strange shades next to the trim colors so I went with a dark taupe fabric. I didn’t splurge on a cassette mount to save money and since this room isn’t used much. This room faces north so this blind could be left up almost all the time and it doesn’t matter a whole lot what it looks like.
I went with nicer (and more expensive) roller shades for our room and The Kid’s. I chose a light gray in our room to have something besides white. I ordered these after we had received the dining room and kitchen blinds so I knew of the issue with the brackets. Since these were going in bedrooms, I wanted the cassette mount to block more light and I knew at that point that it would make them easier to mount.
For our large bedroom window, I went with a plain white metal cassette. Once I repaint the trim, it should blend in or I might paint it with the trim paint to match.
For the door, I went with standard brackets with a chrome finish to match the new levers and hardware I plan to put on all the doors.
The Kid’s room is the same, except that it’s white and the cassette has the matching fabric across the front.
The Study was another challenge. It gets direct sun on 2 walls almost all day which, along with the computer, printers and the high ceiling, keeps it pretty warm in there. I wanted something that would keep the heat out, but not leave it dark in there all day. A tight weave solar shade may have worked, but we also wanted something that would block the view in at night. I looked at several options until I saw the Silhouette shades at a Hunter Douglas showroom. I usually steer away from anything sheer and potentially hard to clean, but the functionality of these seemed like exactly what we needed. I found a similar shade online and ordered it for the study.
It rolls up just like a regular roller shade (these are only available with a cassette). . .
And you can lower them to any height . . .
When completely down, they don’t block out all the light so they wouldn’t be the best for a bedroom, but it’s fine for other rooms. They come in either sheer or room darkening fabrics. I chose room darkening after I saw the samples because I didn’t think the sheer would block enough heat or light.
Once completely lowered, if you keep pulling on the cord, the fabric vanes open like a wood blind and you can adjust them to any angle.
Below is a close up. I chose an ivory color which blends with the vinyl window color (the sheer portions are almost always white).
Here it is on the big study window. Even with the vanes open, they still do a pretty good job of controlling the heat from the sun. They come with 2″ or 3″ vanes (Hunter Douglas also has a 4″). I chose 3″ which allows more space between each horizontal piece of fabric, but they also stick out from the windows farther than the 2″ would have.
I like these a lot better than I was expecting. They look really nice from the inside and out. I’m not too worried about keeping them clean since they are able to roll up out of the way when needed. I would have used them in more rooms if I could have. They were the most expensive option I ordered though.
I also put one in our second guest room which gets the afternoon sun. I was originally going to use a blackout roller shade, but I am going to use this room for crafts and sewing so I didn’t want it to be dark in there all day. This room will only be slept in 1-2 times a year, so the fact that it doesn’t block all the light isn’t a huge deal.
I put inexpensive solar shades in the garage to block some heat and the view of all our junk. I picked a white and beige mix which I thought would look less dirty than plain white. I can always take those outside and hose them off if they get too dirty. During the day, you can’t see in the windows at all, but you can see out fine. At night, you can see in the windows like there is nothing there if the lights are on, but that’s not a huge deal in the garage.
I’ve left the roller shades that came with the house in the master bathroom and bonus room.
Another small change I made this week made me smile too. We were wanting to change one of the closet doors to a locking knob. I went ahead and ordered 4 of the levers I had picked. I ordered 3 privacy levers and 1 passage lever. The Schlage Latitude lever I had picked for the new construction house wasn’t going to work here because it was bordering on too modern. Instead, I went with the Schlage Avila in Chrome.
I put the 3 privacy levers on our bedroom door, the powder room door and the closet we wanted to lock. I put the one passage lever on the powder room closet so that both doors in that room have the new levers. The chrome looks a little strange with the yellowish trim color, but that’s something else that will look better after I repaint.
Here’s a shot showing the old with the new.
It’s a little change, but I love the new ones! This house has a lot of doors, so these 4 barely make a dent. We’ll also have to change all the hinges, but I think I finally found somewhere (eBay) to order them that won’t cost a fortune.
We’re Here
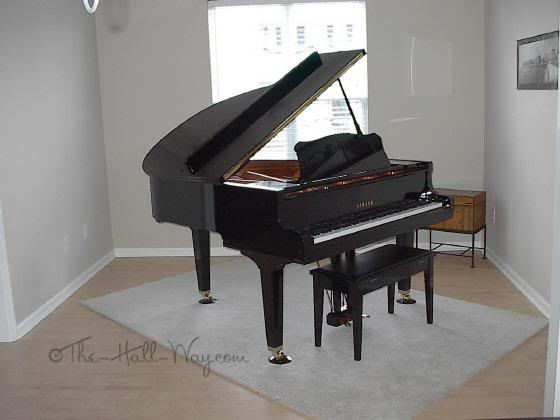
It’s been a long and very busy week, but we are here. There is still a ton to be done – unpacking, organizing, cleaning the rental, etc – but we’ve finally been able to sit down a relax a little this weekend. We closed on the new house last Friday and I spent the rest of that day and Saturday morning cleaning. Since the house had been empty for several months, there were a lot of spider webs and dust everywhere. We started bringing stuff we didn’t need right away last weekend and early last week. The piano movers came Monday morning and got it moved in less than an hour.

By Wednesday, we were down to just the stuff we needed so we decided to go ahead and move the mattresses over and start staying here that night. That was the first time we got to see it at night.
We rented a u-Haul Friday morning and 4 friends came over and helped us move all the big stuff. It goes a lot faster and easier when you have a lot of help 🙂 I finished moving the kitchen yesterday and now all that’s left is just a bunch of random stuff. I cleaned the rental some as stuff was moved out, but I need to go back and do the final cleaning. We still don’t have anyone lined up to rent it, but I’d like to get it cleaned up so I can focus on the new house.
Last night, we had dinner outside by the fireplace – hot dogs and s’mores!
I’m working on posting a gallery page on here with pictures of the new house. I’d like to keep it updated with before and after pictures as I get each room decorated. (*UPDATE* – The gallery can be found HERE.)
Despite everything that still needs to be done, it feels really good to be here. We have so much room compared to our previous houses. It’s nice to put things away and know they are going to stay there for a long time (I hope).
*Click Here to see the full photo gallery of our new house*
First Home Tour
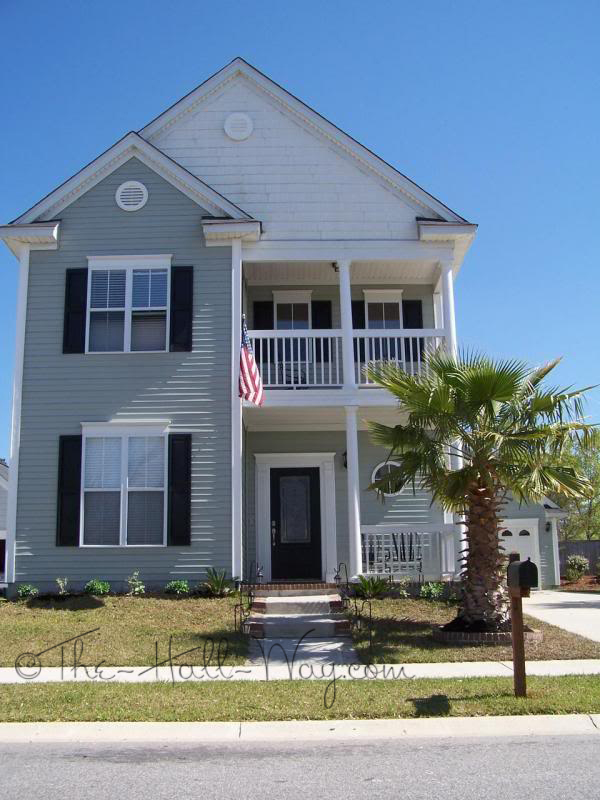
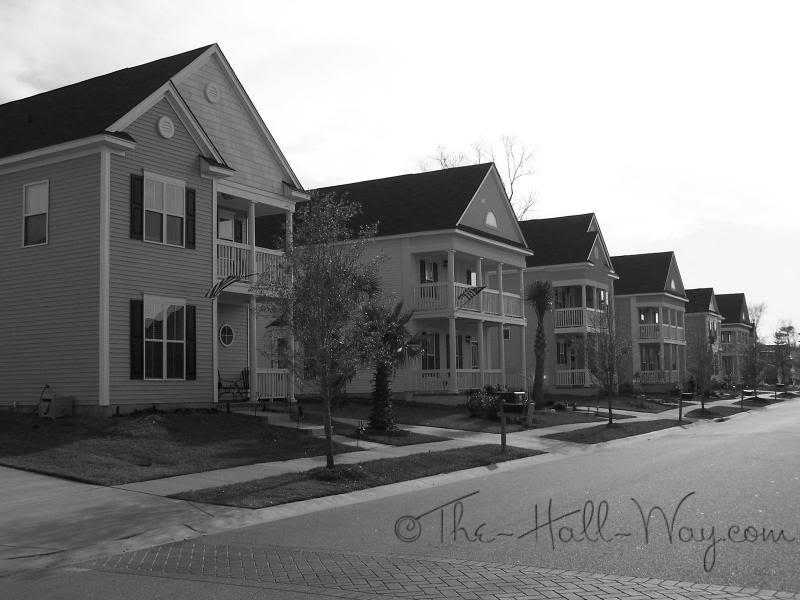
As a follow up to my previous home tour post, I thought I’d share our first house . This was actually our 4th home together, but the first one that we purchased. We had it built by a tract builder which took around 4 months. It’s hard to believe it’s now 10 years old. Being our first house, we were only able to upgrade the big stuff and we planned to change the little stuff later. We upgraded to 42″ maple cabinets, black appliances and a separate tub and shower in the master bath. The 2 car garage was also extra (no garage was in the base price). It was 1600 square feet with 3 bedroom and 2.5 baths on a 0.10 acre lot near Charleston, SC. It was the biggest house we had lived in at that point, but it got small fast.
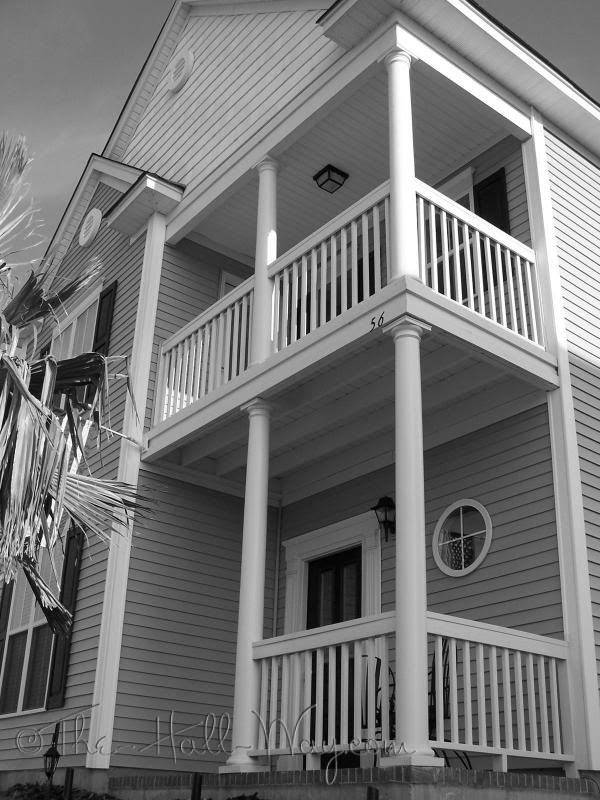
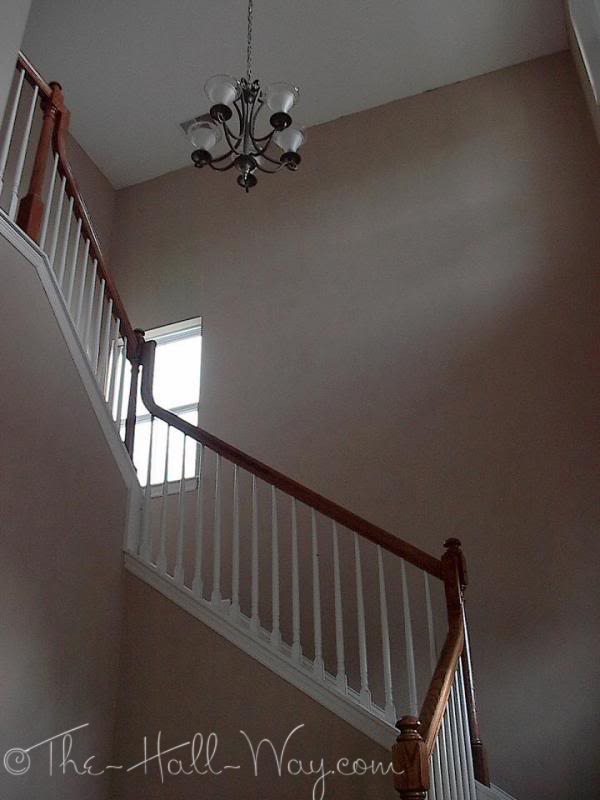
What sold us on this plan was the 2 story foyer and double front porches.
We redid the landscaping and added 2 big palm trees. We loved the trees and would have moved them with us everywhere if we could. Here in Alabama, we are right on the line of where they will grow.
We also added the landscape lighting.
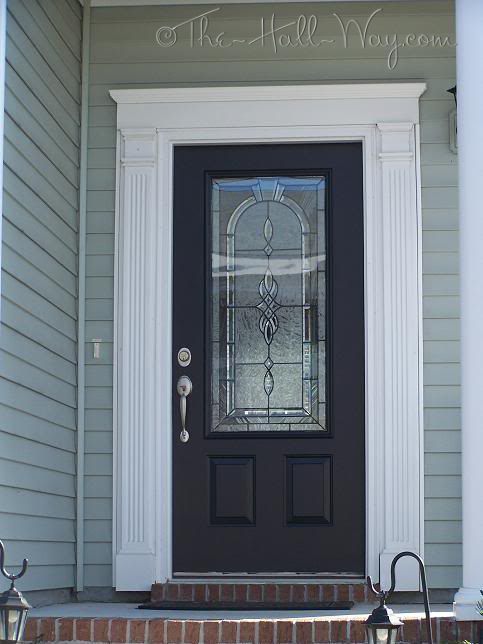
The original door started to have issues with the windows so we replaced it with a more decorative one. Gold door knobs were standard and I think we replaced all of them with brushed nickel in the first week 🙂 Gold cabinets knobs also came with the house and I started taking those off within 10 minutes of us walking in the door with the keys. All the light fixtures were also brass and they were quickly changed too!
The entire house was white when we moved in and we repainted everything at least once. We first painted the foyer a darker chocolate brown with Ralph Lauren Suede paint from Home Depot (now discontinued). We eventually decided that was too dark, so we used the same paint in a lighter shade, which was much better. It was a lot of work between the specialty paint and the 2 story walls.
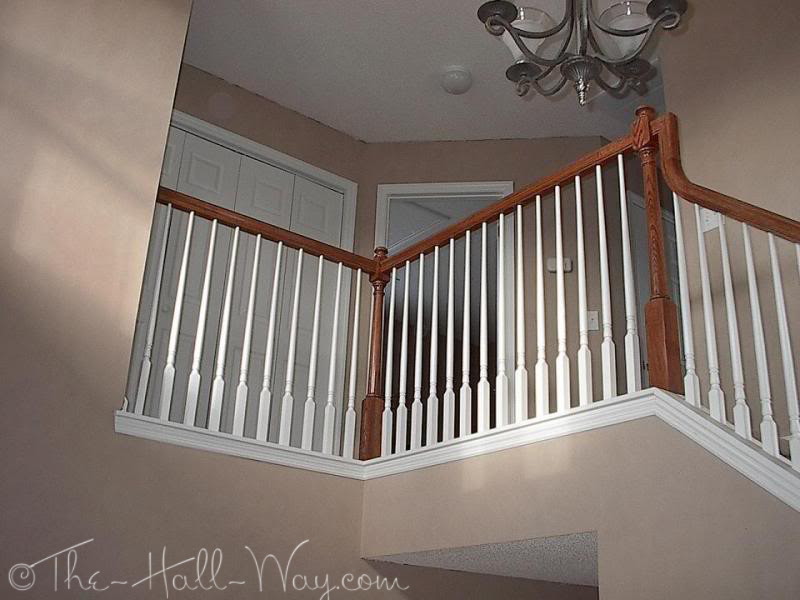
The laundry room is the bifold doors in the upstairs hallway. Not the best setup, but it was the first time we had laundry in the house instead of the garage.
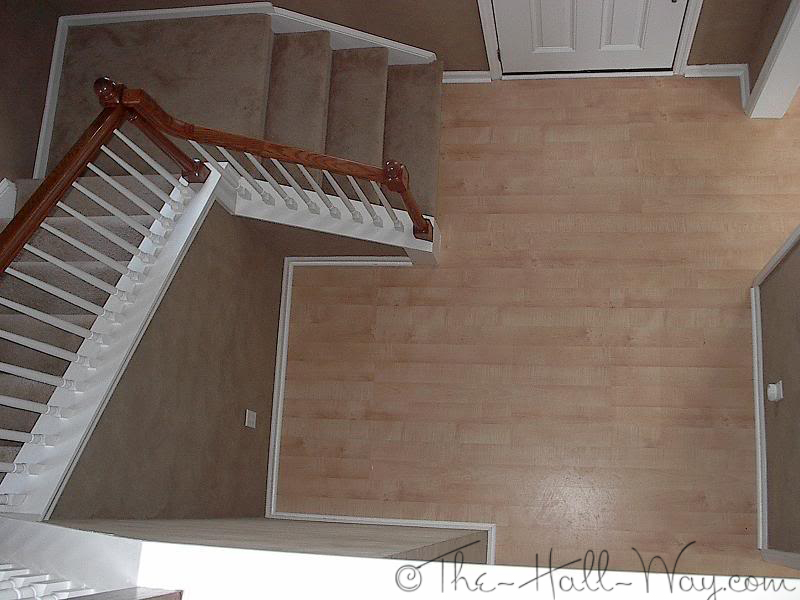
We moved in with carpet and linoleum in the entire house. About 3 months later, we pulled out the flooring on the first floor (except the kitchen) and replaced it with Pergo laminate floors that looked like maple. (Laminate has came a long way since then, BTW). It was really durable and super low maintenance. I loved that we could paint without putting anything down and just wipe or scratch up any paint that got on the floor later.
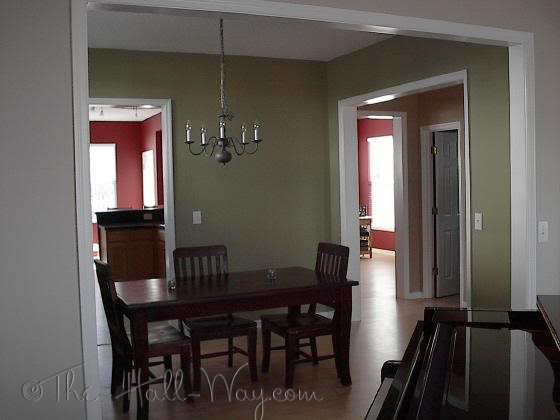
The formal living and dining rooms were off the foyer.
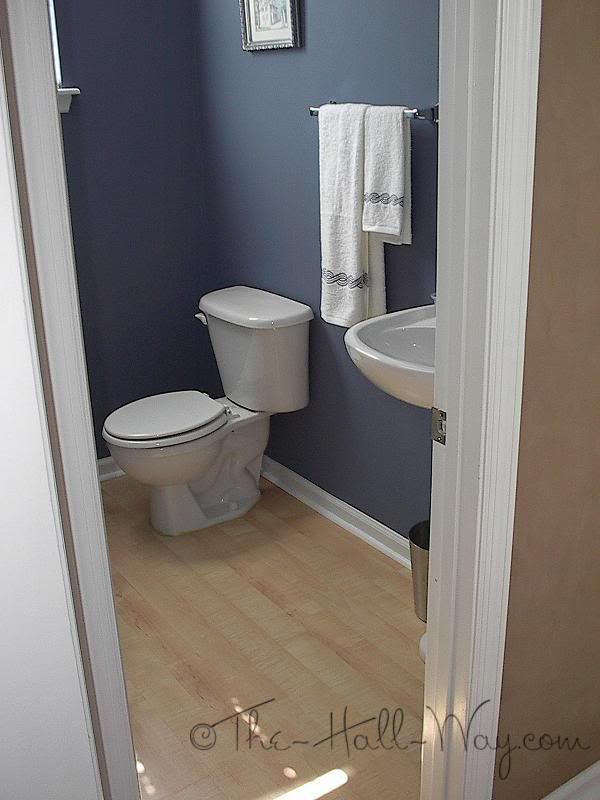
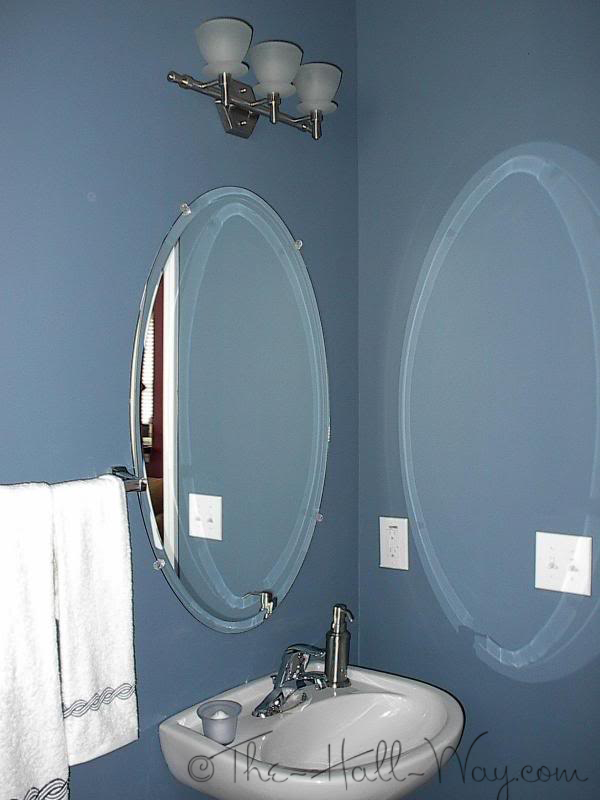
Across the hallway was the coat closet and powder room.
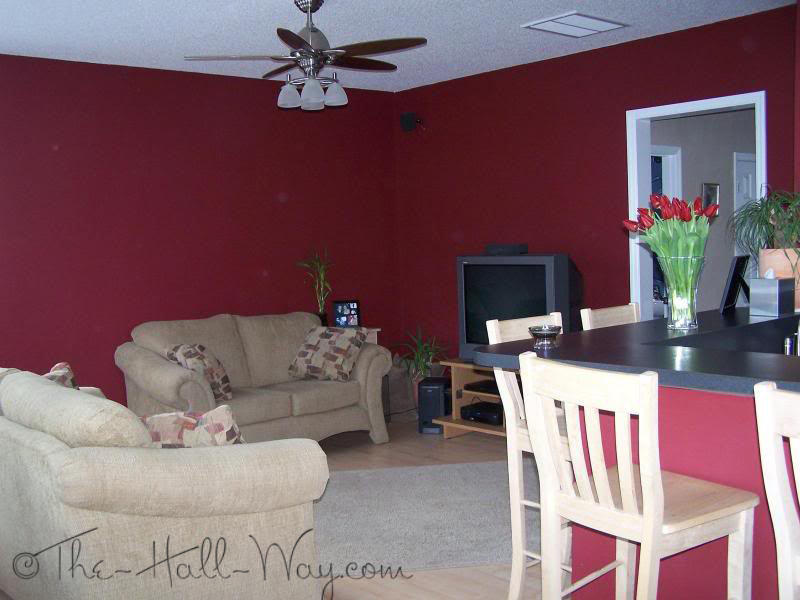
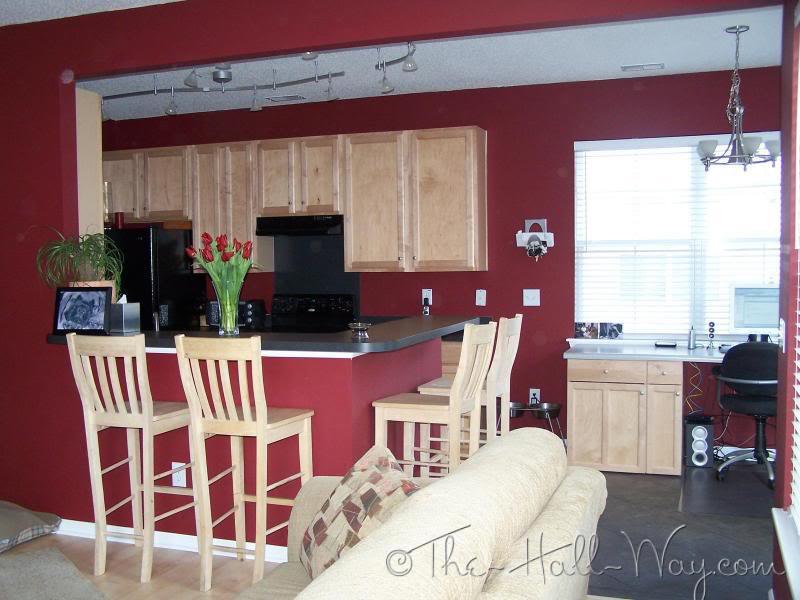
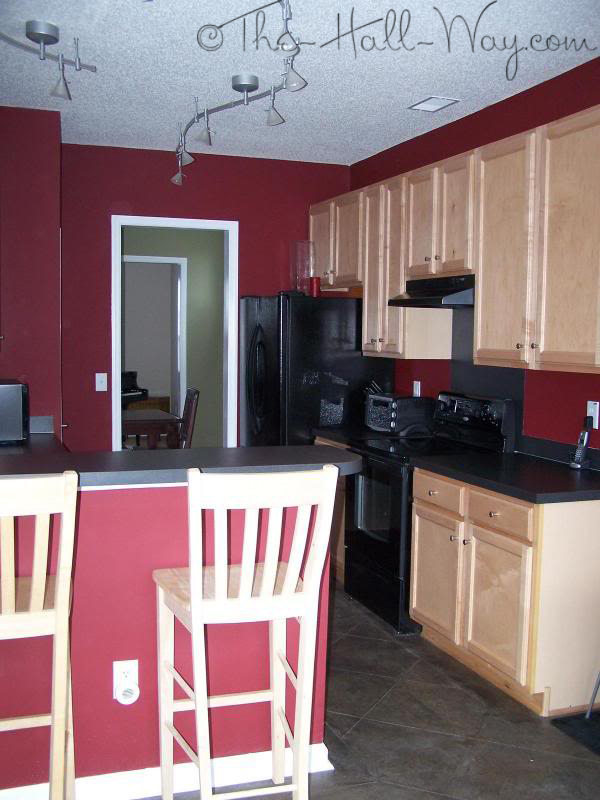
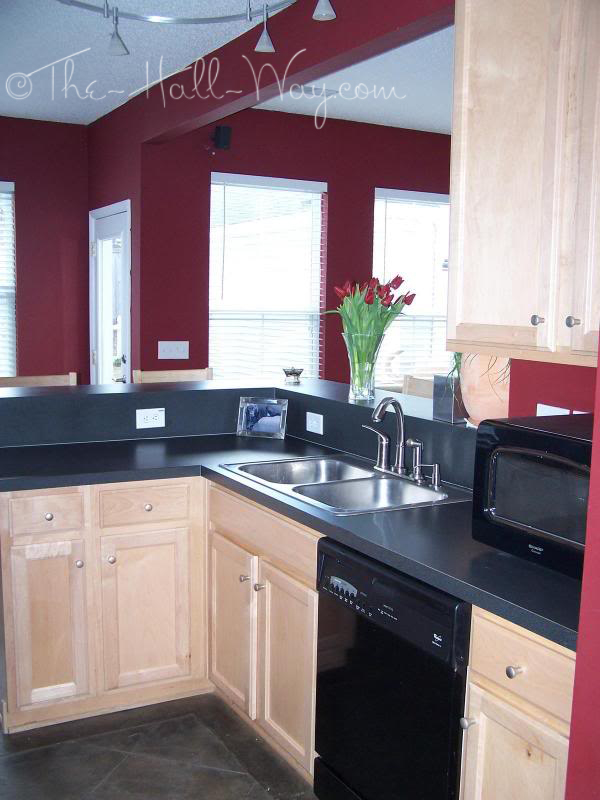
This was during the height of Trading Spaces so a lot of our ideas came from there. We went “bold” in the family room and kitchen with dark red. Everyone loved it.
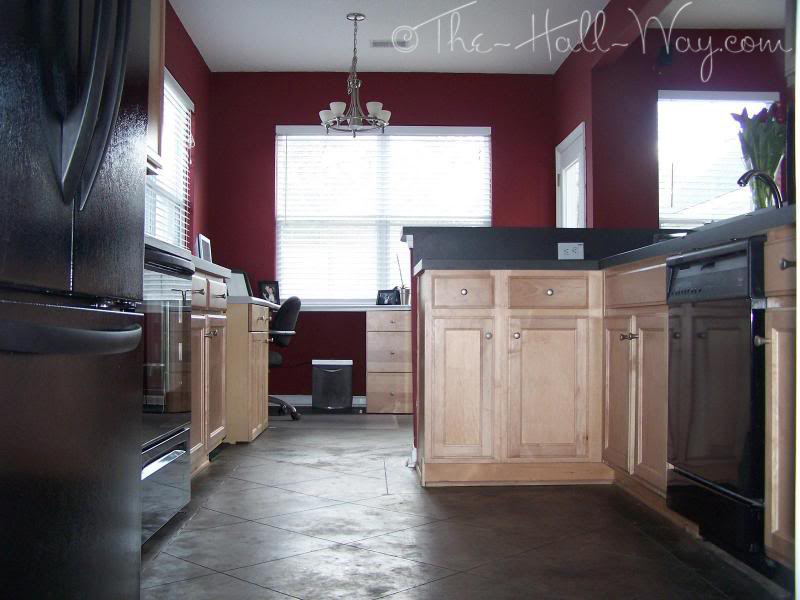
The upstairs front bedroom was originally our office until The Kid was born. Since we mostly ate at the bar anyway, we made a “built-in” desk in the breakfast nook.
We chose to not have the standard kitchen fluorescent light installed and instead put up a track lighting there and where the sink recessed light was.
About a year before we moved out, we tore out the kitchen linoleum and acid stained the concrete slab below. It was a lot of work – mainly getting the concrete completely clean so it would take the stain.
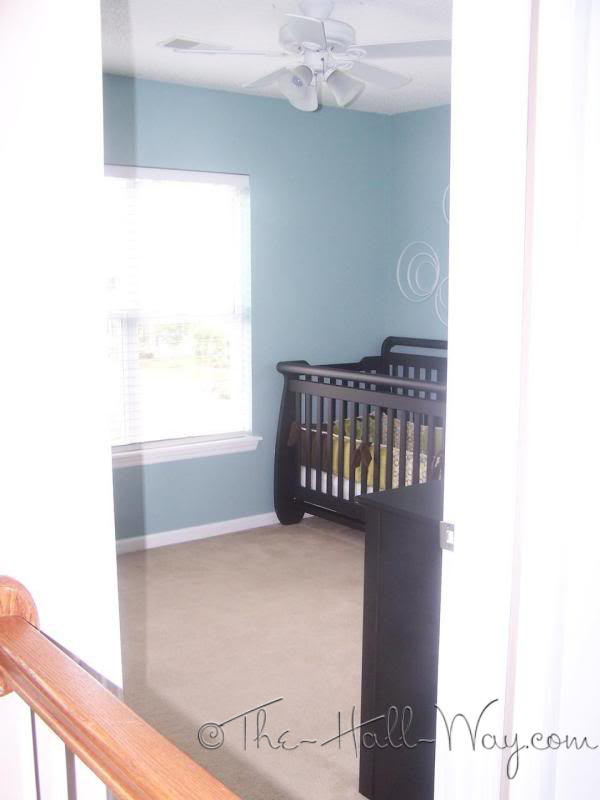
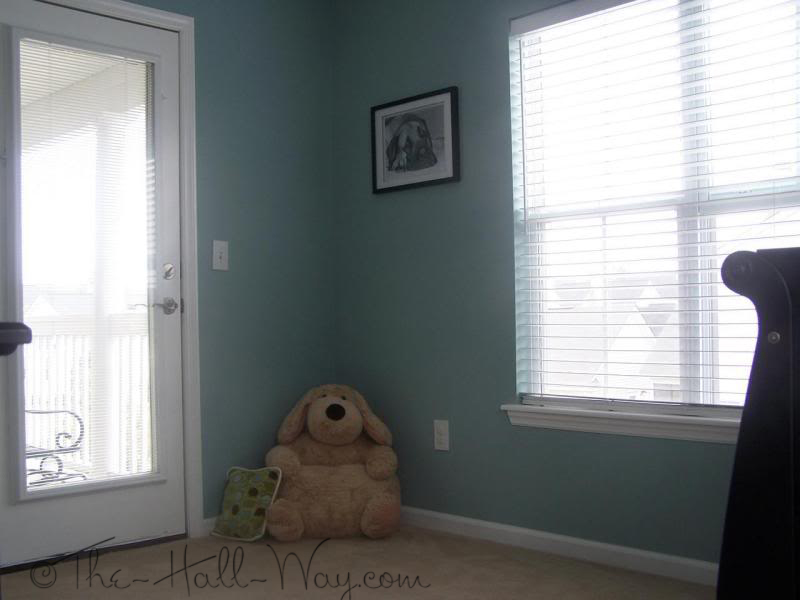
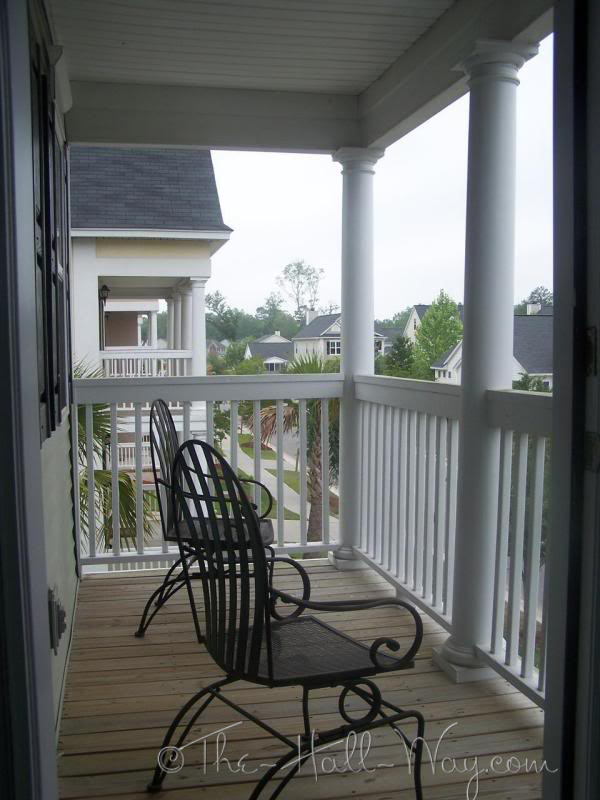
Upstairs, the front bedroom had the door to the upper porch. We used this for the office and, eventually, the nursery.
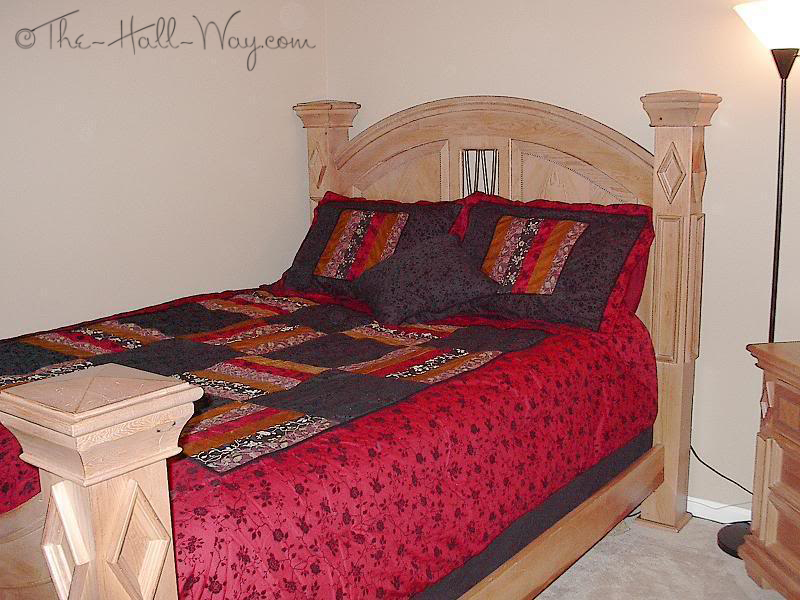
The middle bedroom was really tiny which was made worse by an angled corner we weren’t expecting. Our large old bedroom furniture didn’t help much. . .
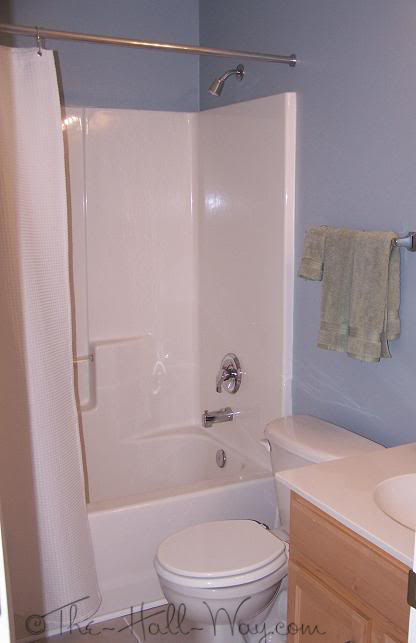
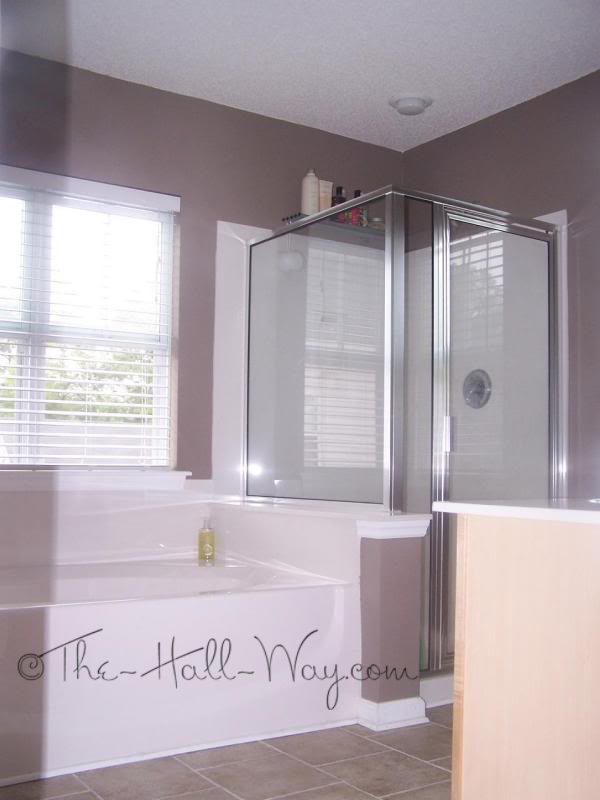
Two of our regrets were not getting smooth ceilings instead of the standard popcorn and not putting a window over the tub in this bathroom. We eventually replaced the linoleum with inexpensive tile which was a nice upgrade.
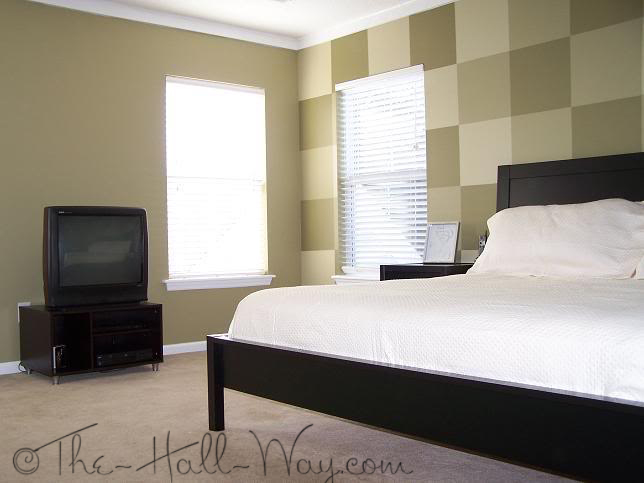
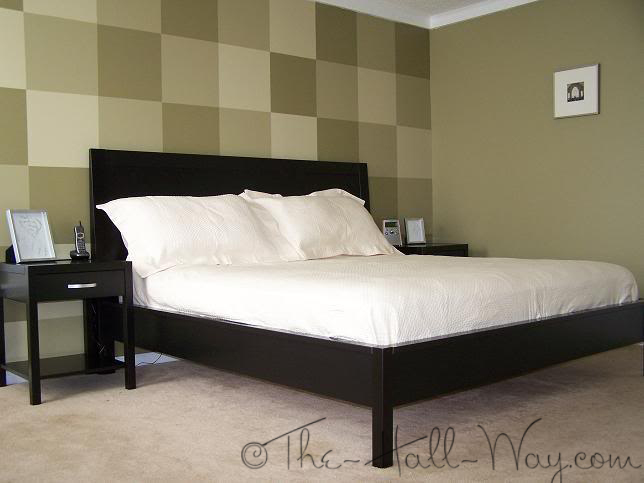
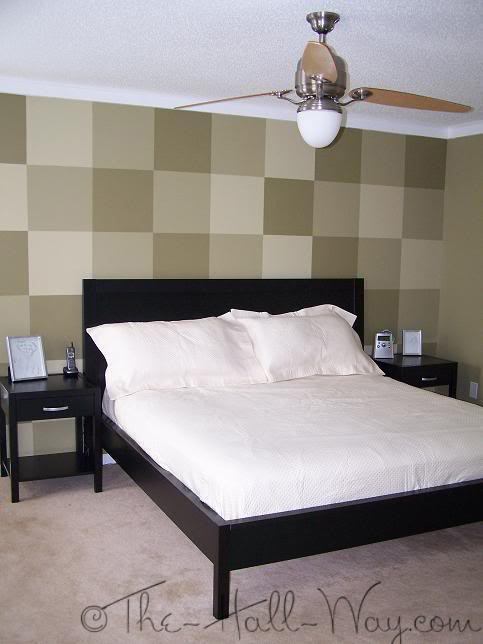
Another Trading Spaces inspired room – our master bedroom. We actually painted this twice too. I was trying to copy a room I had seen on that show, but the original greens I picked were too bluish. I found the actually colors they used on the show and we painstakingly repainted the squares and the other 3 walls. We also added the crown molding.
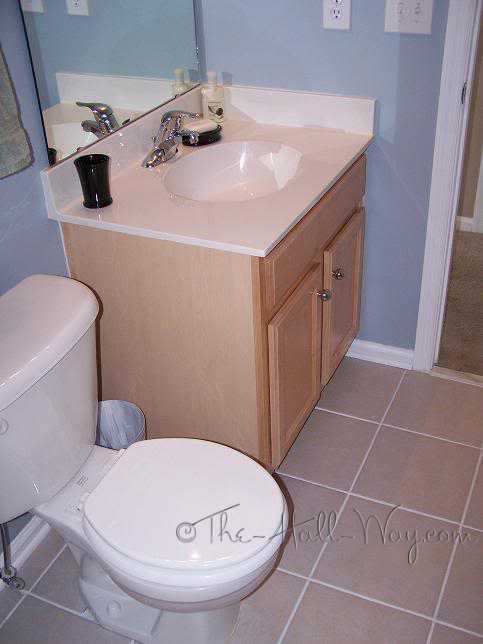
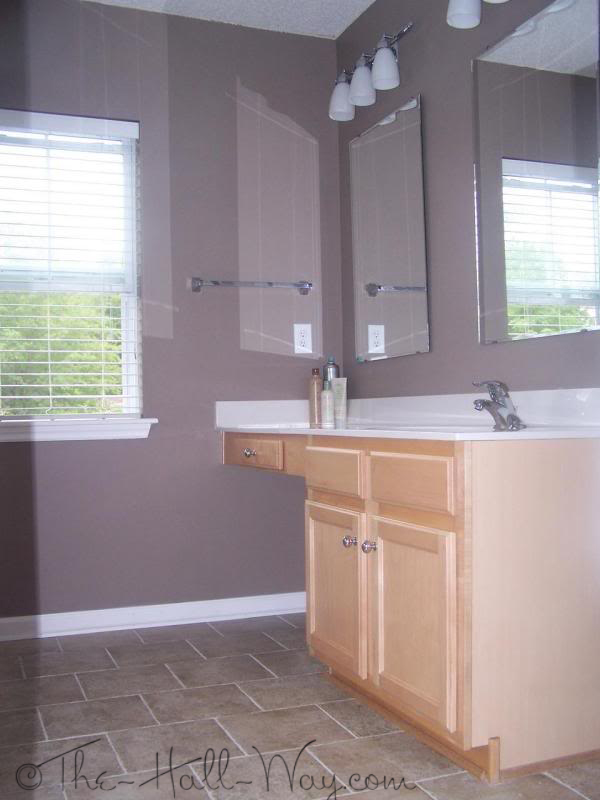
We also replaced the linoleum in our bathroom with tile which we wished we had done a lot sooner.
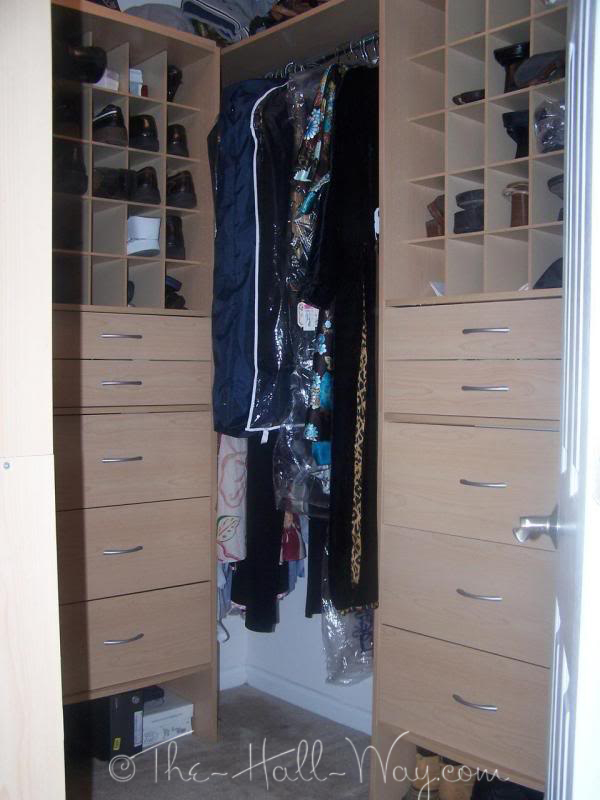
Closetmaid closet system installed by us:
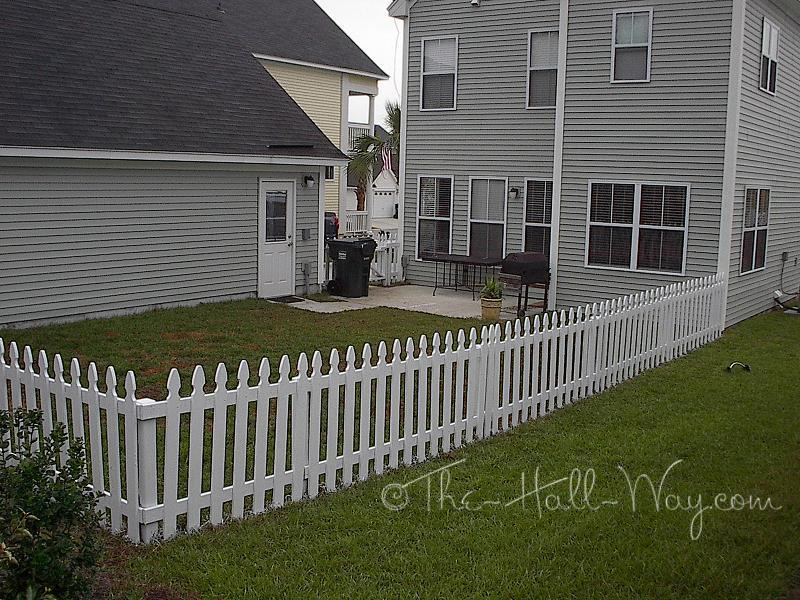
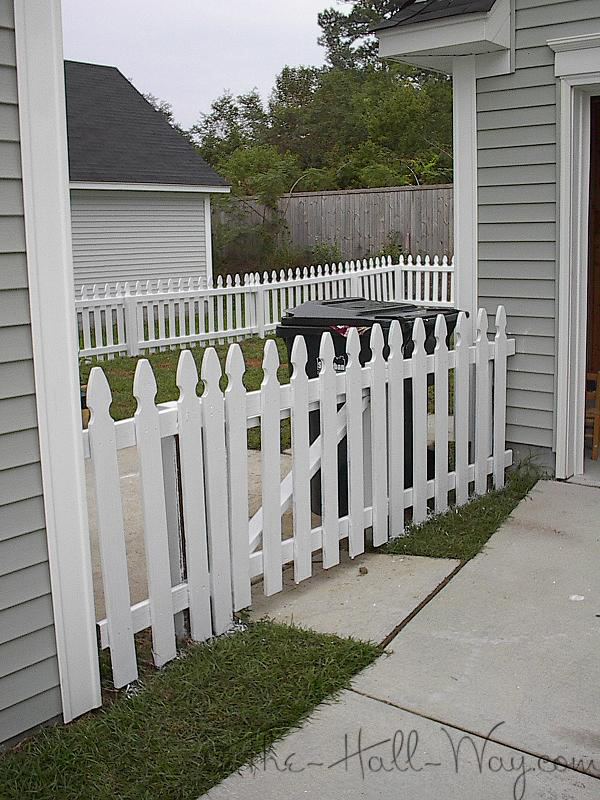
Our backyard, complete with the white picket fence 🙂 David and a friend installed a sprinkler system in the entire yard. Small yard, but it was a lot of work and he’s now an expert!
And to finish, my old MINI parallel parked in the garage . . .


