Home Theater – Part 2
Continuing on from my previous post about Home Theater Progress, once we had all the wires ran, David began building the cabinet box for the electronics. He added holes in the back for an outlet, the HDMI cables and the speaker wires while trying to keep everything from being too close together and causing interference.
He then patched the drywall around the hole we had cut along with a few other places that needed repaired around the room.
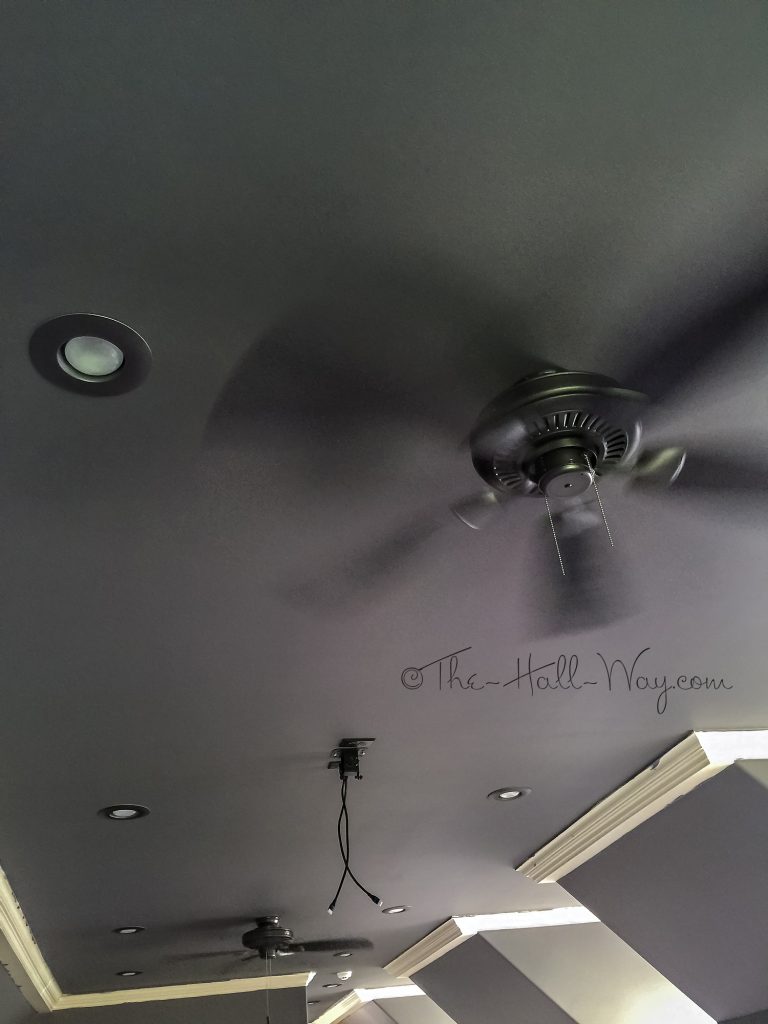
Since the ceiling was now going to be a dark color, I wasn’t crazy about leaving the white recessed lights everywhere. (There are a ton up there!) I picked up a couple cans of spray paint and we painted a couple samples on the backside of one of the light trims.
 The metallic Rustoleum Soft Black Iron was a good match, so we went with that. We took down all 15 lights and I sprayed them outside. Once we had the ceiling painted, we reinstalled them.
Obviously, the light bulbs are still white but they blend in much better than before. We also replaced both bronze ceiling fans with iron and black finished ones that are lower profile. One concern was whether the ceiling fan in front of the projector would interfere with the picture, but it’s not an issue.
While I had the spray paint, I went ahead and painted the white air filter cover which is at the back of the room and a white air vent above the door at the bottom of the staircase. At least now they don’t scream “Look at me” when you walk by.
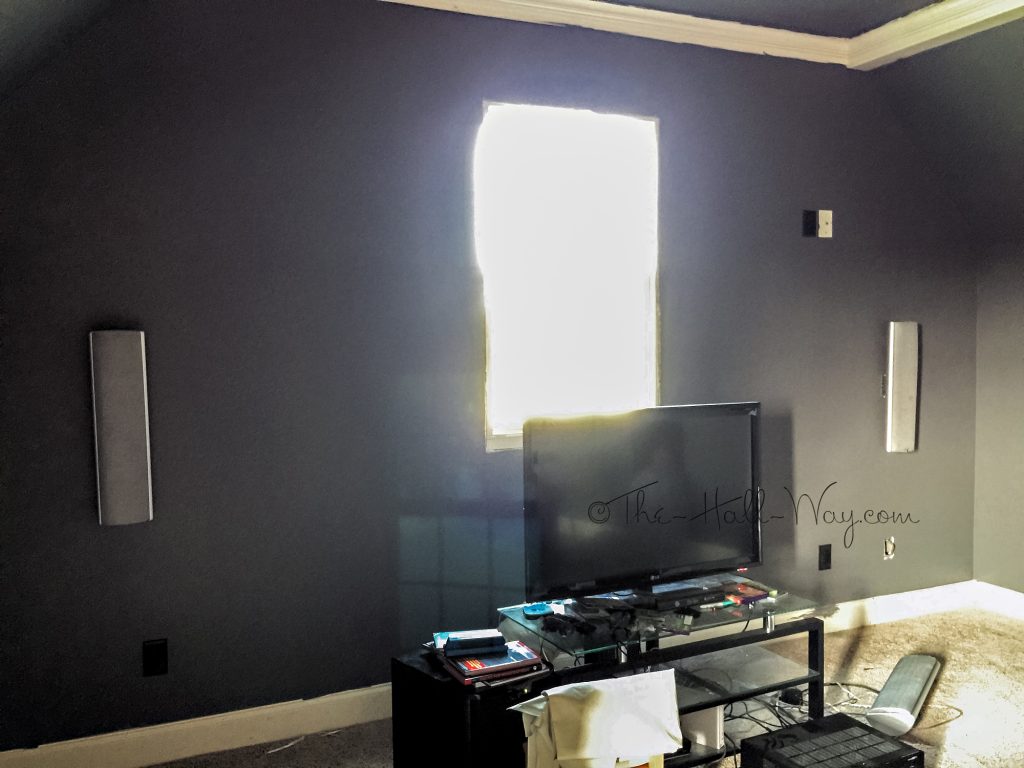
Once the ceiling and walls were painted, we were able to hang the speaker mounts and hook up the speakers to the newly run wires. (Please note that the trim still needs to be painted)
I also forgot to mention that we changed all the outlets and switches from ivory to black. A little detail that makes a difference.
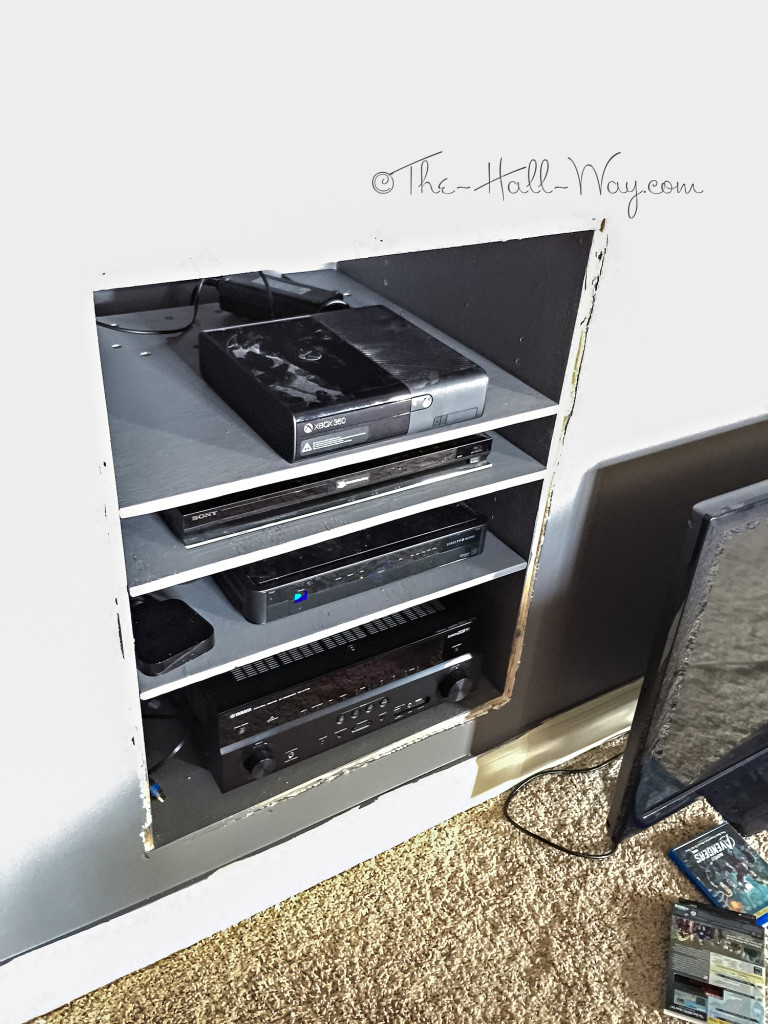
While painting the walls, we also painted the inside of the new wall cabinet. David installed jacks for all the wires.
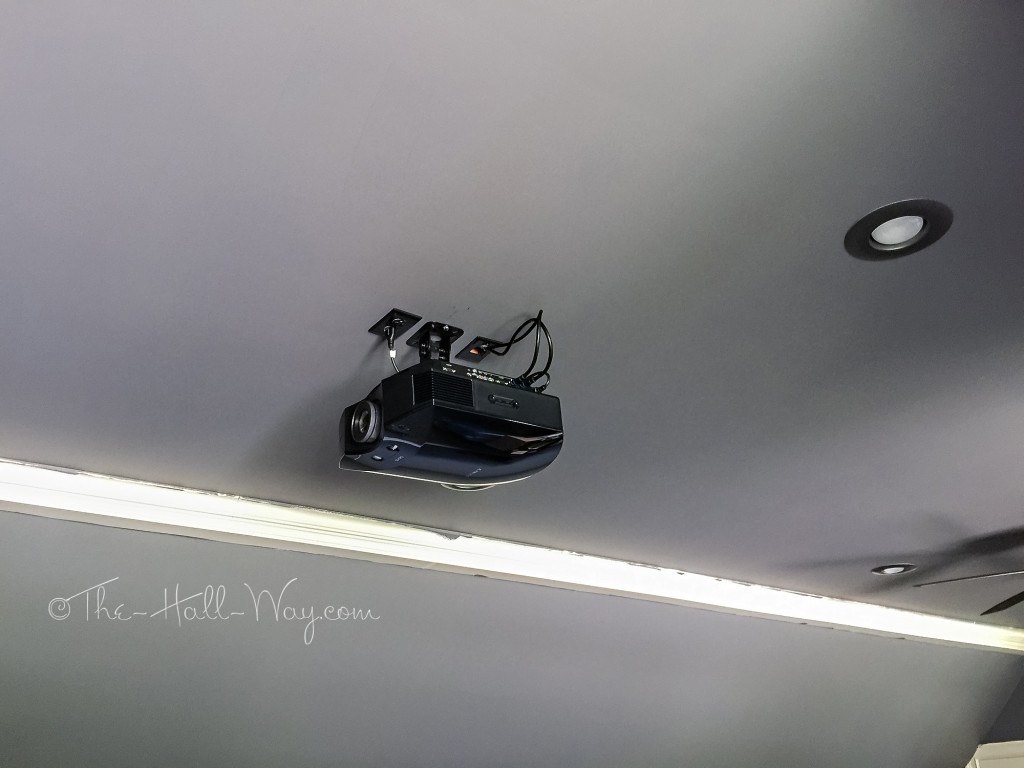
The projector beat the screen to the house, so we got it hung with the new mount David had ordered.
He drilled shelf peg holes in the cabinet walls and built shelves for the electronics. There is a cutout in the back for the wires to run and he drilled extra holes for ventilation. All it needs now is some trim (and to be dusted!)
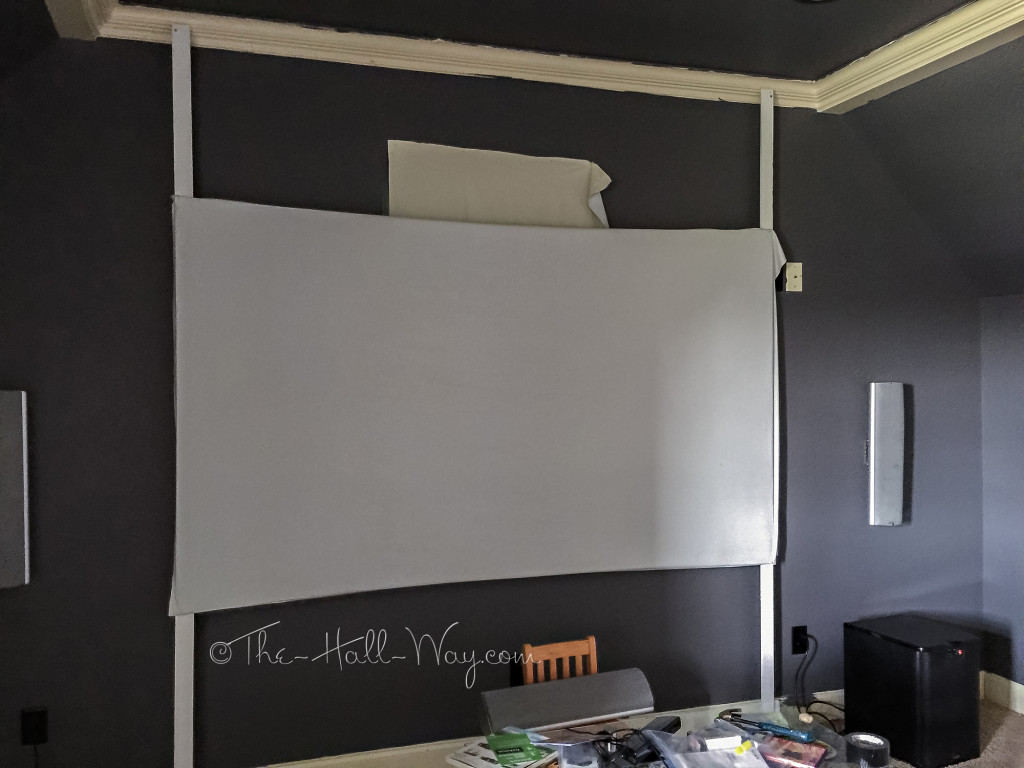
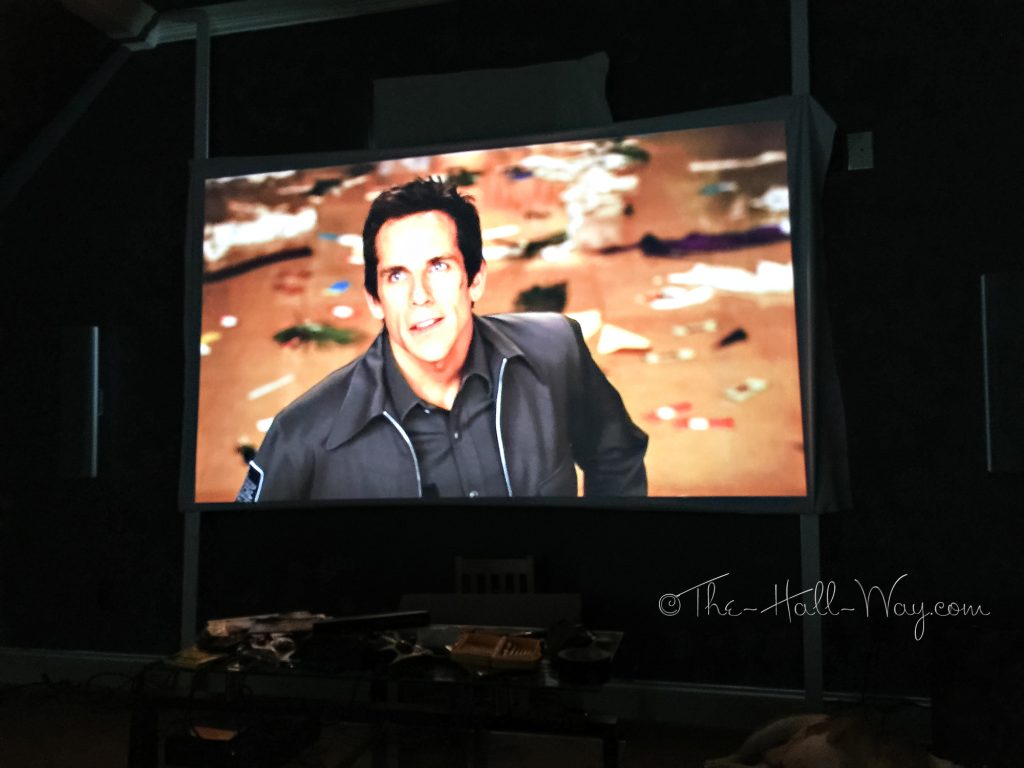
Since our screen didn’t arrive when expected, we made our own temporary screen. We stapled some extra blackout fabric I had to some scrap lumber and created ~106″ screen. A bit smaller than the one we ordered, but it gave us something to test the projector with.
The projector worked great straight out of the box. We’ll just have to do a few minor adjustments once the real screen gets here. We finally got to try out some of the 3D Blu-ray movies we have.
Hopefully, the screen will be here this week and I’m going to start working on the trim paint. That’s going to be a tedious job because there is a lot of it. I’ve been looking for blackout curtains to replace the roller shades and will try to get those this week as well. Once that is all done, we will need to build the platform for the recliners. That will take some work as it’s going to be around 9 1/2′ wide by 11′ deep. The front riser will be about 4″ high and the back riser will be 16″ high. We will have to do most of the assembly in the room because it will never make it up the stairs. We need to decide whether we are going to replace the carpet in the room and what the platform will be covered in. Once that is complete, the chairs will be ordered.






Hi thank you for posting these, we are planning a home theatre room and your posts are very helpful! Also love your post on Behr Sculptor Clay as a BM alternative to Revere Pewter, never even thought of that and I can’t wait to put a swatch on my wall! I am not sure if this was mentioned elsewhere but I could not find it, did you end up going with Behr Marquee Magnet for your home theatre room? Did you use Behr Premium Plus Ultra in Eggshell here as well? Is the trim Behr Marquee Silver City in semi-gloss finish? Thanks so much!
The theater walls and ceiling are Behr Marquee Magnet in Matte. I had planned to use Premium Plus Ultra in Flat, but they have to color match the Marquee swatches and it wasn’t going to be an exact match. So, we just used the Marquee paint. The trim is Behr Marquee Silver City in Satin. I wanted something with less sheen for the trim than we have in the rest of the house, so I took it down a level to Satin instead of Semi-Gloss. Hope that helps!