Master Closet – Part 2
I finished my last post with a glimpse of what we were working on.
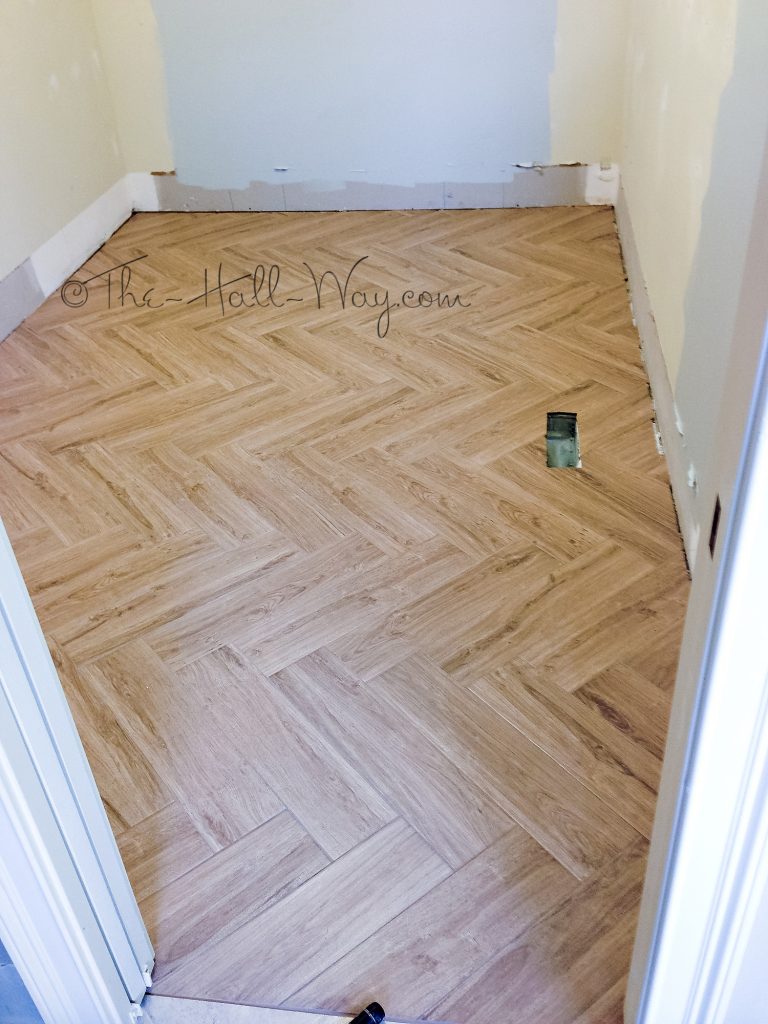
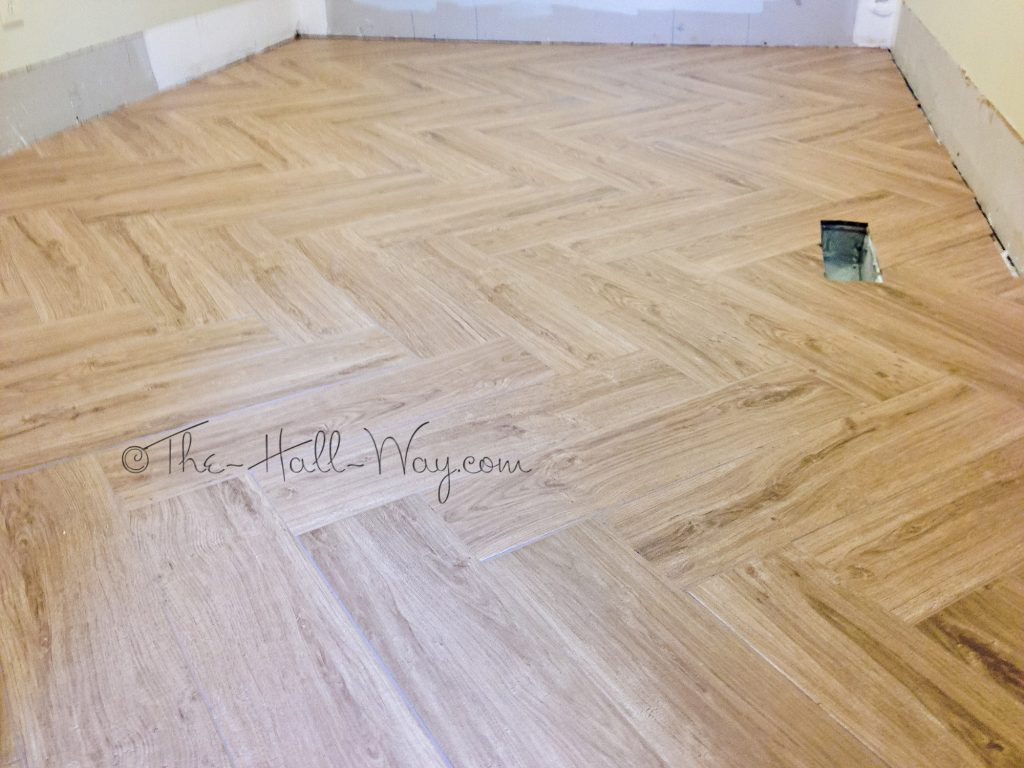
We ended up going with a tile that looks like wood from Lowe’s. It’s Style Selections Serso Wheat Tile. I need to take some pictures with my real camera to show the color better, but it has similar tones to what is in our bathroom, so they go well together. The next picture is pre-grout.
We were originally going to lay it in a standard wood pattern. I had secretly thought about a herringbone pattern, but wasn’t going to say anything. David actually mentioned it, so I laid it out that way while he was working on something else. We decided to give it a try, but laid it sideways instead of lengthwise since the room is long and narrow.
We knew it would be a lot of extra work for just a closet where half the floor is going to be covered with cabinets, but it turned out awesome. We both really like it. I picked Mapai Chamois grout which blended in well once dry (It’s still wet in the picture below which is why it looks weird up close).
Meanwhile, Sunday, we ran back to Lowe’s to get lumber for the cabinets. We didn’t buy everything I had planned, but we still loaded the truck down. 20 sheets of plywood and 8 2×6 boards.
I cut the boards done Monday night for the cabinet bases, but still need to screw them together. My dad and I spent 7 hours yesterday cutting down the plywood. It was a ton of work. Now, I need to lay everything out so I can see how it’s going to go together, drill the pocket holes and put a coat of paint on the visible sides. Then I’ll be able to start assembly in the closet.


Hi, What method did you and your dad use to cut down the plywood? Did you use a circular saw and guide like the Kreg Rip Cut or did you use a track saw?
We just used a tape measure and circular saw. We have a table saw, but it’s not heavy duty enough to cut those big, thick sheets of plywood and mdf. I, unfortunately, came across the Kreg Rip Cut after the fact and we would have definitely bought one of those if I had seen it sooner.