Blog
Master Closet – Part 7
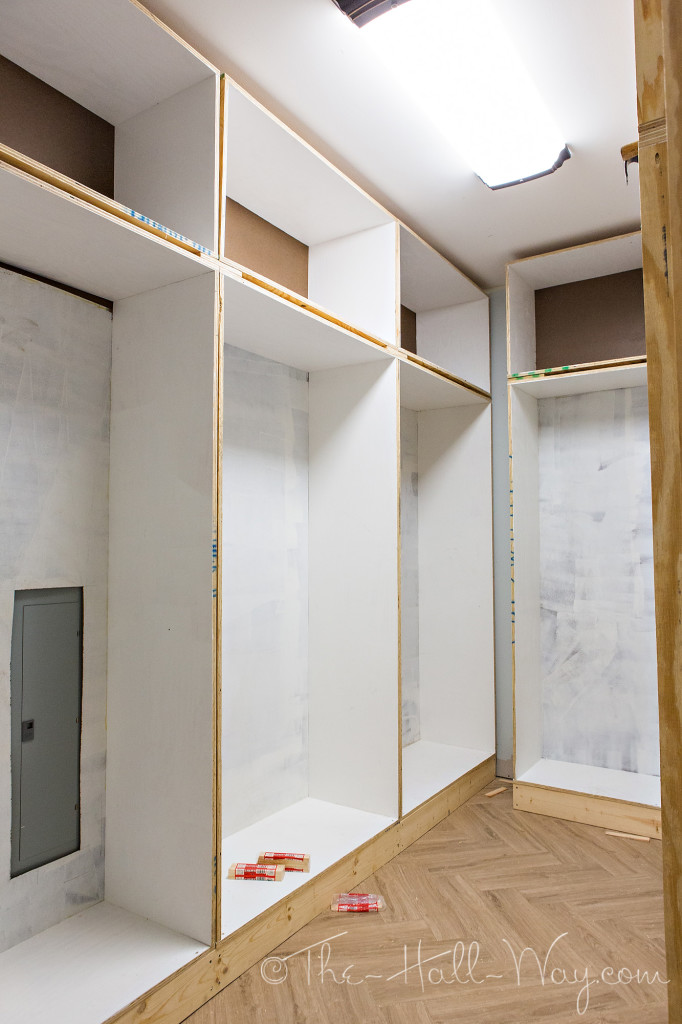
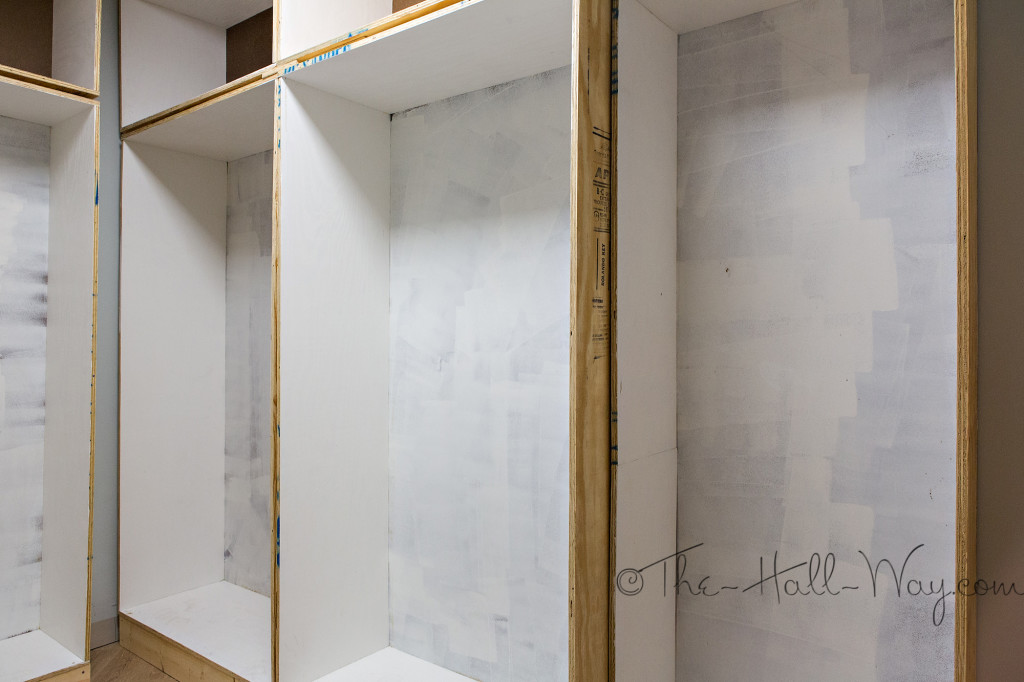
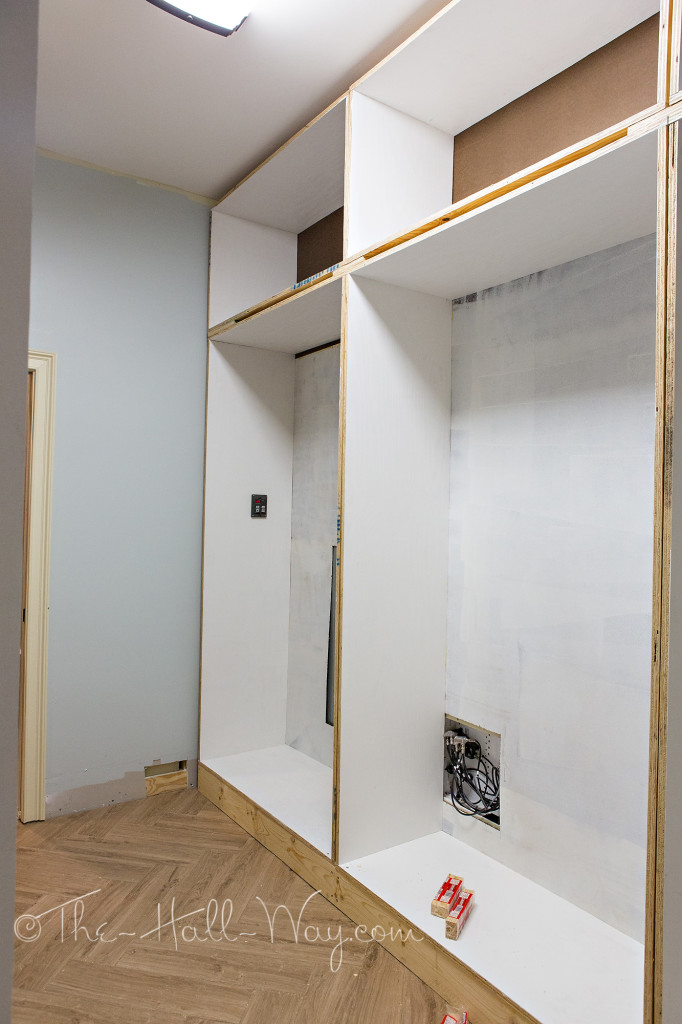
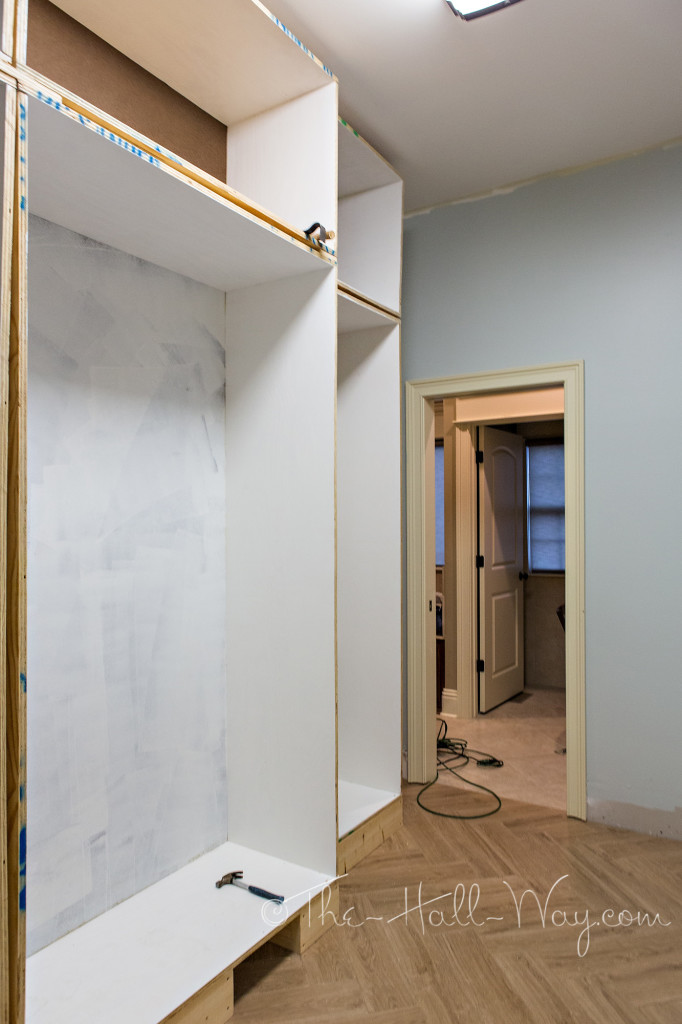
In the midst of catching up on all our Christmas shopping, cards, etc, our closet is still .01% unfinished. We are completely moved into it though. We still have a lot of hanging room available and, although all the drawers have something in them, most are far from full. All my purses are on the very top shelves, but there is still a lot of space open up there too.
The mirror in the rear cabinet still isn’t hung. I’m going to mount it with construction adhesive and trim it out with 1Xs. We may put a full length mirror on the the opposite wall next to the door.
The new chrome light fixture is hung, but I need to touch up the ceiling where the fluorescent light was. I got a great deal on the light and it looks so much better. The only downside is that the 4- 100W bulbs heat up the closet fast compared to the fluorescent, but we may change them out for LEDs at some point. The crown molding still needs to be finished, caulked and painted, but that’s all cosmetic.
The drawer pulls were installed which made a big difference. They are almost too pretty for a closet! I’m tempted to use them somewhere else in the house as well.
With luck, things will slow down after this week and we’ll have time to finish it all up. Then, I’ll finally be able to post pictures of the whole thing. *fingers crossed*
Master Closet – Part 6
It’s done!!!
Well, 99.98% done. Between a quick trip out of state and Thanksgiving activities, we only had about 2 good work days the week after my last post. We bought the rest of the boards for the drawer boxes. We needed about 15 1×8 poplar boards, but Lowe’s never seemed to have more than 3 in stock at any one time. It took a few trips, but we finally got all that we needed. Putting the drawer boxes together was pretty redundant, but I did get sick of drilling Kreg holes for the screws since I had so many to do. We decided to go the easy route with the drawer bottoms so we just glued and stapled 1/4″ plywood to the bottom instead of cutting a channel in the drawer frames for the bottom to slide into.
Since they will only be holding clothes and none of the drawers are very large, our glue and staple method should hold up fine. (My Kreg Jig depth was off a little on some of the pieces which is why you can see some screw tips sticking out the sides of a few of the drawers. Not an issue now that they are installed.)
While I finished up the drawer assembly, David started installing the drawer slides into the cabinets. Since our trim pieces overhang the cabinet frames, he had to use a combination of 3/4″ and 1/4″ plywood scraps plus shims to mount the drawer slides so they would clear the trim pieces. It was a tedious and time consuming job to get everything level and the right width so that the drawer slides would operate correctly. That was one aspect we probably could have planned better in the beginning. Lesson learned.
Once he had the drawers installed, I was able to start building the drawer fronts. Since neither the cabinets or the drawers are perfect, each drawer front had to be measured and installed individually to try to get the spacing on all sides to be as even as possible. Assembling the drawer fronts was fairly easy. I ended up moving indoors since it has been raining and windy most of the week.
I installed the bottom drawer front first on each cabinet leaving 1/16″ clearance below it. I had planned for 1/8″ clearance between each drawer and found that a paint stir stick is right at 1/8″ thick. So, once the bottom drawer front was installed, I’d lay a paint stick across the top and set the next drawer front on top of it. I used double sided duct tape to temporarily hold the front in place while I screwed it onto the drawer from the inside. The bottom 4 drawer fronts were all the same heights, but the widths varied 1/16-1/8″ due to the cabinet frame plywood not being perfectly straight. I wrote the measurement for each drawer width on the front of the drawers, where it would later be covered, so that I knew which drawer front went on which drawer. Once the bottom 4 drawers were done, I would measure and build the top drawer front to fill in the remaining space. Some drawer fronts had to be shimmed so that they would stay flush with the cabinet trim. Others stuck out beyond the cabinet trim so I sanded them down some and will try to adjust the drawer slides to compensate.
Installing the drawer fronts on the rear cabinet was a bit more complicated since it has 4 different drawer depths (You can see it on the left of the picture below). The top 2 drawers in the rear cabinet are too shallow for framed fronts, so I just put 4.5″ flat fronts on those.
Once that was finished, I filled all the seams with wood putty. I then carried all 27 drawers back outside so that I could stand down the fronts to get everything as smooth and flat as possible. Fortunately, I remembered to label each drawer as I removed it so that I knew where it went. Since each drawer is slightly different, they are not interchangeable. Once sanded, I blew the dust off with the compressor, than moved them into the garage. I spent Friday caulking the inside of the drawer front frames, waiting for that to dry, then giving them all 2 coats of paint. I brushed the paint on, but ran over them with a 4″ foam roller to give them a more uniform and “sprayed on” look.
Meanwhile, after 2 months of searching, I finally ordered a new light fixture to replace the old fluorescent one. I had a horrible time finding something that didn’t cost a fortune, came in chrome or polished nickel, would put out enough light, wasn’t flush mount to the ceiling and wouldn’t put off a ton of heat. I came across a chrome island light for $60 last week and I ordered it. It has 4 -100W bulbs in it and is plenty bright enough. I put my favorite Reveal bulbs in it which is a nice change from the awful florescent light color. It came with 3-12″ down rods plus a 6″ one so we could determine how low it hangs. Between the 10′ ceilings and the tall cabinets, the closet now has a bit of an elevator shaft feel, so I wanted something that hung down enough to get light to where our clothes are actually hanging.
I have also ordered cabinet pulls for the drawers and they will get here on Monday. I had a hard time deciding on those too because I didn’t want to spend a fortune, but wanted something I liked. I spent a bit more than I planned, but I really like what I ordered. They are also chrome to match the new light fixture. For the top 2 drawers on the rear cabinet, I think I am going to put knobs instead, but I’m waiting to get the pulls so I can decide what will go with them. I’m very excited to get the pulls installed so we can actually get the drawers open without a battle!
There are still several little things that need finished before we can say it’s completely done. We still need to install the remaining crown molding, then caulk and paint all of it. I need to touch up the blue paint on the walls and paint the ceiling where the 4′ fluorescent light was hanging. I hope to get this all finished this week, but it will depend on when/if we can finish the crown molding. Once it’s all done, I take some “real” pictures and post the final reveal 🙂
Master Closet – Part 5
We picked up the crown molding after I finished my last post and started getting it installed. We had a couple hiccups, but no major issues. It is all up except around the rear cabinet which is going to require some modification.
The crown molding sticks out 5″ from the front of the cabinets. There isn’t enough room on the sides of the rear cabinet to fit both pieces, so we are going to have to trim it down. Fortunately, the piece across the front of the rear cabinet will partially block the view of the modified sides pieces.
I ended up not getting the drawer slides ordered as soon as I had planned, then they took another week to get here. Buying them locally would have cost around $20 each – I got them for around $7 each with shipping although it was still nearly $200 for all 27 pairs of them. Ouch. They are all full extension slides with 70 or 100 lb weight limits and the majority of them are soft close as well.
We didn’t want to start on the drawers until we had the slides and made sure we knew how everything was going to go together. I had originally planned to use MDF boards for the drawer boxes, but we had concerns about the drawer slide screws working loose in the MDF. Instead, the sides and backs of the drawers are going to be poplar and the front piece is primed MDF. I am going to trim the front with MDF to make recessed panels which is why I am using MDF for the front.
It took a lot of numbers to figure out what width board each drawer needed to be, how long each piece is, how many I need of each, etc. Then, I had to figure out how many boards of each width we needed. The store didn’t have enough 1x8s, so I’m going to have to go back for more. I cut and assembled one drawer and made sure it fit before I cut and assembled more. The first one was ok, so I continued on.
As I write this, I have all the boards we bought cut and have assembled 11 of them. I gave the poplar boards a quick sand after I cut them to remove the rough edges and smooth them out. We are going to leave them unfinished for now, but they could be clear coated in the future if we decide they need it. I drilled pocket holes in the front and side pieces. The holes will be visible inside the drawer on the front piece, but they are on the back of the back piece where they won’t be seen. The front and side pieces are attached inside the side pieces so that the joints are stronger to the constant pulling on the drawers.
We also bought some 1/4″ plywood for the bottoms. We need to cut that down and attach it to the bottoms with glue and staples. None of the drawers are very deep so they won’t be holding a lot of weight.
Then, we’ll need to figure out the drawer slide spacing and get them installed on the drawers and cabinets. If all goes well, I’ll then be able to attach the 1×3 trim to finish off the front of the drawers. The Kid is now off for Thanksgiving Break, so I’m not sure how much we’ll get done this week.
Happy Thanksgiving!
Master Closet – Part 4
Well, the week after my last post ended up being mostly a bust. I quickly realized I wasn’t going to get the center shelves or the trim installed by myself unless I suddenly grew extra arms. To fix the issue with the 1/2″ plywood being warped and potentially not holding up, I screwed inexpensive 1×3 furring strips to the bottom of the middle divider shelves. With the trim along the front, it is not noticeable unless you lay on the floor. 
For the adjustable shelves, I decided to go back to my original plans to use MDF. We lost some money there since I had already cut them out of plywood and had to buy 2 sheets of MDF instead. They are much nicer though so it was worth it – flat, smooth and sturdy.
I had to cut them all down a bit to fit in the openings. Once I had them positioned, I measured and cut 1×2 MDF to trim the front.
Here they are installed.
For the holes, I originally made a jig off a design I found online and used a standard drill bit. It didn’t work too well. The drill bit shredded the plywood leaving awful looking holes. Despite my best efforts, the holes were not level from one side to the other. I decided to splurge and buy Kreg’s Shelf Pin Jig. I hated to spend $30 on something I might not use again, but it was worth it. I drilled the holes in the above picture with the included jig and drill bit. It took very little time and they came out perfect. I ended up filling the previous holes on the other cabinet and redrilled them using the new jig (which I should have done in the first place). I’ll need to use it again on the bathroom cabinet which is currently on hold until the closet is done.
Meanwhile, David and I got the middle divider shelves installed and the trim applied to all the unfinished edges after my week of getting almost nothing done. Getting the trim on made me feel a lot better about the whole project because it looked so much better. The crown molding had to be special ordered so it’s not installed yet.
Last week, I installed the vertical dividers in the drawer cabinets and attached trim to the backer board around the breaker box openings. I filled all the nail holes and seams with wood putty, sanded, filled some more, sanded. I finally got it all cleaned up on Friday and was able to start caulking all the joints. That, too, made a huge difference in the appearance because it started to look more “finished”.
We spent most of Saturday painting all the cabinets. I’m really glad I had already put a coat of paint on most of it before we installed it otherwise it probably would have taken us 2 days to do the final coats. Most of it only required one more coat, but we did apply a 3rd to some areas that needed it. We ran to Lowe’s yesterday morning and picked up the clothing rods. These were pricey for all that they are, but I couldn’t find any cheaper options that would look as nice or be as strong.
David got them installed and we started moving our hanging clothes back in.
You can see the finished air vent in the picture below which would have been covered otherwise.
The unpainted areas are where drawers will go.
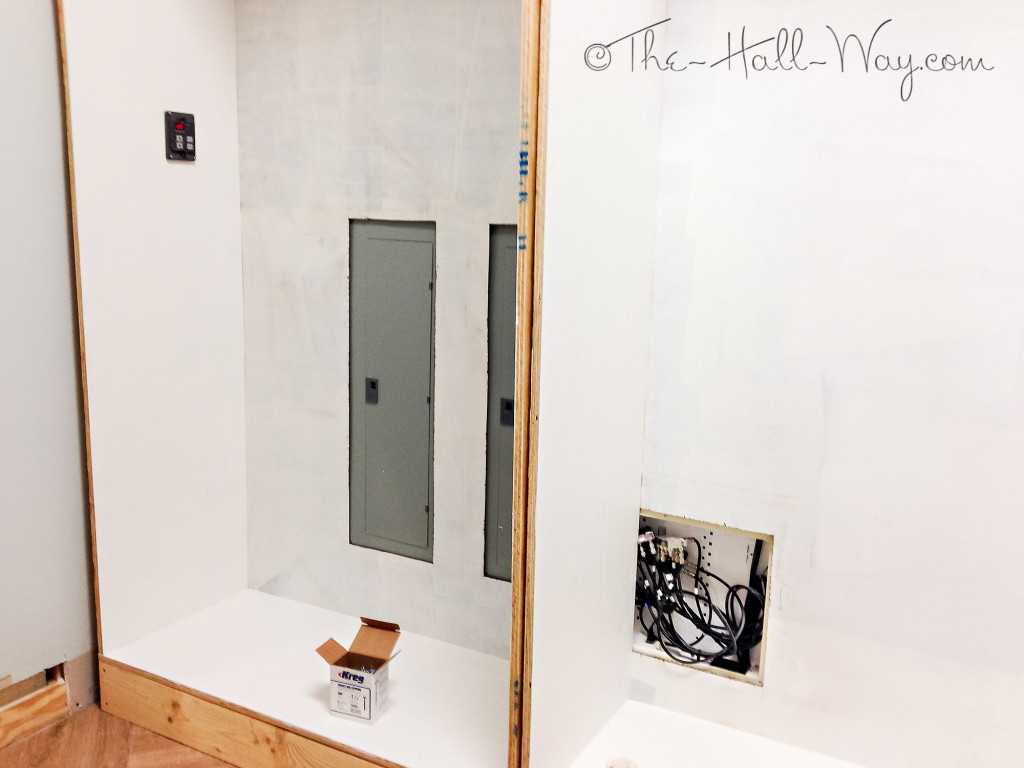
Below you can see all the cut outs we had to make. The top cabinet now has the water heater control mounted to the side. Below it is the 2 large breaker boxes for the house. Behind the shelves is the access box for all the coax wires in the house. I’m still trying to decide whether to paint the breaker box doors to match the cabinets and I need to install the cover over the coax box.
I was pleasantly surprised to find that we have more than enough hanging space. We actually only filled about 2/3 of it. I’m a bit worried that we don’t have enough shoe storage, but I will probably put most of my shoes in very top cabinets since I rarely wear them. We also have the mud room where we keep the pairs we wear every day.
I just got a call while I was typing this saying that our crown molding is in. We will probably pick it up today and maybe get it installed this afternoon. That will really finish the overall look so I am excited to see it.
That will leave only the drawers remaining. I need to order the drawer slides online since they are a lot cheaper than buying them locally. Building the drawers should go pretty quick, but getting them installed correctly will be challenging. I guess we’ll see how it goes!
Master Closet – Part 3
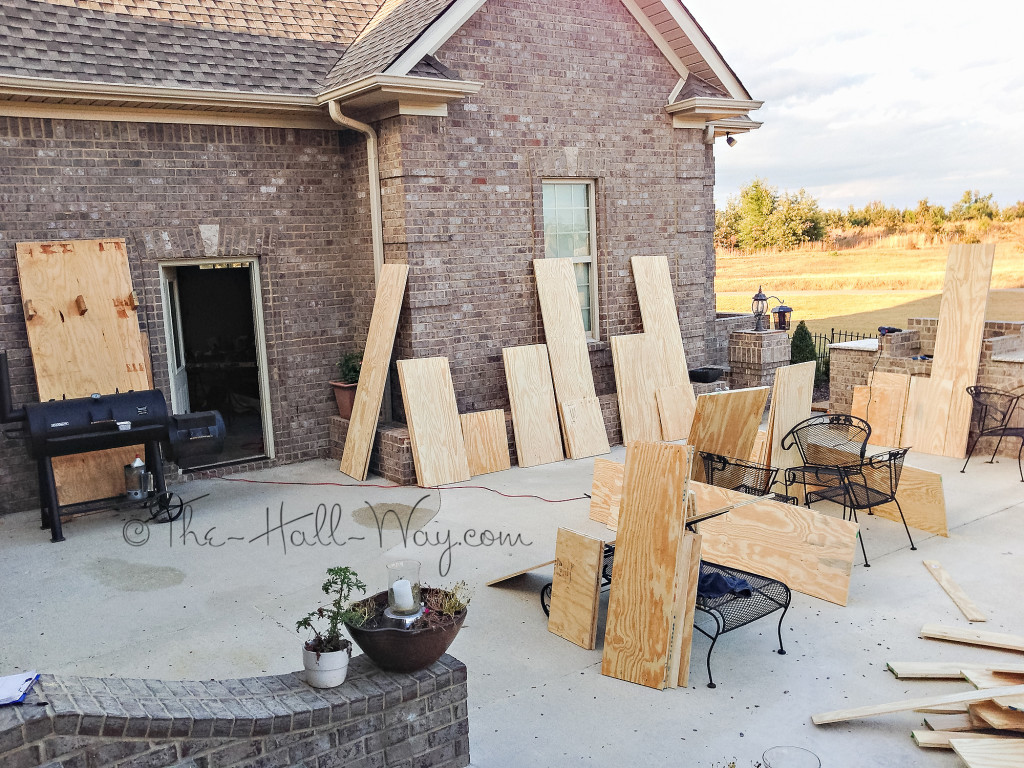
Where did the weekend go? Oh yeah, it’s in our closet. Here are a couple piles of the cut boards after Dad and I finished last week. 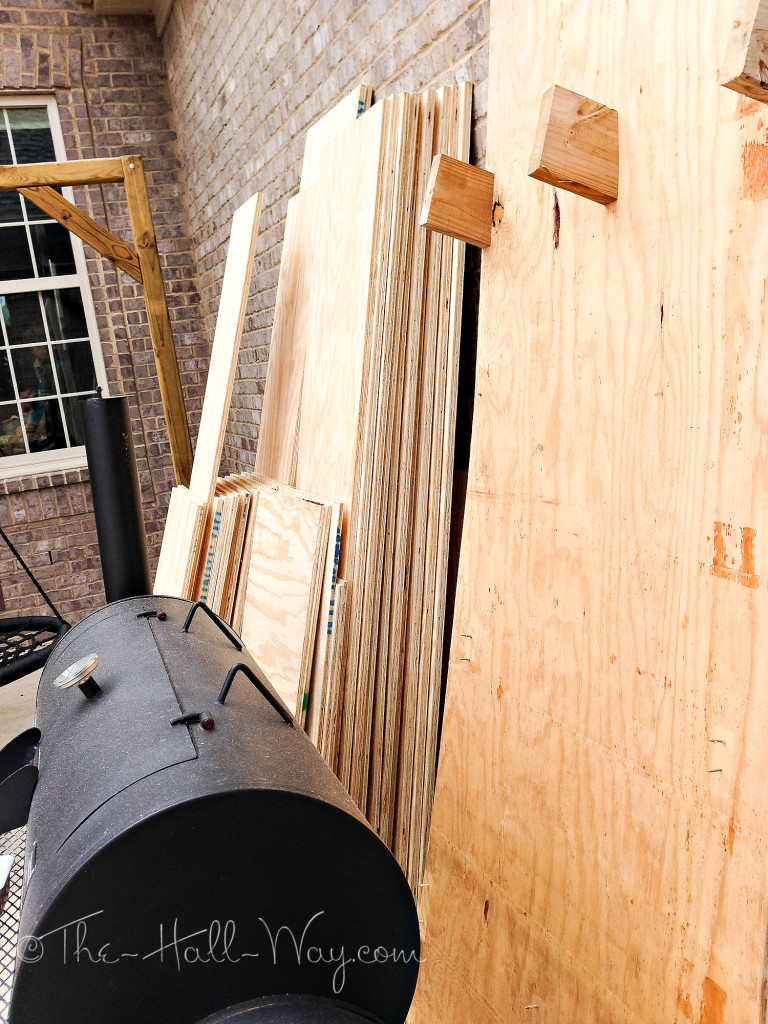
The next day, I organized them by cabinet and labeled them all.
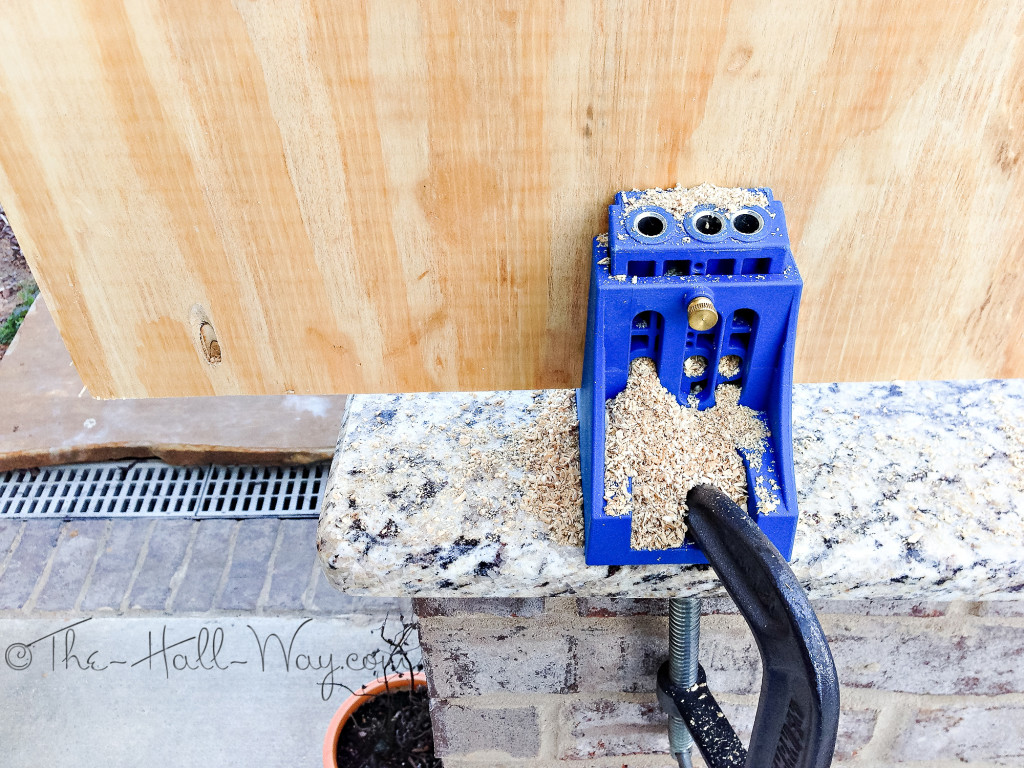
Once I figured out where all the pieces went and how they would go together, I started drilling pocket holes. Thanks to Ana White‘s website for introducing this awesome tool to me. It makes assembly so much easier and sturdier.
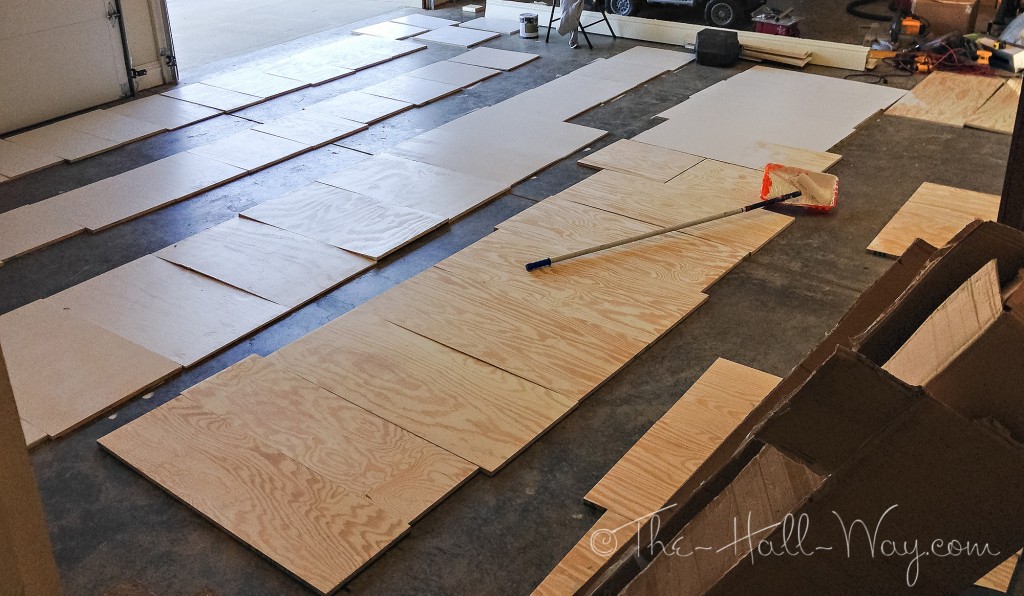
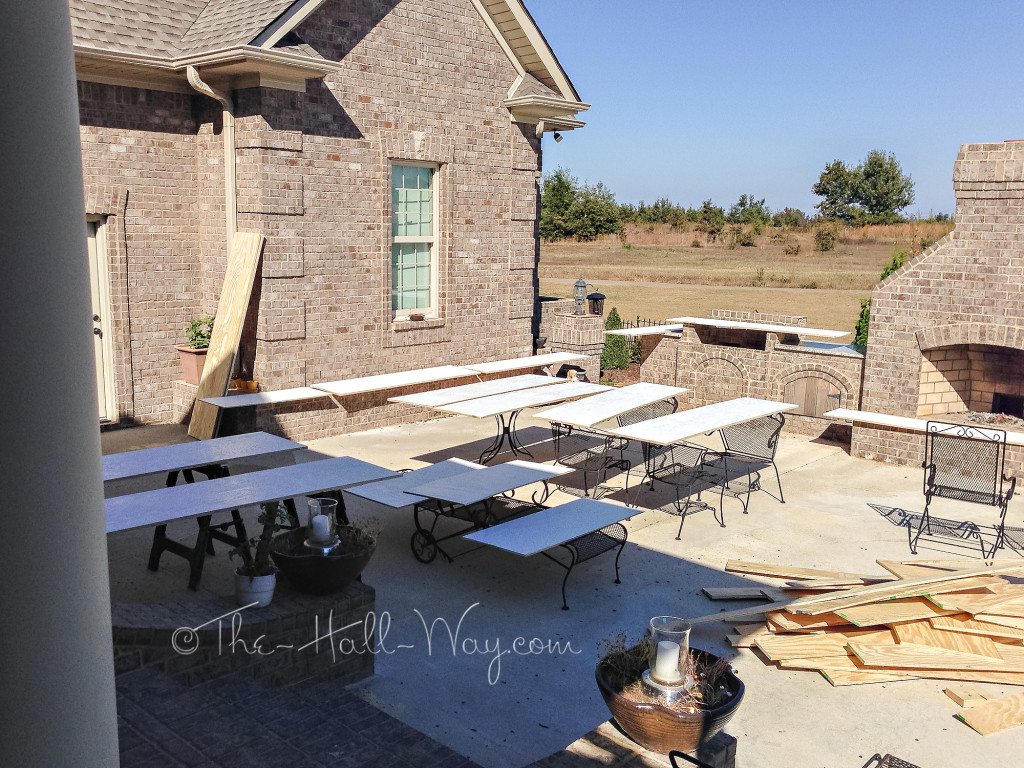
It took most of the garage floor and the patio to lay out all the pieces so I could paint them. I wanted to at least get one coat on before I assembled everything because the second coat is always easier.
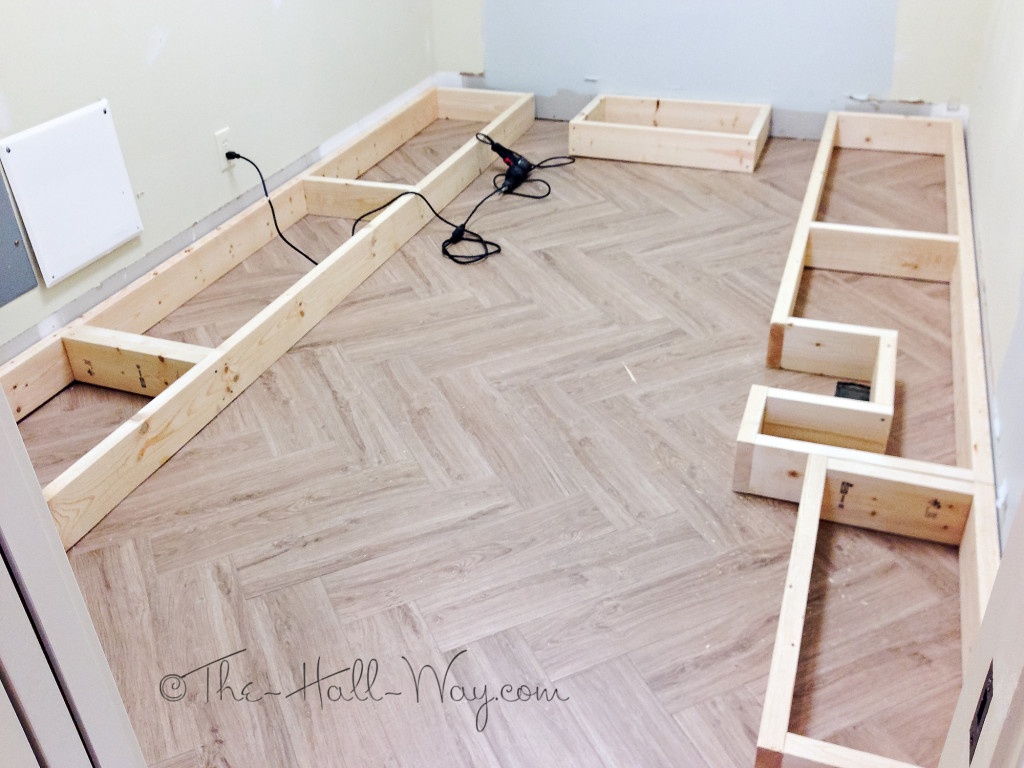
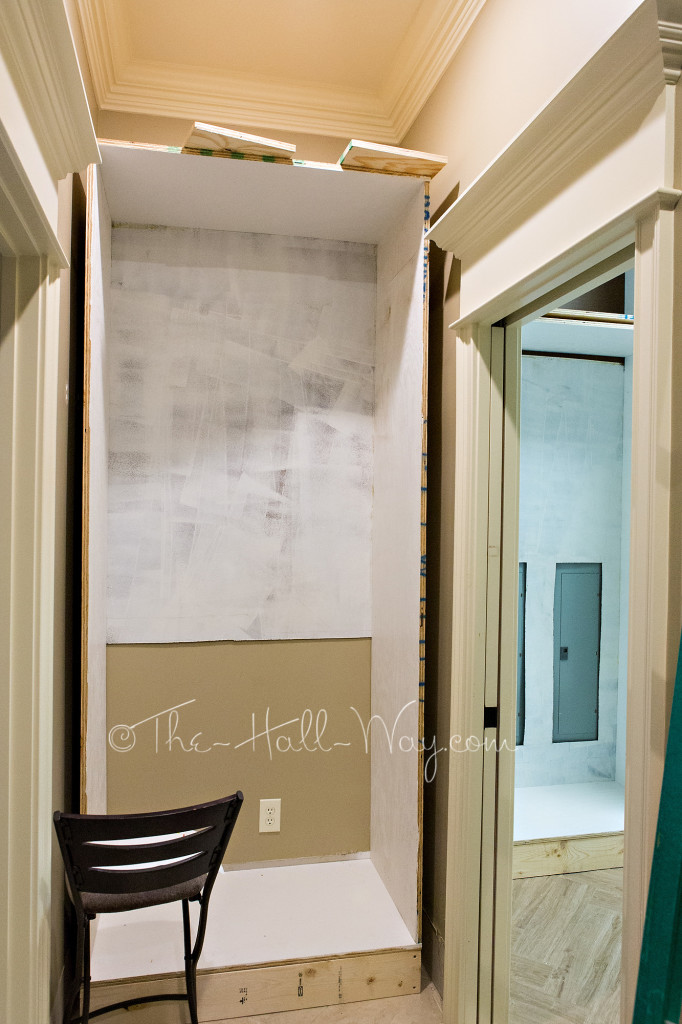
Meanwhile, I had already cut the 2x6s for the bases and we finally got them screwed together. David also attached them to the walls with a couple screws to makes sure they don’t move around. On the right, you can see the cut out we made for the air vent. We will put a register cover in the baseboard trim on the cabinet so that the air isn’t lost under the cabinet.
Getting the first cabinet together seemed to take forever. We had to make another trip to the store to get the backer board. We just used the pegboard type boards without the holes.
The first 2 cabinets took a little more time because we had to cut out holes for the breaker boxes and the coax box. David cut a hole for the tankless water heater wires and mounted the control to the inside of the first cabinet. The rest of the cabinets went together pretty easily, but they didn’t all sit together as nicely as I would have hoped. Fortunately, David was able to shim and adjust them all. He added scrap boards to the tops of the cabinets so that he could screw them all together and keep them square.
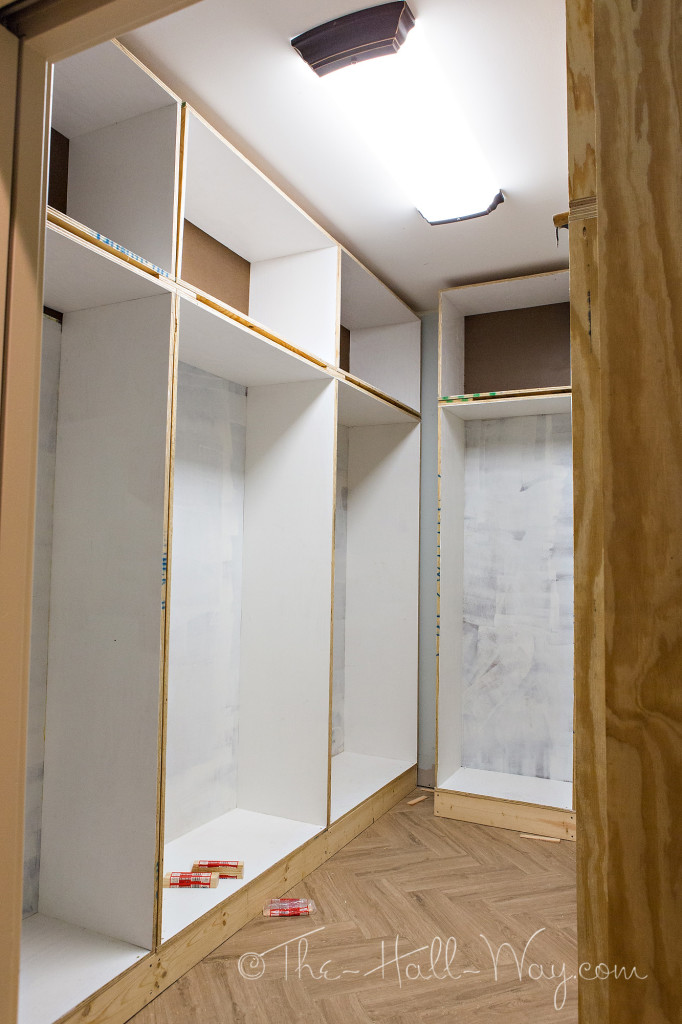
Yesterday, we started assembling the top cabinets. Assembly was pretty easy, getting them onto the lower cabinets was not. Free space in the closet is dwindling and the top cabinet boxes are still pretty big and heavy. We both had to climb ladders while carrying one up, then try to rotate it onto the lower cabinet. It wasn’t fun, but we got it done.
While the closet does feel smaller (and it is), I am pleased that it’s not too tight or crowded in there. I don’t really think there is anything I could have changed to the layout to make it better and that’s good to know.
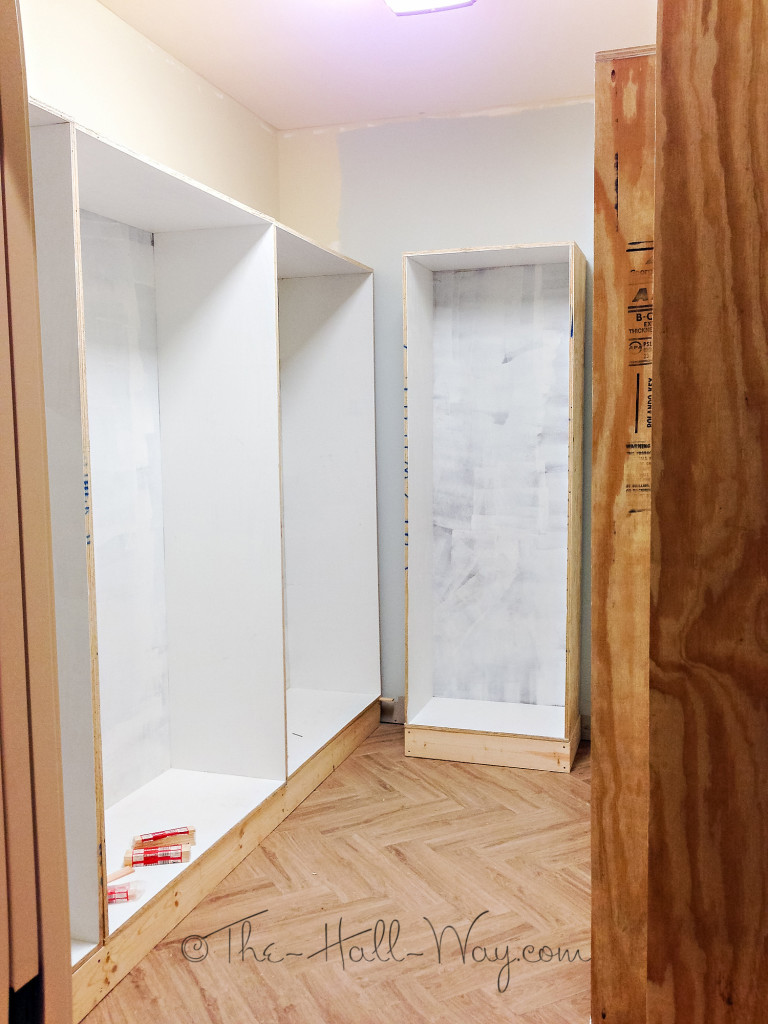
The picture below shows the right side of the closet. The first cabinet (on the right) is not as deep since it’s right in front of the closet door. It will be mainly for drawers and shoes.
This picture is looking back towards the closet door. The old trim color is now all covered up except for around the door and it really sticks out now.
Fortunately, our closet has a pocket door so I didn’t have to design the layout around a swinging door.
We also worked on the bathroom cabinet which will be linen storage and built-in hampers. I designed this lower cabinet to be taller than the closet ones and it caused problems when we tried to slide it into place. See the upper door trim sticking out on either side? Getting it around that was almost impossible. We have the upper cabinet for this done too, but I need to get the crown molding off the walls before we can install it. It’s going to be a challenge to not destroy the ceiling or walls in the process, especially now with this cabinet in the way.
Now, I’m ready to install the shelves and trim, but we have some concerns about the half inch plywood we bought for the shelves. It doesn’t look very nice and all the pieces are warped to one extent or another. David is concerned about how they will hold up. I’m trying to decide whether to just go buy MDF or something else sturdier, flatter and smoother or try to reinforce the plywood I already have cut. I may end up doing a combination of both. I think I’m going to take today to regroup and look everything over (my arms will thank me anyway ;P ). I’d like to start building the drawers by the end of this week, but we’ll have to see. I’m glad to have all the heavy lifting completed, but all the final detail work is going to be time consuming.


