Master Closet – Part 3
Where did the weekend go? Oh yeah, it’s in our closet. Here are a couple piles of the cut boards after Dad and I finished last week. 
The next day, I organized them by cabinet and labeled them all.

Once I figured out where all the pieces went and how they would go together, I started drilling pocket holes. Thanks to Ana White‘s website for introducing this awesome tool to me. It makes assembly so much easier and sturdier.

It took most of the garage floor and the patio to lay out all the pieces so I could paint them. I wanted to at least get one coat on before I assembled everything because the second coat is always easier.


Meanwhile, I had already cut the 2x6s for the bases and we finally got them screwed together. David also attached them to the walls with a couple screws to makes sure they don’t move around. On the right, you can see the cut out we made for the air vent. We will put a register cover in the baseboard trim on the cabinet so that the air isn’t lost under the cabinet.

Getting the first cabinet together seemed to take forever. We had to make another trip to the store to get the backer board. We just used the pegboard type boards without the holes.

The first 2 cabinets took a little more time because we had to cut out holes for the breaker boxes and the coax box. David cut a hole for the tankless water heater wires and mounted the control to the inside of the first cabinet. The rest of the cabinets went together pretty easily, but they didn’t all sit together as nicely as I would have hoped. Fortunately, David was able to shim and adjust them all. He added scrap boards to the tops of the cabinets so that he could screw them all together and keep them square.

Yesterday, we started assembling the top cabinets. Assembly was pretty easy, getting them onto the lower cabinets was not. Free space in the closet is dwindling and the top cabinet boxes are still pretty big and heavy. We both had to climb ladders while carrying one up, then try to rotate it onto the lower cabinet. It wasn’t fun, but we got it done.

While the closet does feel smaller (and it is), I am pleased that it’s not too tight or crowded in there. I don’t really think there is anything I could have changed to the layout to make it better and that’s good to know.

The picture below shows the right side of the closet. The first cabinet (on the right) is not as deep since it’s right in front of the closet door. It will be mainly for drawers and shoes.

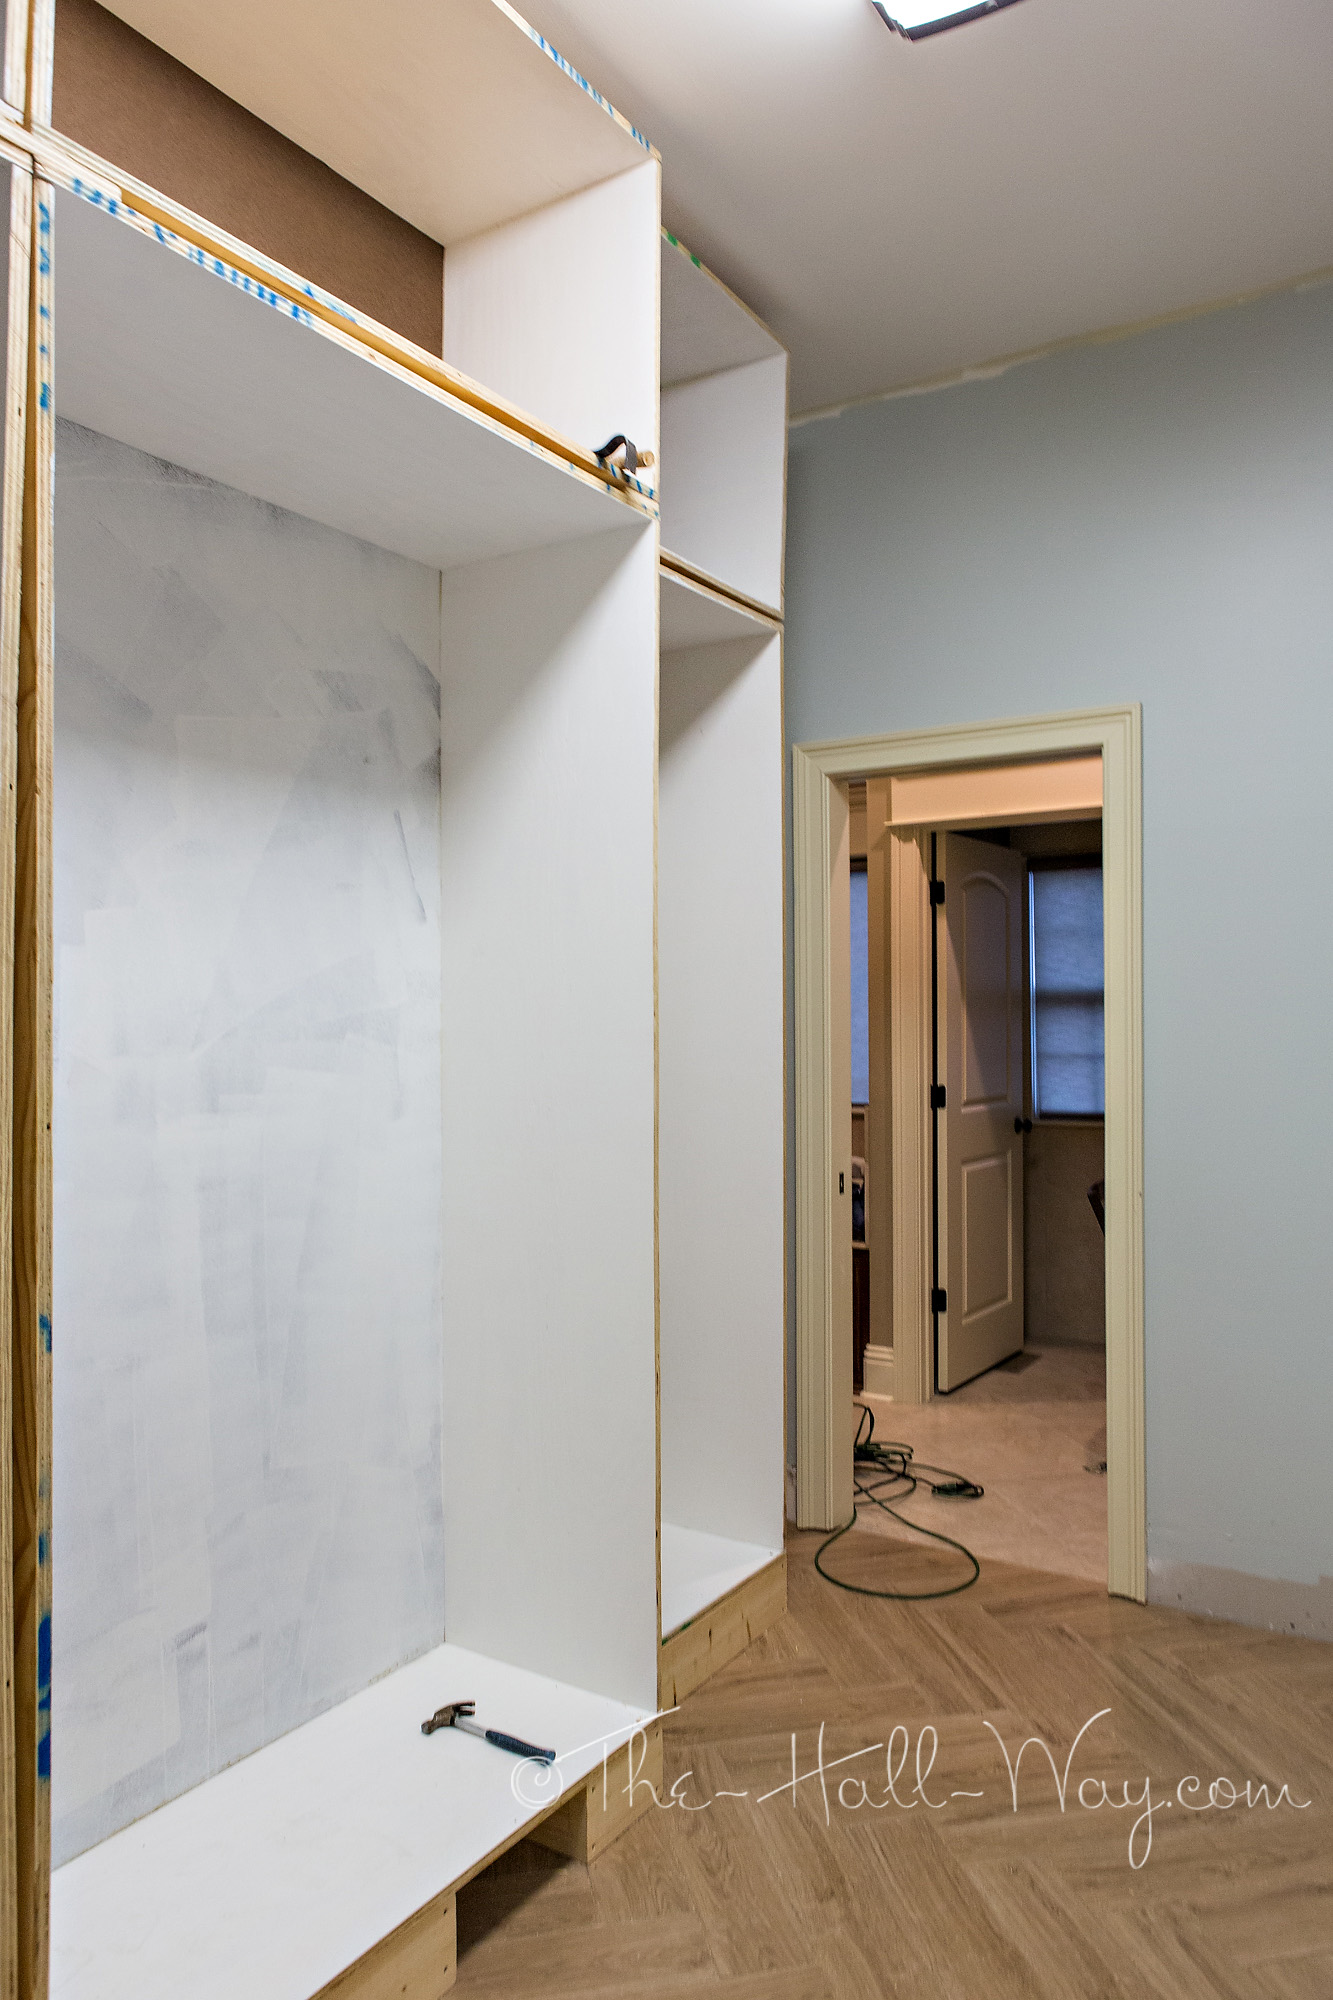
This picture is looking back towards the closet door. The old trim color is now all covered up except for around the door and it really sticks out now.

Fortunately, our closet has a pocket door so I didn’t have to design the layout around a swinging door.
We also worked on the bathroom cabinet which will be linen storage and built-in hampers. I designed this lower cabinet to be taller than the closet ones and it caused problems when we tried to slide it into place. See the upper door trim sticking out on either side? Getting it around that was almost impossible. We have the upper cabinet for this done too, but I need to get the crown molding off the walls before we can install it. It’s going to be a challenge to not destroy the ceiling or walls in the process, especially now with this cabinet in the way.

Now, I’m ready to install the shelves and trim, but we have some concerns about the half inch plywood we bought for the shelves. It doesn’t look very nice and all the pieces are warped to one extent or another. David is concerned about how they will hold up. I’m trying to decide whether to just go buy MDF or something else sturdier, flatter and smoother or try to reinforce the plywood I already have cut. I may end up doing a combination of both. I think I’m going to take today to regroup and look everything over (my arms will thank me anyway ;P ). I’d like to start building the drawers by the end of this week, but we’ll have to see. I’m glad to have all the heavy lifting completed, but all the final detail work is going to be time consuming.
0 Comments
Trackbacks/Pingbacks