Home Theater – Part 9
I’ve been on the lookout for letters to use above the bonus room door. I was going to do something fancy, but ended up keeping it simple. I picked the letters up from Hobby Lobby. They were originally black with gold distressing. I sprayed them with Rustoleum Soft Black Iron to match the rest of the theater accents. I brushed on some glitter craft paint to highlight them a bit. I ended up using double sided mounting tape to hang them instead of nails. That made it a lot easier to keep them straight and evenly spaced (which they are even though they don’t look it in the picture!).

The recliners arrived a couple weeks ago. We ended up driving 50 miles to pick them up instead of waiting another week for them to be delivered. They are a little smaller than I pictured, but comfortable with soft leather. Better pictures to come . . .

I can’t take too much credit for the most recent project as David did almost all the work. We had been looking into making lighted poster boxes for quite a while. There are lots of variations all over the internet and we kind of came up with our own. Real ones are pretty expensive.
First, he built a frame using 1x3s which he cut a notch out of for the back board. The corners are mitered and assembled with nails and glue.

The notch he cut from the 1x3s allows the plywood back to lay flush.

I sprayed them with Rustoleum Soft Black Iron (lost count how many cans I’ve went thru in this room!).

He lined the inside the boxes with window flashing to reflect as much light as possible inside.

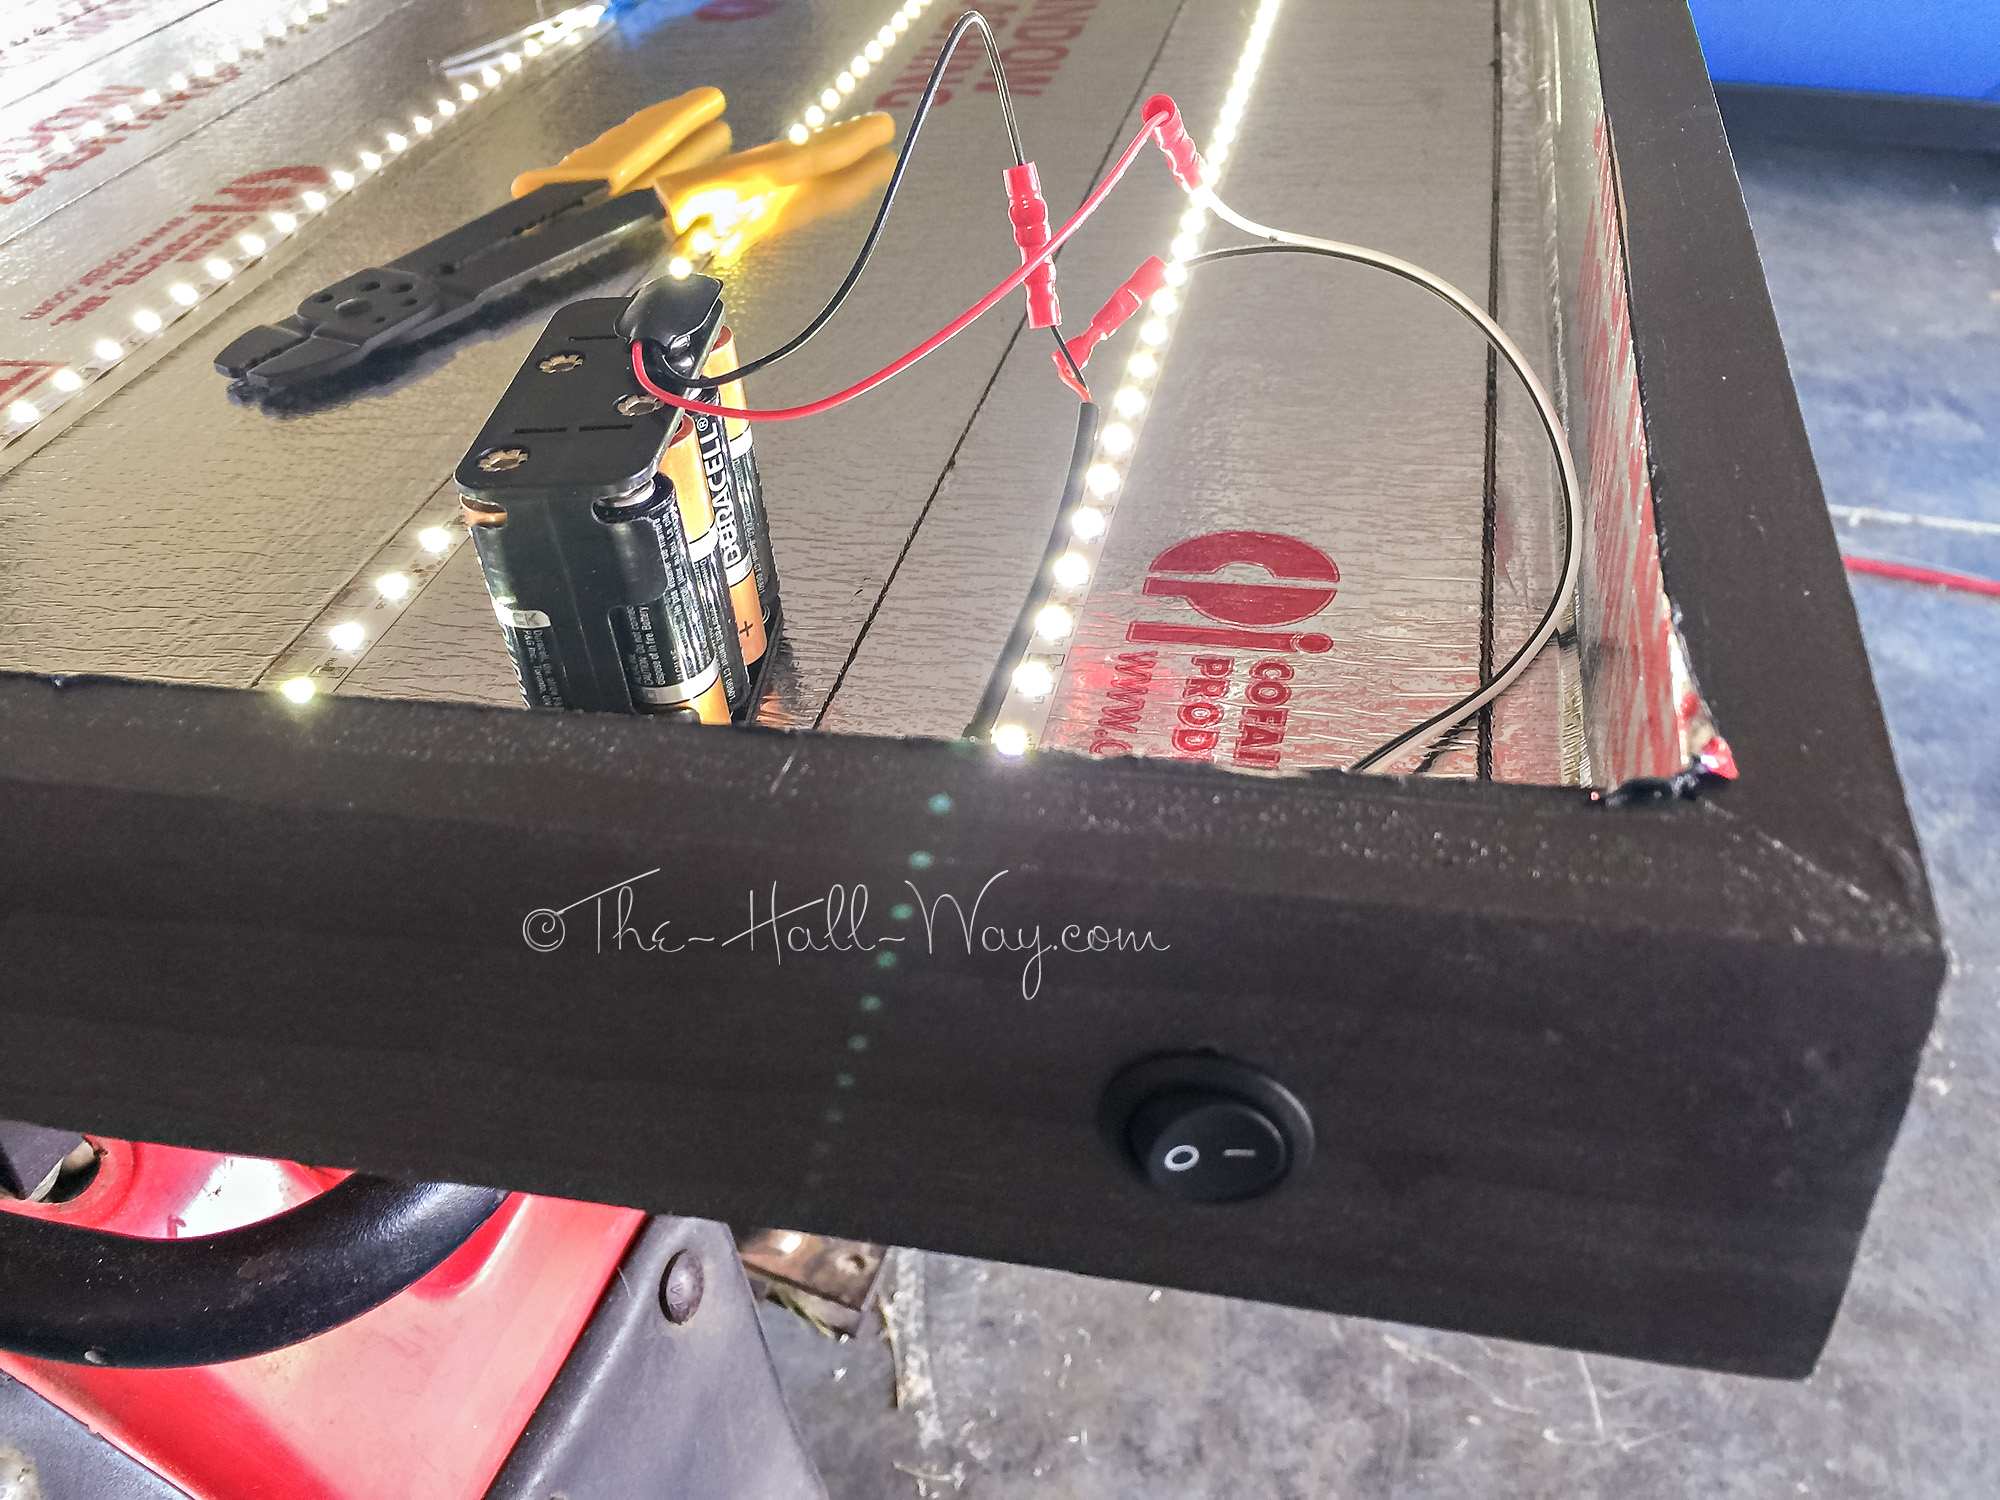
Then, he began installing the LED light strips. They are very similar to the lights we used on the platform. These are smaller and do not change colors.

He used connectors on 2 of the boxes to connect the rows of lights. The third box was soldered. . .

We wanted them to be battery powered since they were going on the staircase where there aren’t any outlets. Each one is using 8 – AA batteries. We’re not sure how long they’ll last, but they aren’t something we’ll leave on for long periods of time.

The lights, connectors, battery packs, and switches were all ordered from Amazon (link list below).

He drilled a hole in the bottom right corner and installed the switch where it’s not visible.

The battery pack just sits inside on the bottom of the frame.
The actual frame is a 27×40 collage frame I bought at Old Time Pottery for $30, then spray painted to match. I figured that was easier than trying to make something. David attached the picture frame to the box he built using a piano hinge.

We ended up breaking the glass in all three frames (oops), so we bought sheets of plexiglass that were cut down to size at Lowe’s. Each frame has 2 sheets of plexiglass with the poster in between.

He used the same keyhole fasteners that we used on the electronic’s cabinet to mount them to the walls.

We have one hanging between the bathroom door and the top of the stairs. The other 2 are hanging along the lower flight of stairs. (Vinyl decal cut by me using my Silhouette Cameo.)

We borrowed my parent’s Narnia poster to test since we hadn’t ordered any yet.

It’s been hard to decide which posters to get. They have to be double sided which they don’t make reproductions of. Depending on the movie, they can be really expensive or impossible to find. We chose Payback as a “classic” movie for us and the movie I named my beloved Mastiff, Porter, after.

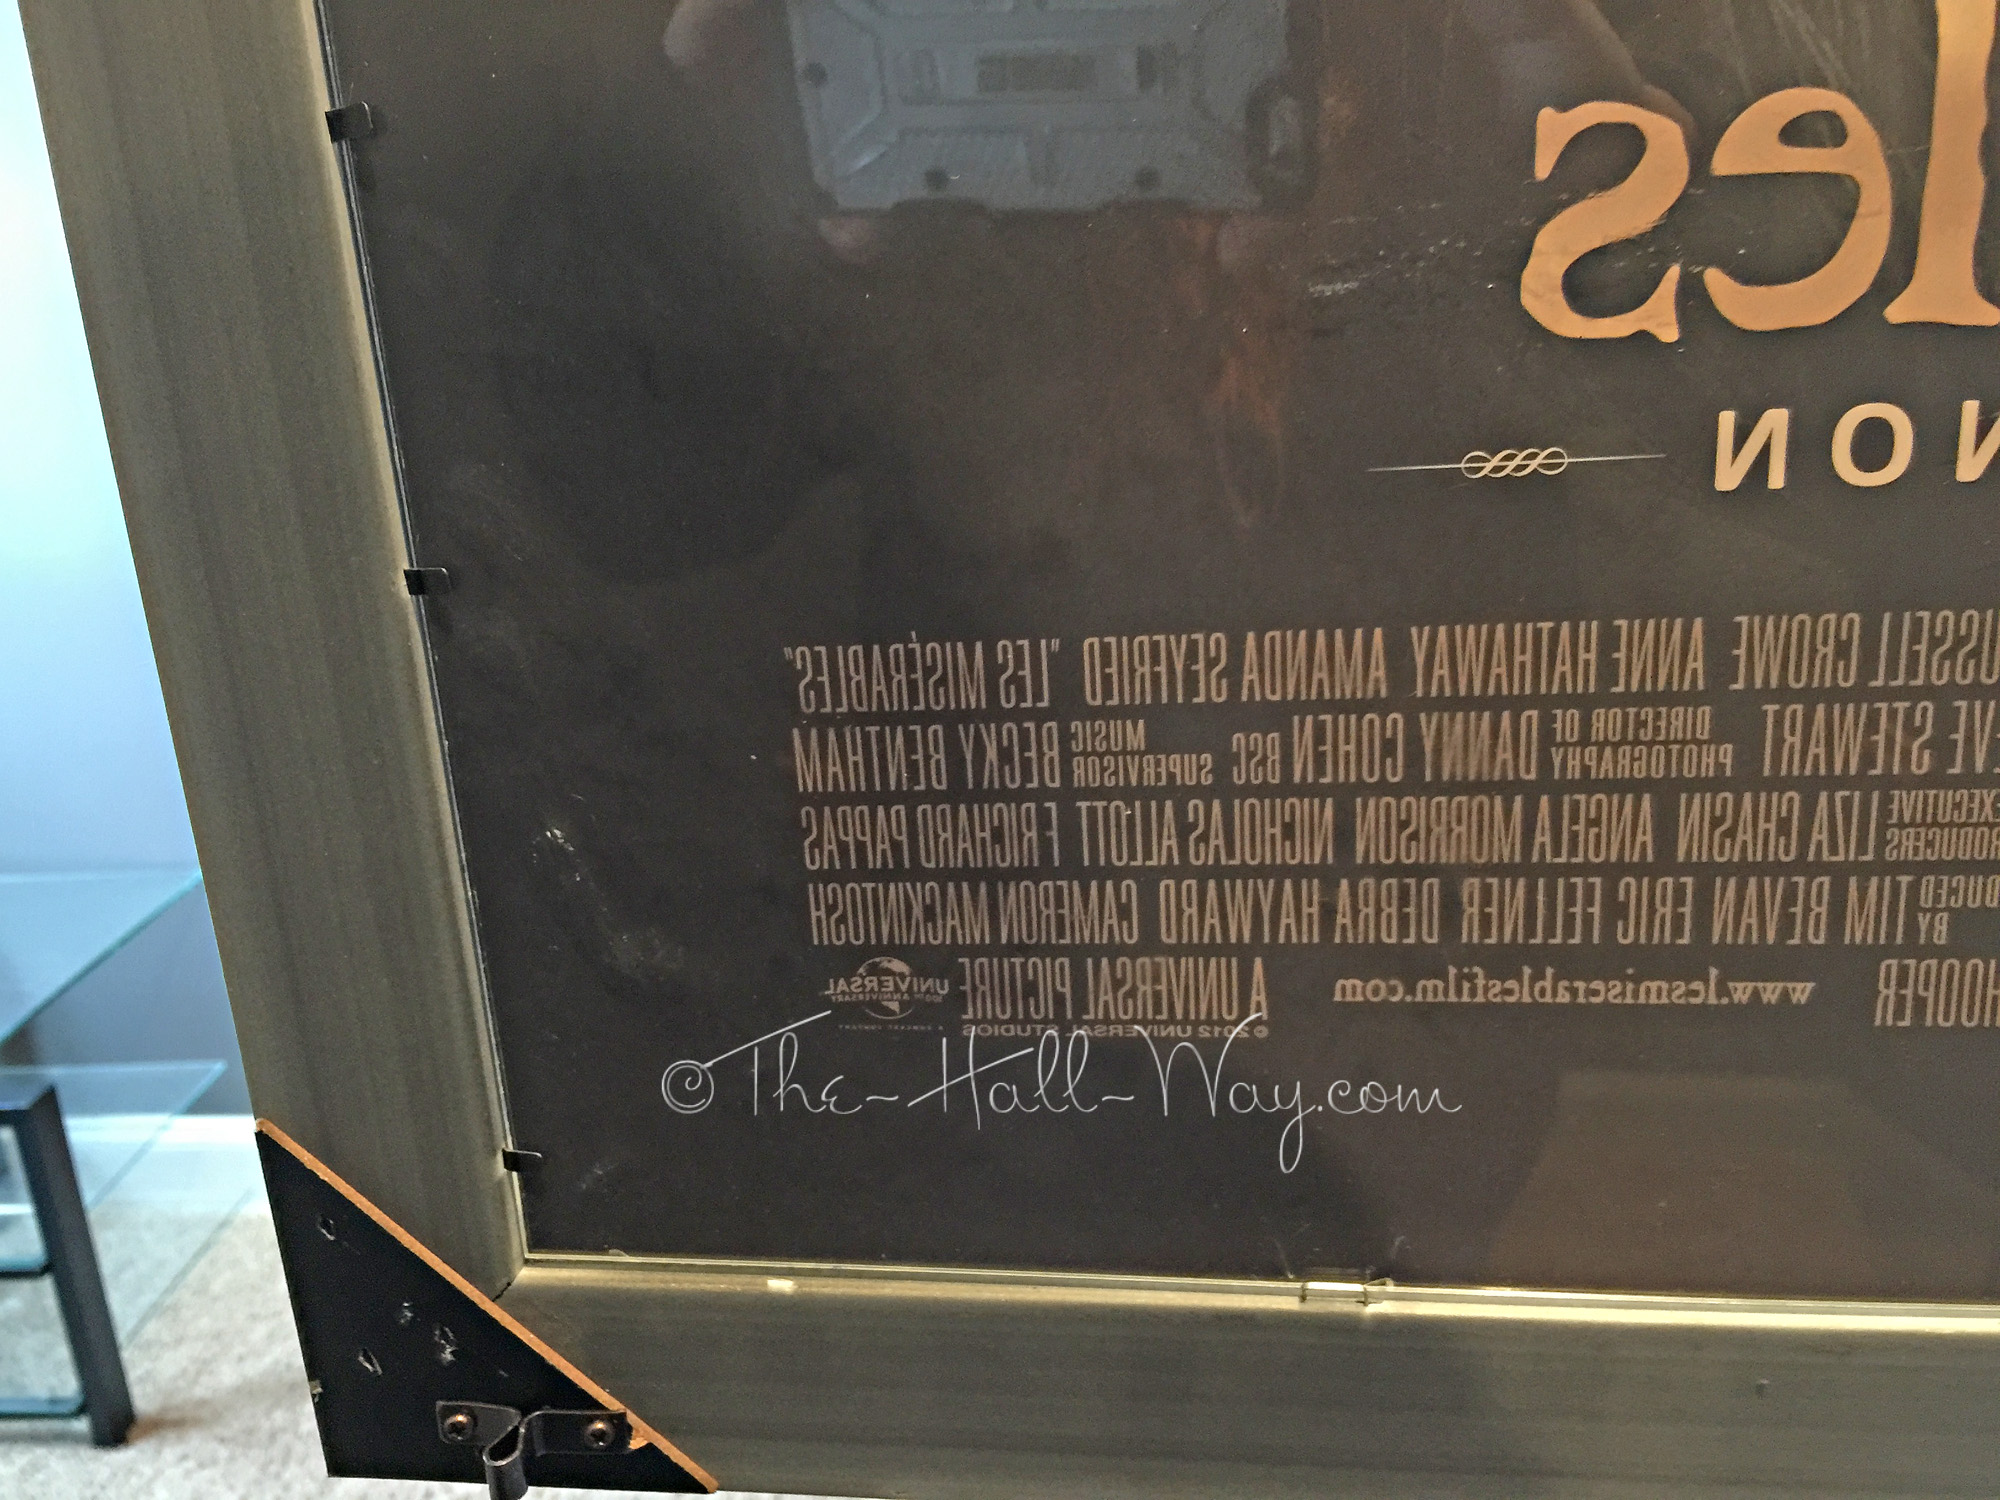
I’ve always been a musical lover and the film version of Les Miserables is incredible. I also thought it would make a good lighted poster.

We have one more poster to order which is still TBD. We finished the boxes off with some weather stripping to keep the light inside and a roller catch on the top and bottom to keep the “door”/frame shut. It just needs to be opened to change the batteries when needed and the poster, if wanted.

The poster frames really add to the “theater” feel of the space. Especially since you encounter them as you go up the stairs, before you are able to see the screen or the room.
I think that is all the projects we had planned for the new theater. I just need to do some minor finish work, then I will get some real pictures of the finished space.
To Be Continued . . .
Light Box Parts List & Links
LED Strip Lights – http://smile.amazon.com/dp/B00HSF65MC (I prefer the color of these better)
http://smile.amazon.com/dp/B005EHHLD8
LED Connectors – http://smile.amazon.com/dp/B00GTGLCXI (can also be soldered in leu of using connectors)
Switches – http://smile.amazon.com/dp/B00ARBP7Q4
Battery Holder – http://smile.amazon.com/dp/B000LFRTIK
Battery Clip – http://smile.amazon.com/dp/B0002ZPFU8
This looks incredible! We want to come watch a movie at your house!
Thanks for making us a small part of this amazing project.
How long have the batteries lasted for you? Can they be left on for 2 or 3 hours at a time without completely draining them?
We haven’t left them on for very long yet, but we were expecting them to last at least a couple hours.
How did you assemble the plexiglass so you could insert and remove the poster? Would like to be able to change the posters every month on mine?
The picture frames are just store bought, so they have the little tabs that usually hold the glass and backboard in. We replaced the glass and backboard with 2 sheets of plexiglass. The downside is those little tabs have a tendency to break off and any gaps allow light to escape from the inside around the poster. We have been using staples to fill those gaps where the tabs have broken off. I will say, switching the posters out is pretty much a 2-person job. The posters usually want to roll up and everything slides around. There may be a better way to do it, but we don’t plan to change ours out very often. Hope that helps!
THANKS for the quick reply, I might try cutting a slot in the side of the frame for the first sheet of plexiglass to hold it in place and do the same with the pins your suggest for the second sheet which would be re-moveable.
Regards
Harold