A ‘Virtual’ Tour – UPDATED
*UPDATED 4/5/13 – I have updated the pictures below with more accurate trim styles and details. The window and door trim is now closer to the style we will have. I also updated the cabinets doors and drawers to be more accurate. All subtle changes, but it’s all a lot closer to how I think it will really look.*
Since we now have the final plans, I’ve been redrawing them into my home design program. That way we have a 3D model to walk thru and play around with. I can use it for furniture layouts and a lot of other things. I’m trying to make it as accurate as possible (within the limitations of the program).
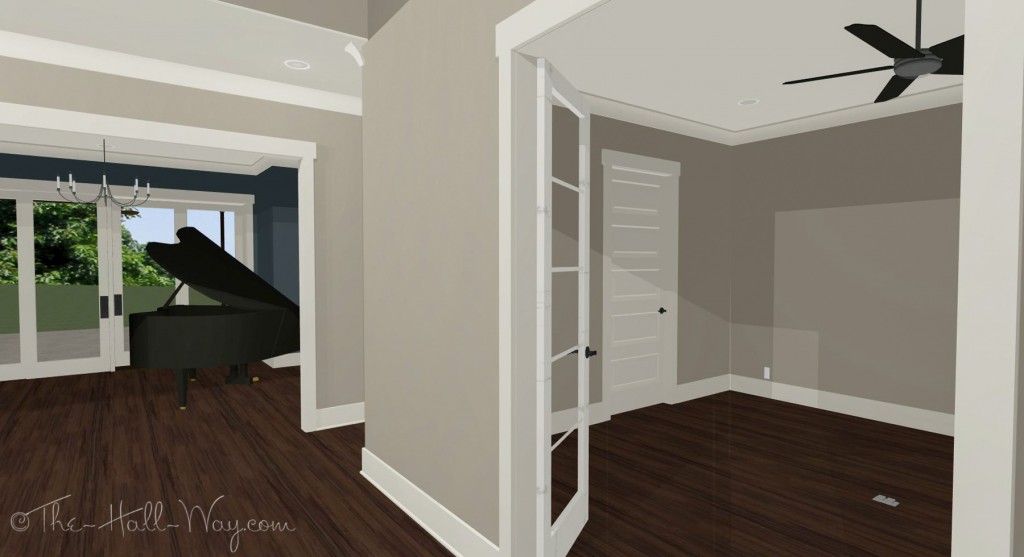
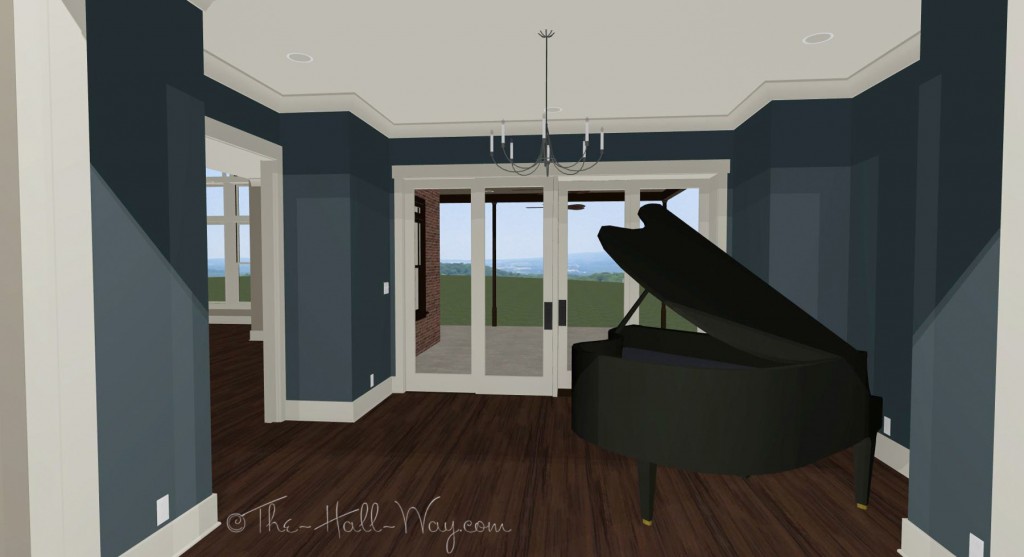
 Let’s go inside! Ahead is the piano room with sliding doors out to the back porch.
 Looking back at the front door, the staircase is partially open to the 2 story foyer.
 Across from the stairs is the office. There will eventually be built-ins along the far wall and a matching desk.
 A closer look at the piano room . . .
 Looking into the Kitchen, Breakfast Nook and Family Room. The table will go in front of the windows on the right. The mud room is the door on the far left.
 Standing near the table, looking back at the Kitchen and into the Family Room.
 A closer look at the kitchen with the mudroom beyond. The door to the garage is on the left thru that door.
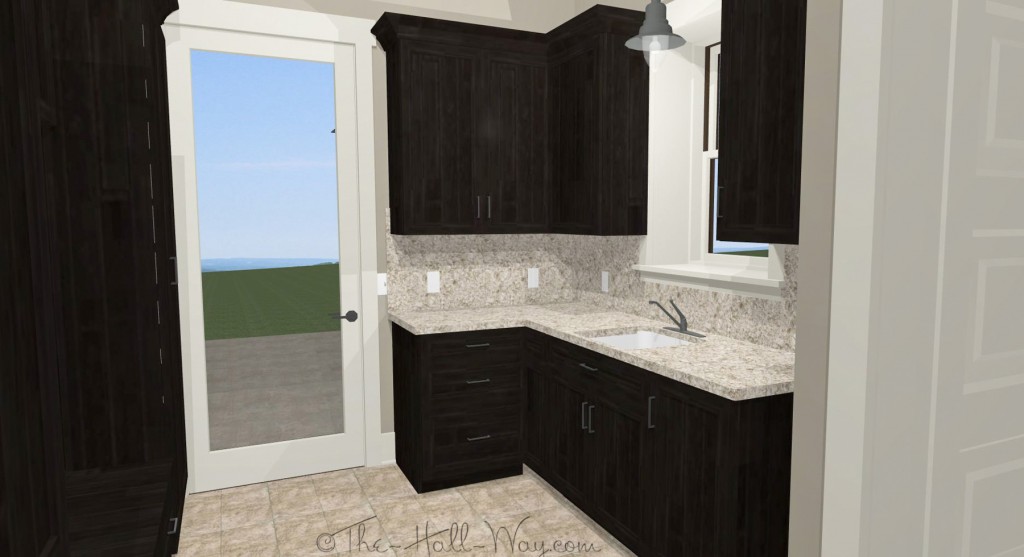
 Here is the mudroom. The garage is on the left, the driveway is thru the door straight ahead and the laundry room on the right.
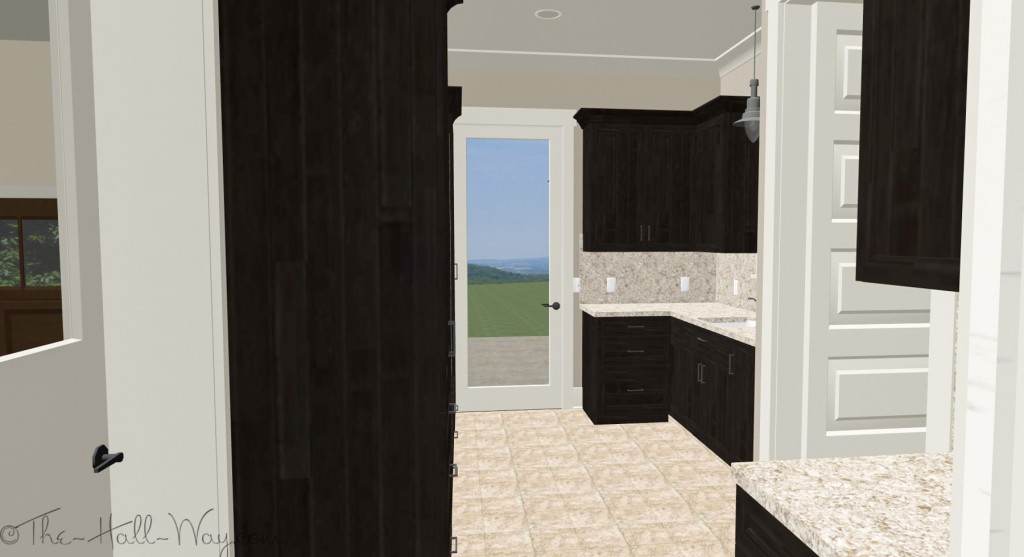 The dog dishes are on the floor to the right. I hope to have storage for the dog food in the cabinet next to them.
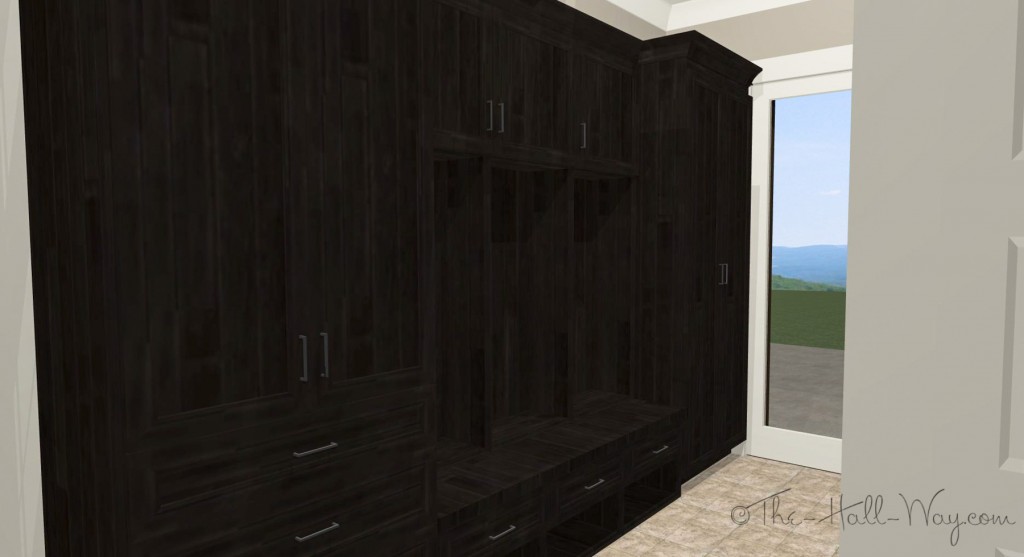 Here is a sketch of the bench which is a little easier to see.
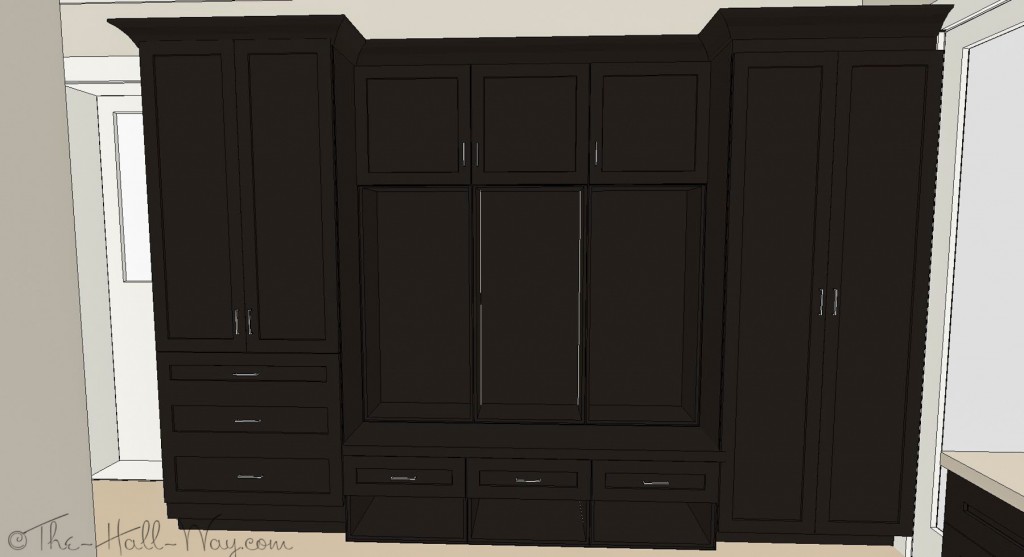 The counter on the far right is for dropping things off as we come in from the garage.
 Looking into the Master Bedroom. There are sliding doors on the left which go out to the back porch. This room has a vaulted ceiling although it’s not exactly drawn correctly here.
 Here we are looking from the Master Bedroom towards the Master Closet and Bathroom. The Master Closet is on the left and it will also be the storm shelter.
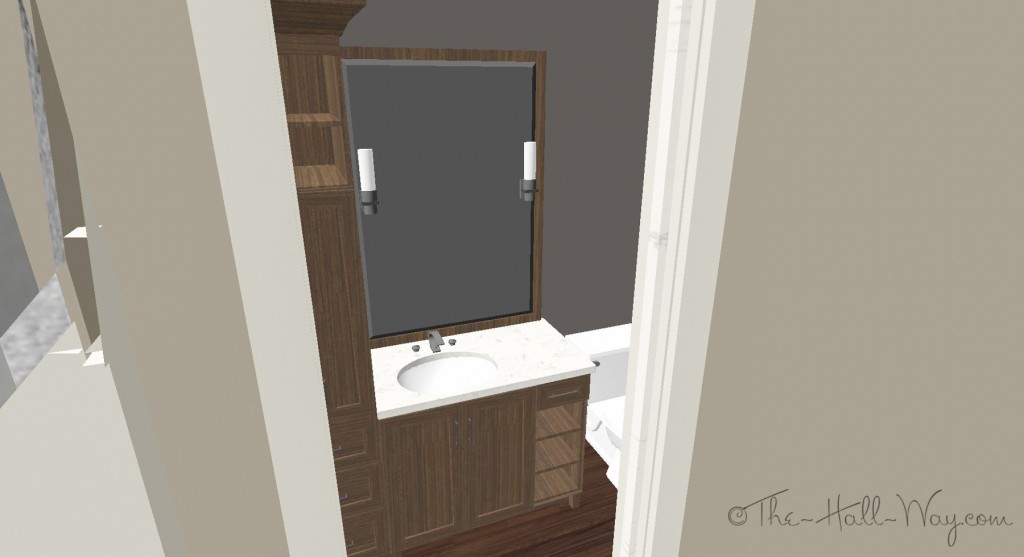
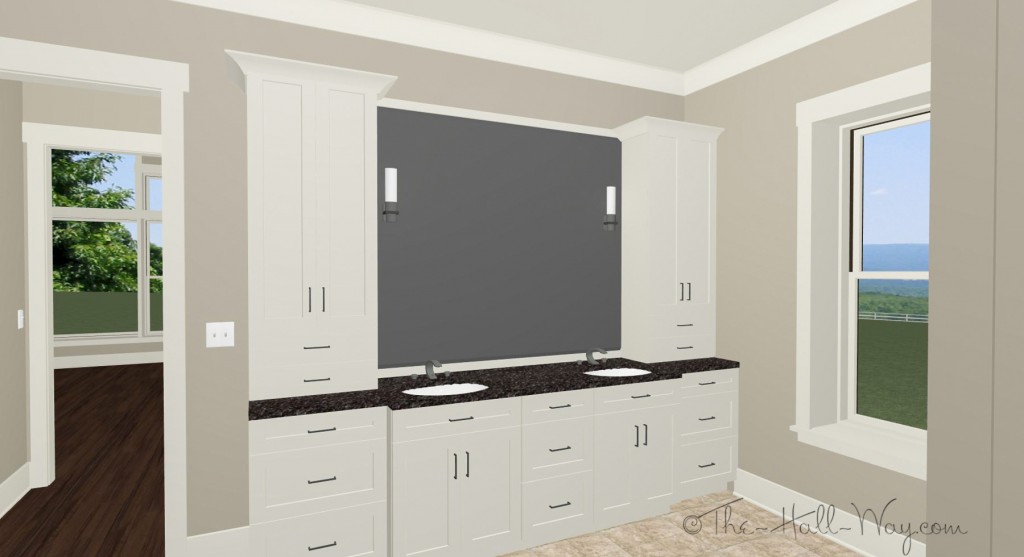
 Here is the Master Bathroom. The shower is to the left of the tub. It’s drawn with a glass wall, but it rendered weird. We need to decide how much (if any) glass there will be. On the right, in front of the door, is a tall linen cabinet.
 Standing by the vanity, looking towards the tub.
 Standing by the tub, looking back towards the vanity and bathroom door.
 A look at the back porch . . .
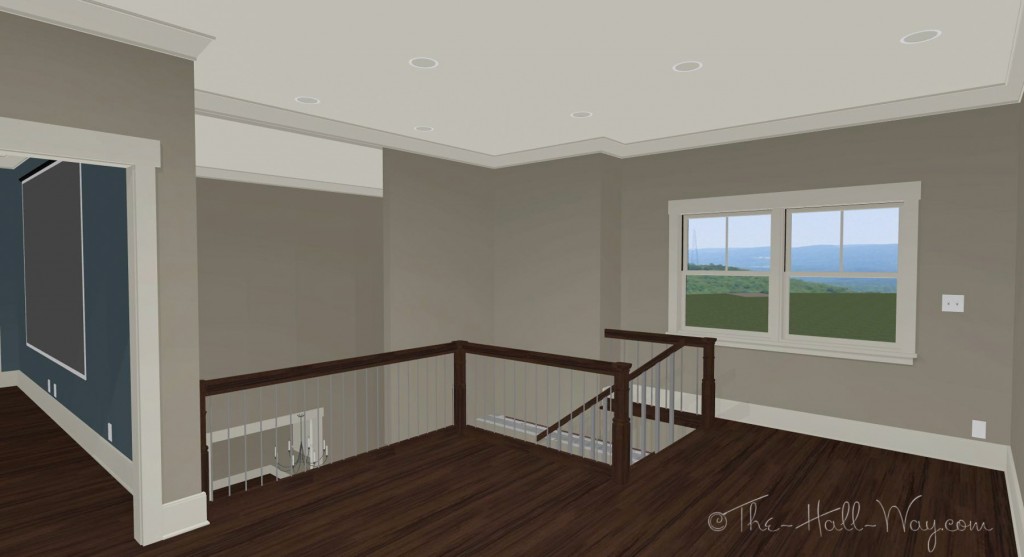
 Next, we move upstairs. Here is the upstairs landing. (The foyer chandelier is currently suspended in midair ;P)
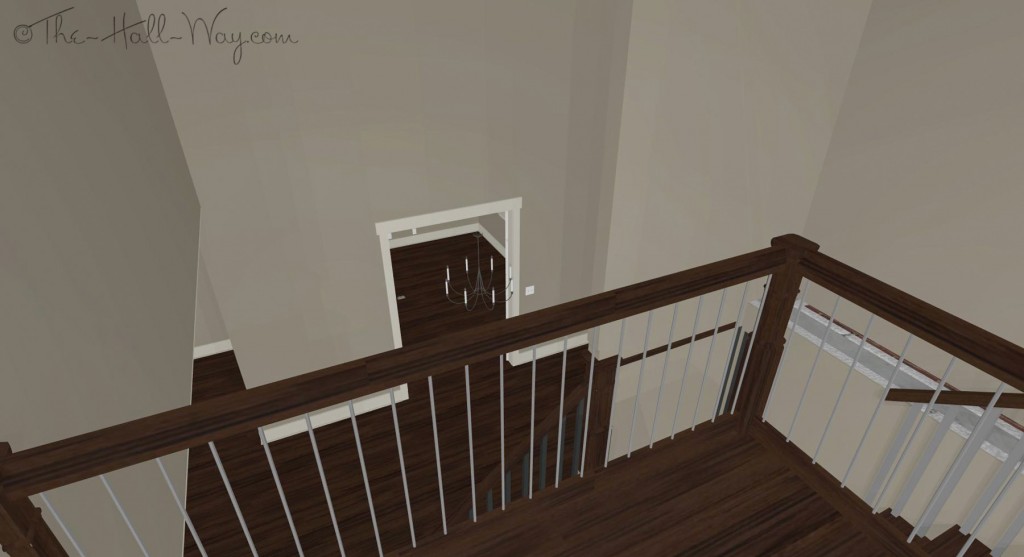
 Looking down at the foyer and office doors.
 Off the upstairs landing is The Kid’s room. The area by the windows will be a playroom for now and eventually a lounge when he gets older. He has a full bath thru the door on the left with his closet beyond that.
*All renderings created with Home Designer Software Architectural Edition.





I love the renderings. It really helps I bet to get a feel of your spaces. How difficult is that software program? I have NO experience what so ever in using such a program, but would love to have renderings as well! Our construction drawings should be finished in the next day or two. Your home looks beautiful!
The Home Designer software takes a while to figure out – mainly just learning where each tool is and how to get things just the way you want it. The tools themselves are fairly straightforward. Select your wall type (interior or exterior), then draw a line. Select the window tool and click where you want a window. You can click on each component after you draw it to change the style, colors, etc. The roof is the most difficult part. It auto draws the roof for you, but unless you have a true 1 or 2 story, it’s usually not correct. The exterior of the model in those renderings looks horrible and nothing like how the house actually will because of the way the roof is drawn. Our house has is a 1.5 story with a pretty complex roof so I don’t think I could ever get the version of my program to draw it correctly.
Meanwhile, I’ve been working on all the little details in the house to get it closer to the way I want it to look. The builder likes the renderings and wants me to hang them up in the house so that everyone can see how I want each room to look.
Thanks for checking out the blog and leaving a comment 🙂